background image

PAGE 9 OF 16

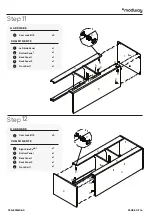
x1

Shelf Panel 1

18

x1     

Shelf Panel 2

CO M P O N E N T S

19

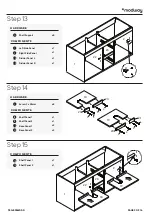
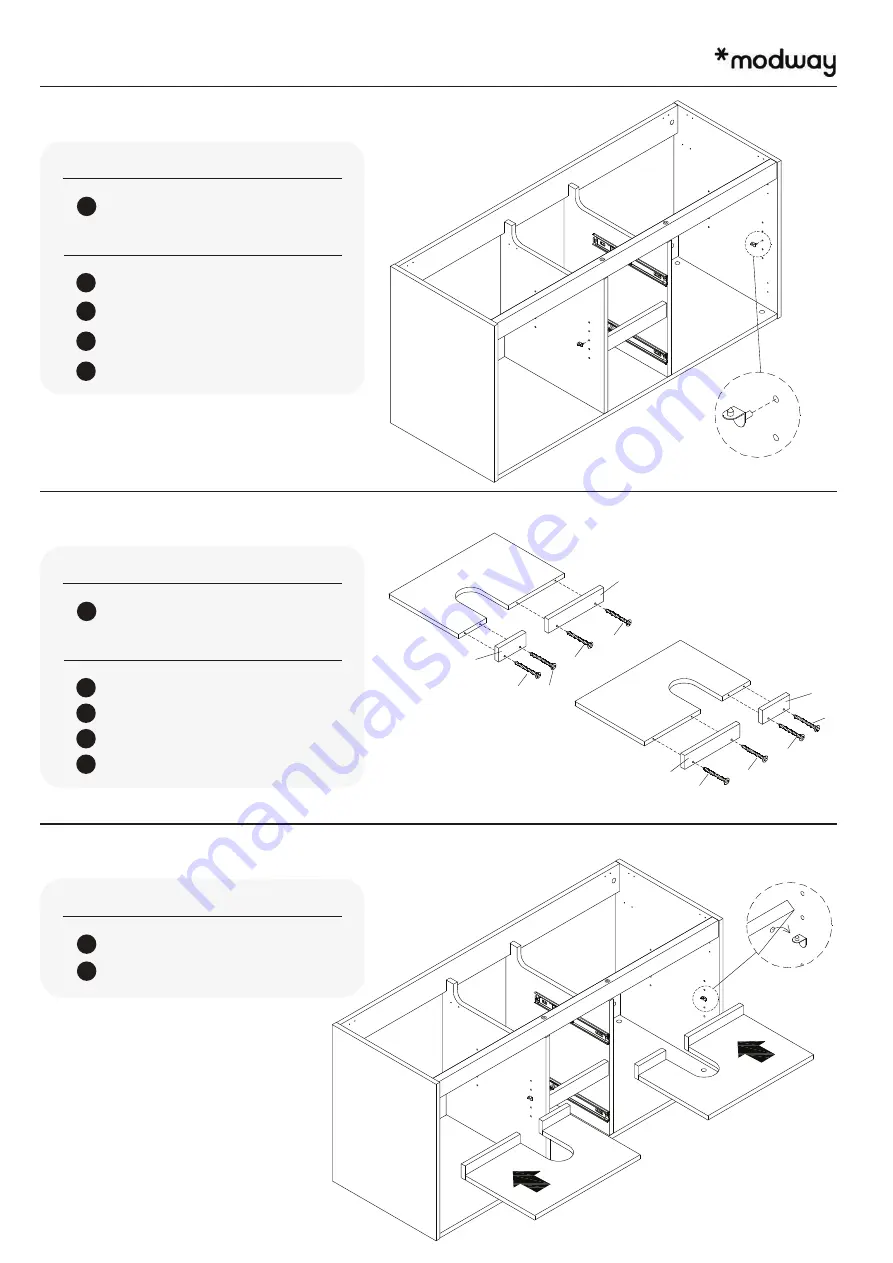
Step 15

x8

x2

Base Panel 2

21

x2

Base Panel 1

20

x1

Shelf Panel 2

19

x1

Screw 9 x 38mm

Shelf Panel 1

H A R DWA R E

CO M P O N E N T S

18

L

Step 14

x8

x1

Divider Panel R

23

x1

Divider Panel L

22

x1

Right Side Panel

2

x1

Shelf Support

Left Side Panel

H A R DWA R E

CO M P O N E N T S

1

O

Step 13

780−595MD9−0

2

1

22

23

18

19

O

2

1

22

23

18

19

20

21

21

20

L

L

L

L

L

L

L

L

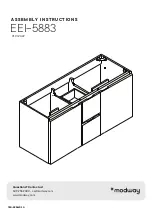
Summary of Contents for EEI-5883

Page 1: ...780 595MD1 0 V1 01 24 22 ASSEMBLY INSTRUCTIONS EEI 5883 Questions Contact us 609 256 9000 cs modway com www modway com...

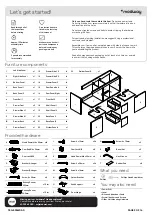
Page 2: ...ll Level Silicone Adhesive or Caulk Drywall Anchors and Screws Other Wall Mounting Hardware Screw 4 x 28mm Bearing Runner 350mm Wood Dowel M6 x 25mm Screw 4 x 14mm Corner Bracket Cam Lock 12 Phillips...

Page 3: ...mm K x16 x1 x1 Front Rail 2 17 x1 Drawer Side R 2 13 x1 Drawer Side L 2 12 x1 Drawer Side R 1 9 x1 Drawer Side L 1 8 x1 Front Rail 1 6 x1 x1 Wood Dowel M8 x 25mm Bottom Panel Back Panel 2 Back Panel 1...

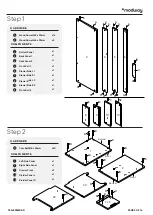
Page 4: ...ck 12 Drawer Front HARDWARE COMPONENTS 7 J Step 4 x12 Screw 4 x 12mm I x1 Pair Bearing Runner 300mm H x1 Pair x1 x1 Bearing Runner 350mm Divider Panel L Divider Panel R HARDWARE COMPONENTS 23 22 G Ste...

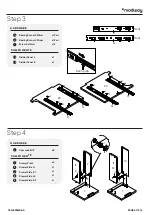
Page 5: ...PAGE 5 OF 16 x8 x2 Screw 9 x 38mm Drawer Back HARDWARE COMPONENTS 10 L Step 6 x1 Drawer Panel 2 14 x1 Drawer Panel 1 COMPONENTS 11 Step 5 780 595MD5 0 10 8 9 11 12 13 14 8 9 12 13 10 L L L L L L L L...

Page 6: ...ONENTS 17 C Step 7 Step 8 780 595MD6 0 x12 Screw 4 x 12mm I x1 Pair Bearing Runner 300mm H x1 Pair x1 x1 Drawer Side R 2 13 x1 x1 Bearing Runner 350mm Drawer Side L 1 Drawer Side L 2 Drawer Side R 1 H...

Page 7: ...crew 6 x 70mm Q x4 x1 Divider Panel R 23 x1 Divider Panel L 22 x1 Front Rail 1 6 x1 Back Panel 2 5 x1 Screw 9 x 38mm Back Panel 1 HARDWARE COMPONENTS 4 L Step 9 Step 10 780 595MD7 0 4 3 5 22 23 5 Q R...

Page 8: ...Bottom Panel 3 x1 Cam Lock 15 Right Side Panel HARDWARE COMPONENTS 2 C x5 x1 Front Rail 1 6 x1 Back Panel 2 5 x1 Back Panel 1 4 x1 Bottom Panel 3 x1 Cam Lock 15 Left Side Panel HARDWARE COMPONENTS 1...

Page 9: ...anel 1 20 x1 Shelf Panel 2 19 x1 Screw 9 x 38mm Shelf Panel 1 HARDWARE COMPONENTS 18 L Step 14 x8 x1 Divider Panel R 23 x1 Divider Panel L 22 x1 Right Side Panel 2 x1 Shelf Support Left Side Panel HAR...

Page 10: ...22 x1 Right Side Panel 2 x1 Bracket L Hanger Left Side Panel HARDWARE COMPONENTS 1 D x4 Corner Bracket N x16 x1 x1 Front Rail 1 6 x1 Back Panel 1 4 x1 Screw 4 x 14mm Left Side Panel Right Side Panel H...

Page 11: ...away from the wall follow this guide 18 6 Hook cabinet onto latch 18 9 Once the cabinet is installed and adjusted install the latch covers 18 7 Push cabinet down onto latch Adjustment Screw A Adjustme...

Page 12: ...NOTE Mounting hardware and tools are not included We suggest professional installation Hole 6mm PAGE 12 OF 16 Step 19 Step 20 780 595MDC 0...

Page 13: ...M x1 Door Panel Right 16 x1 Door Panel Left 15 HARDWARE COMPONENTS x4 Door Hinge P x8 Screw 4 x 14mm M x1 Door Panel Right 16 x1 Door Panel Left 15 HARDWARE COMPONENTS Step 21 Adjust laterally Adjust...

Page 14: ...he spring clip on both sides on the drawer glide At the same time press the clips and pull the drawer out To reinsert simply align the 2 sides of the drawer glides and slide in until fully inserted Sp...

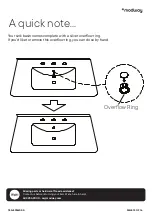
Page 15: ...te Your sink basin comes complete with a silver over ow ring If you d like to remove this over ow ring you can do so by hand Missing parts or hardware Need assistance Contact us before returning your...

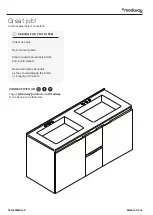
Page 16: ...ot contract grade Clean using a non abrasive cloth and a mild cleaner Never use harsh chemicals as they could damage the nish or integrity of the item CONNECT WITH US Tag us modway_furniture and modwa...

Reviews: