CONTINUAL DRAINAGE OPTION
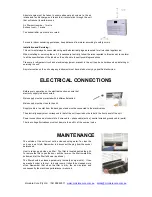
This unit can be used with its water reservoir or can be connected directly to a waste pipe.
In this case, use the male ¾: (19mm) connection.
The software of the unit should be modified in the factory for functioning without the tank. If the unit has been
supplied with a tank, the software does not allow functioning without the tank. In this case it needs to lock the
lever of the microswitch located in the tank vane behind the front door.
Pay attention that the draining connection pipe is not twisted.
This dehumidifier can also be fitted with a water lifting pump.
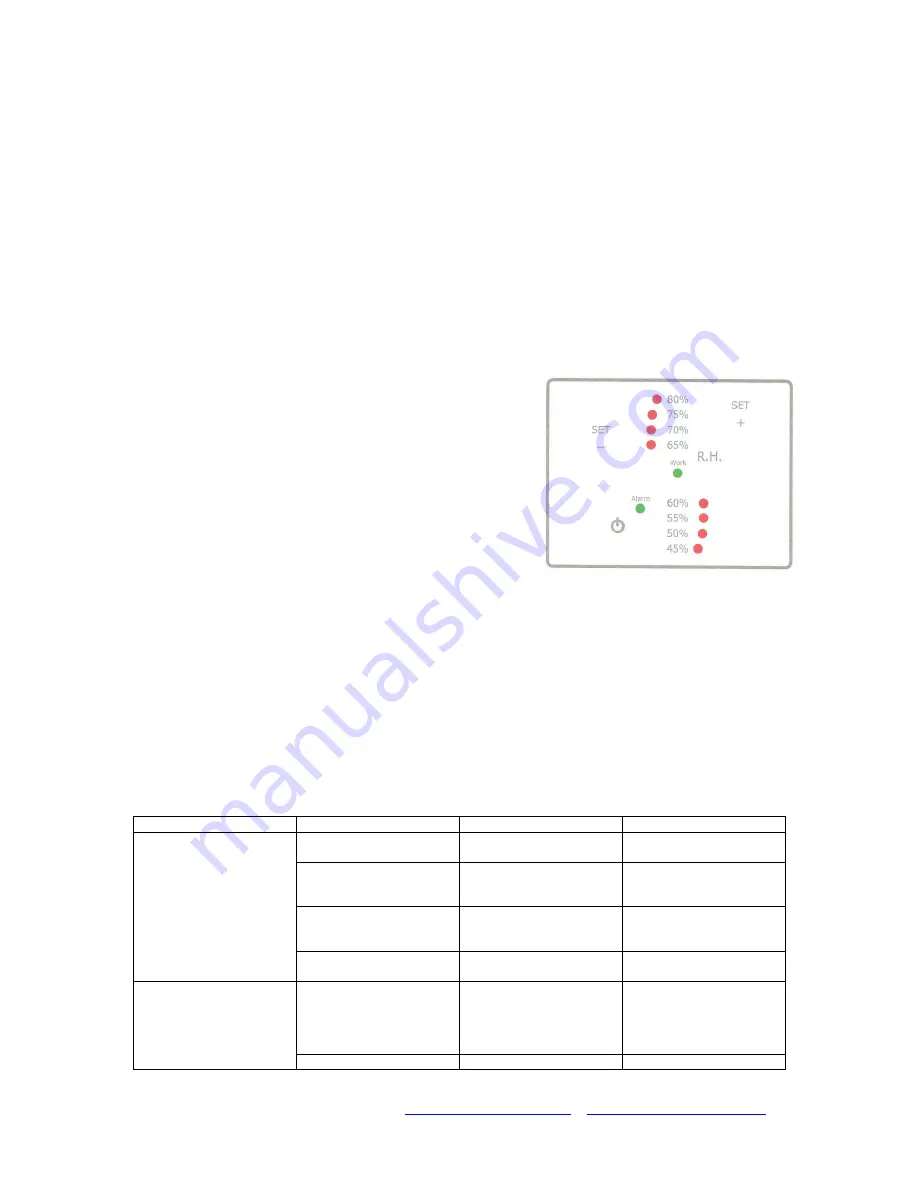
CONTROL PANEL
TROUBLE SHOOTING
PROBLEM
LED ON
PROBABLE CAUSE
CORRECTIVE ACTION
Unit does not start
None
Power supply missing
Provide power supply,
replace fuses
Power supply or humidity
indicator LED on
Humidistat LED set too
high or unit is turned off
Switch the machine on
and/or set at a lower
setting
Power supply LED on
(humidity indicator) alarm
LED
Only in model with tank.
Tank is full or not correctly
inserted
Empty tank and/or insert it
correctly
Any LED
Electronic board or LED
board defective
Replace defective board
Fan starts, compressor
does not start
LED in centre blinking
Starting delay or
defrosting
After maximum of 4
minutes, the central LED
should stay on.
Otherwise the electronic
card is defective.
Central LED on
Compressor defective
Replace defective board
Moisture Cure Pty Ltd (02) 65842511
www.moisturecure.com.au
sales@moisturecure.com.au
Turn ON the unit
After the unit is connected to the power, press ON/OFF switch
(lower left side) and the unit will start. The WORK LED will
indicate that the unit is working. Whilst the unit is running, the
WORK LED will remain on. During the defrost cycle, or when
starting is delayed, this will blink.
Humidity Reading
The 8 LED indicators in the centre of the control panel indicate the
ambient relative humidity. Eg: the 45% LED is blinking means
that the actual relative humidity is 40% (+/- 2.5%) or lower. If for
example 50% LED is ON it means that the actual relative humidity
is 50% (better if it is between 47.5% and 52.5%), and so on until
80%. If 80% LED is blinking, relative humidity in room is over
82.5%.
Setting Humidity
To set the desired humidity, press SET + or SET
– button to
increase or decrease the setting. When you make a selection, the
corresponding LED will blink. After a few seconds the LED will
stop blinking and once setting is accepted the LED will indicate.
Alarm
With units that have a tank, the ALARM LED will only come on
when the tank is either full or not inserted correctly.
If the control panel doesn’t work
correctly, switch off power for at least
30 seconds and then start again.
Do not use the control panel with wet
hands. Electricity and water do not
mix!


