16
MoJack EZ Max Lift
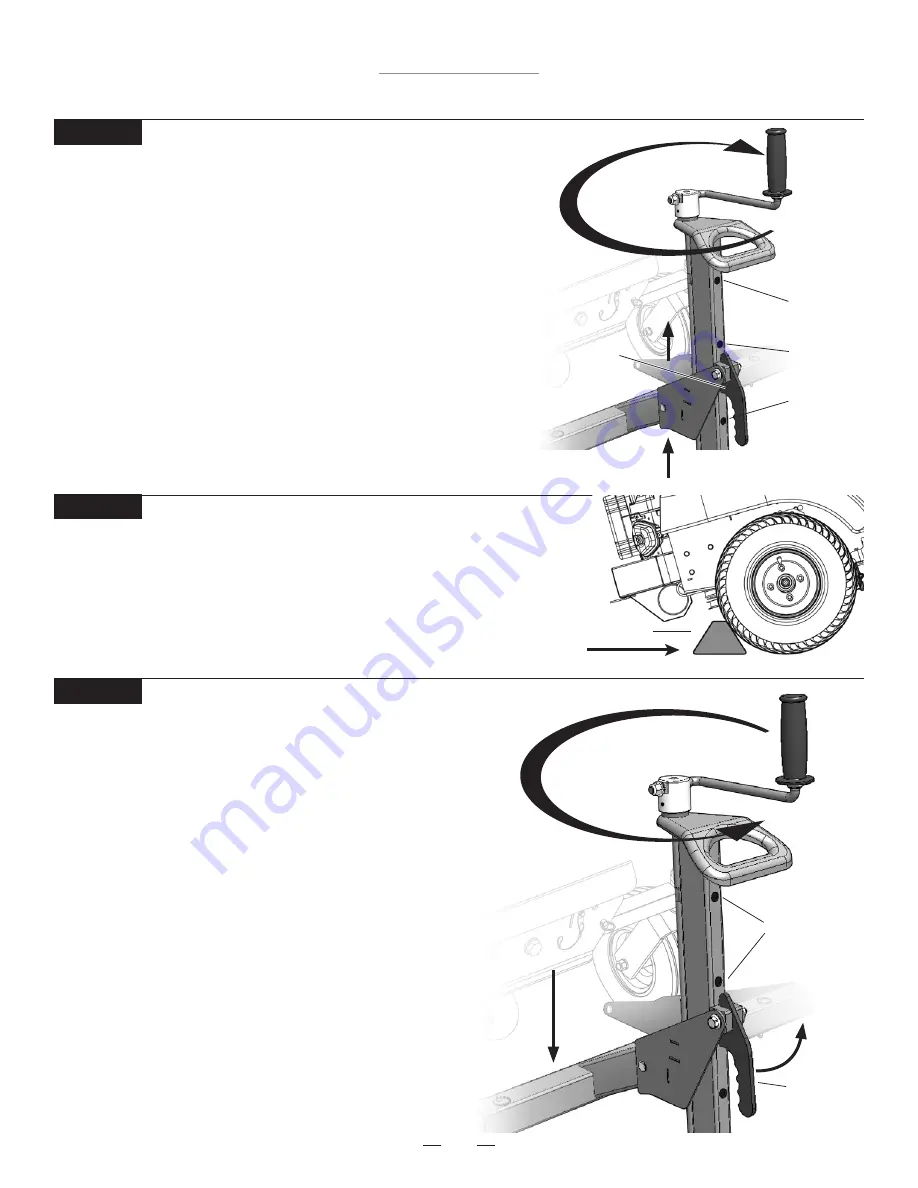
STEP 13
Operating Instructions
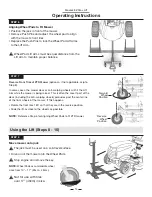
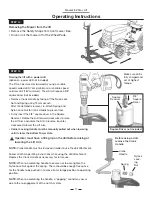
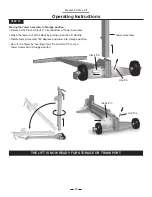
Lowering the Mower
• Remove wheel chocks.
• Release the parking brake.
• Mower must be in neutral or hydraulic drive disengaged.
• Pull and hold the Carrier Locking Handle out and turn the
Crank Handle counter clockwise until Wheel Pads are
firmly on the ground.
The Carrier Locking Handle must be
pulled out until it clears the bottom Tower Hole. It may be
necessary to raise the Carrier slightly to allow the Carrier
Locking Handle to be pulled out.
NOTE:
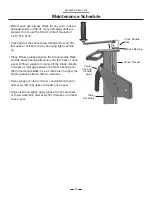
The lift is equipped with a clutch to protect itself from
accidental damage. If the Carrier Locking Handle is not
disengaged when lowering, the clutch will release the Crank
Handle from the screw and rotate freely. To re-engage the
Crank Handle, turn clockwise for a few turns.
STEP 12
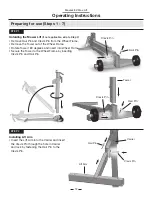
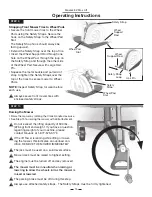
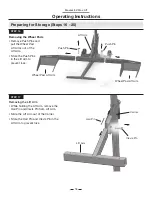
Preparing the Mower for Service
• Place wheel chocks (not included) behind the back tires of the mower.
• Apply the parking brake on the mower.
• The Carrier Locking Handle must be locked into one of the
two Tower Holes.
Wheel Chock
Tower Holes
Carrier
Locking
Handle
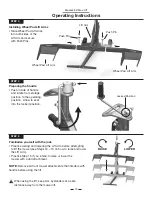
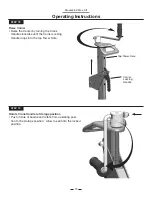
STEP 11
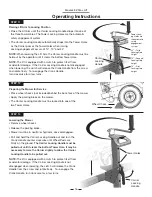
Raising Lift Arm to Locking Position
• Raise the Lift Arm until the Carrier Locking Handle drops into one of
the three Tower Holes. The Tower Locking Holes are the automatic
safety engagement system.
• The Carrier Locking Handle automatically drops into the Tower Holes
as the Carrier passes the Tower Holes when raising.
Locking engagement occurs at 14”, 19” and 24”.
NOTE:
When lowering the Lift Arm, the Carrier Locking Handle must be
held out by the operator until it clears the bottom Tower Hole.
NOTE:
The lift is equipped with a clutch to protect itself from
accidental damage. If the Carrier Locking Handle is not disengaged
when lowering, the clutch will release the Crank Handle from the screw
and rotate freely. To re-engage the Crank Handle,
turn clockwise for a few turns.
Carrier
Locking
Handle
19” – Second
Locking Hole
height
Tower Lock-
ing Holes are
the automatic
safety
engagement
system
24” – Third
Locking Hole
height
14” – First
Locking Hole
height
Summary of Contents for EZ Max 45001
Page 44: ......

