7. Homing
Pressing this button will cause the system to initialize Home Position. The
servo(s) must be enabled, the system must be in Manual mode and there
must be no alarms present. The message banner will indicate “Homing is
in progress”. See “5.2 Home the E-Drive” on page 5-3.
8. Servo Enable
Before the system operates the servo(s) must be enabled. To enable
servo(s), press this button and acknowledge the confirmation message
box that will appear on the touchscreen. The Motor LED will light up
(green) indicating the servo(s) are enabled.
Control Buttons - continued
4.5 Touchscreen Layout
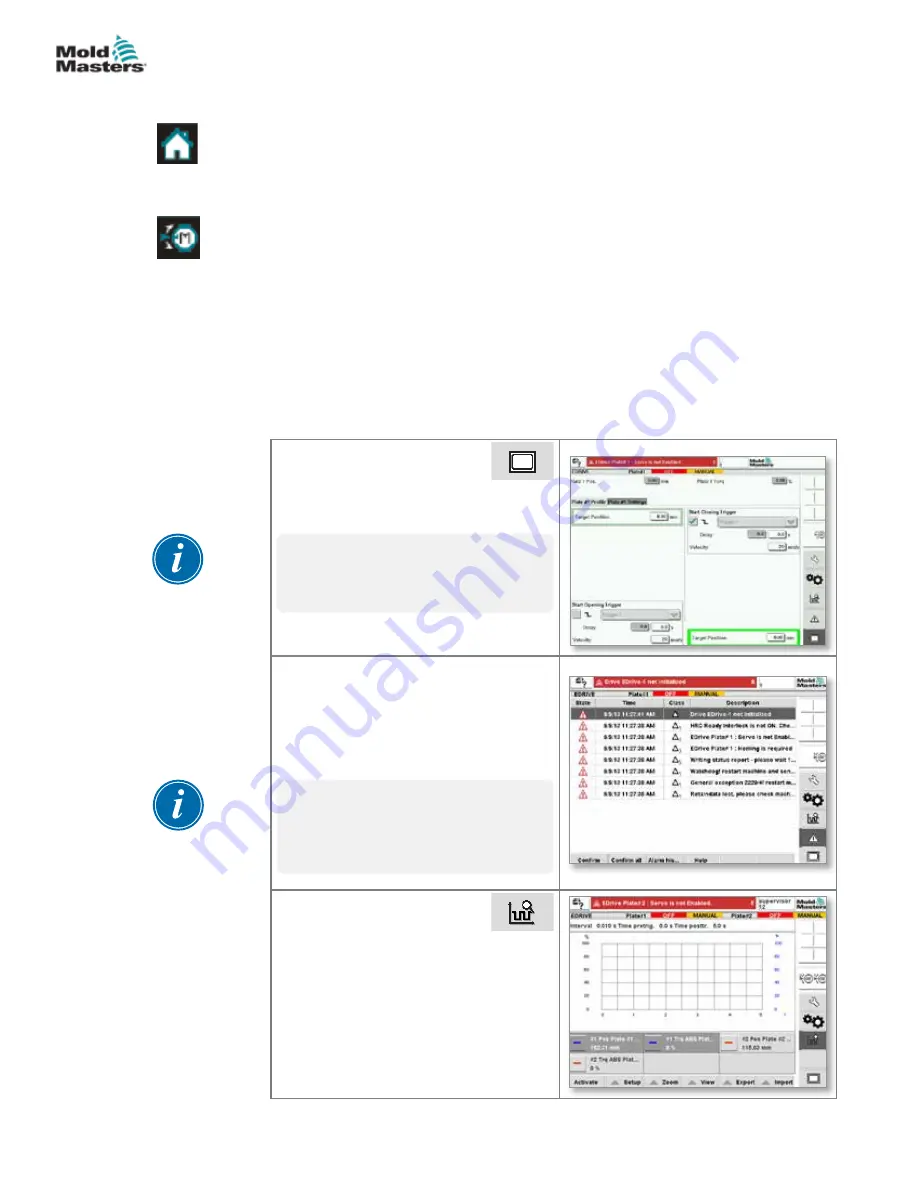
At the right side of each screen, there is a group of tabs that allow the user
to navigate through the various HMI screens. The dark highlighted button
indicates which screen is currently active.
These buttons navigate you through the five main screens.
Main Overview
This is the main operating
screen. There are two tabs on this screen
used for the operation of the system.
NOTE
The Control Buttons will only
function when this screen is visible.
Alarms
This is the alarm screen. The alarms
screen shows all current alarms and
warnings. Only alarms will cause the
machine to stop and cause the Alarm
button to turn to a red color.
NOTE
The alarm page can be accessed
by choosing the [
Status Display
Banner
].
Scope
This is the Oscilloscope screen.
This screen can be used to graph the live
operation of the machine to help with fine
tuning the operation.
4-5
OVERVIEW
E-Drive Controller User Manual (with Pendant HMI)
© 2020 Mold-Masters (2007) Limited. All Rights Reserved.
Summary of Contents for E-Drive Series
Page 1: ...version 3 User Manual with Pendant HMI Original Instructions ...
Page 2: ......
Page 26: ......
Page 36: ......

