5.2.1 Virtual notebooks
Please remember that with the new Notes App, it is no longer possible to create a “virtual notebook”
by matching pages from different physical Smart Notebooks.
6. Our portfolio: Smart Planners
6.1 Getting started with Smart Planners
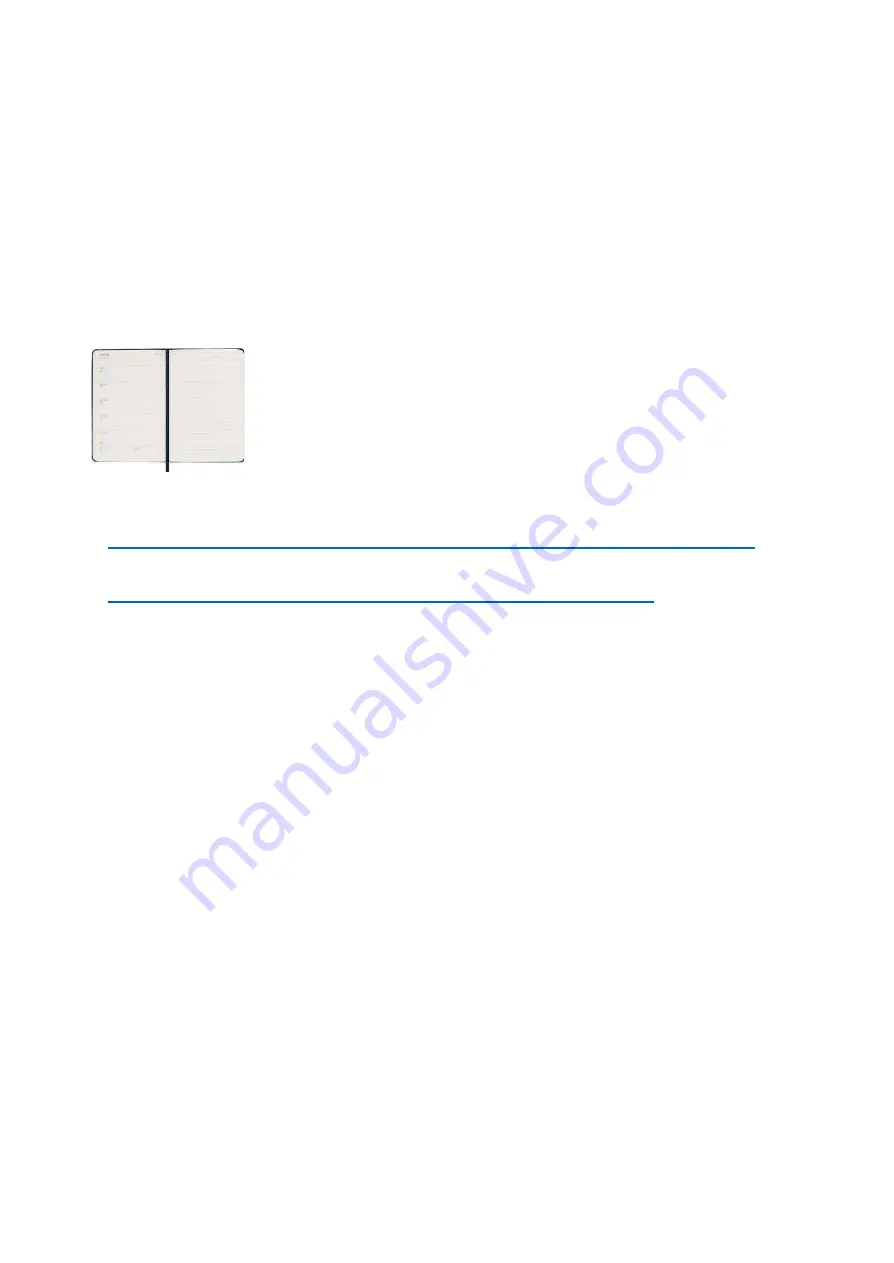
Our current Smart portfolio features the Smart Planner (hard cover, black, weekly 12-month) and the
Smart Planner Pro (hard cover, black, weekly, 12-month).
Smart Planner Pro
Discover our Smart Planners here:
https://www.moleskine.com/en-us/shop/moleskine-smart/smart-writing-system/smart-planner/
Discover the Smart Writing System here:
https://www.moleskine.com/en-us/shop/moleskine-smart/smart-writing-system/
The Smart Planner gives you a new way of planning.
The first time you write in your Smart Planner, you'll be invited to connect it to a digital calendar
on your device. Setting up this connection will allow the Notes App to create events on the device
calendar that mirror the ones you write on paper.
In order to connect your planner to your device, please follow these steps:
Connect your Smart Pen to your device (see the steps above)
Once you start writing in your Smart Planner, the Smart Pen will recognise the page and type of
notebook.
Within the Notes App you can see all your Smart Notebooks and Smart Planners on the main
page (Notebooks page) and block the ones you are not using.
The Smart Planner has different page layouts: Monthly, Weekly Vertical and Weekly Horizontal
(PRO). Depending on the page layout, some information about your events is automatically
recognized, then you can add additional information like start time and duration as specified in
this guide.
6.1.2 Migrating from a previous version of the Moleskine Notes App
In the former Notes App, digital calendars were updated via the “Authentication Center”, while in the
current Notes App they synchronize directly with the digital calendars connected to your device.


