43
English
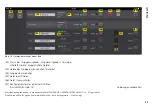
3) The button is used to create or change a group . It is possible
to add or remove members (Members: Select …) and to change
group names, group types and link characteristics . A group can
also be temporarily disabled or enabled . In addition, it is possible
to enter text to describe the group .
The line “Group: …” shows the current number of group
members (units) after the group name .
4) The button at the end of the line “Group: …” is used to call up
the configuration window of the group . When the configuration
window of the group is already open, this button can be used to
show a list of all group members and the button to hide the
list (double-click, if necessary) . While the configuration windows
of the group types “Carbon Copy” and “Advanced” are similar
to those for individual units (
☞
chapters 7 .3 .2 and 7 .3 .3), groups
of the type “Master Volume” have a specific control window
(
☞
chapter 7 .3 .4) .
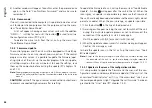
7.2.1.2 Deleting a group
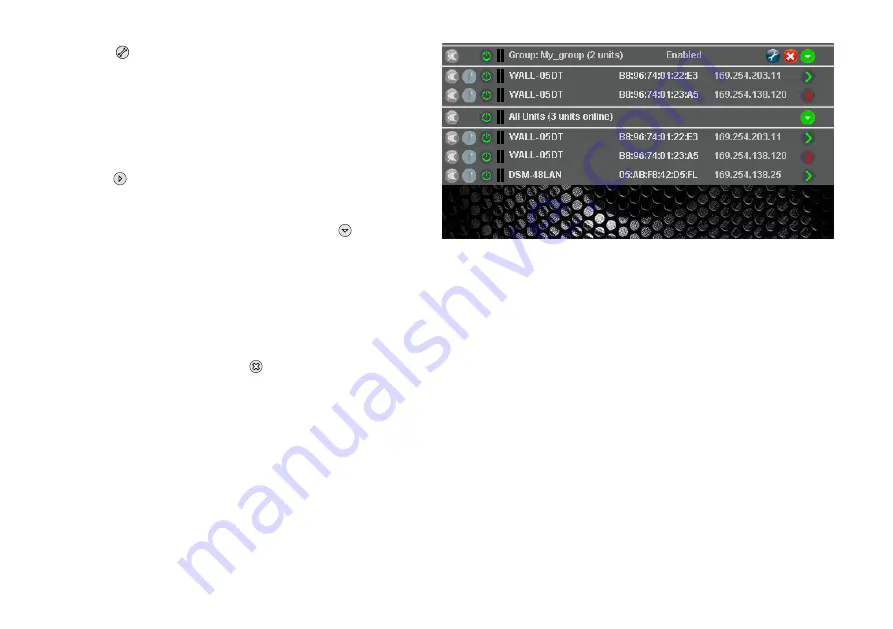
To delete a group, click the button in the corresponding line
(
☞
fig . 11) . A confirmation box will appear, asking you to confirm
the deletion process . If there are units assigned to this group at this
moment, another confirmation box will appear .
Fig. 11 Overview window with groups
7.2.2 Creating a new program password
To create a password protection for starting the program:
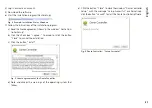
1) Call up the menu item “Tools
Set Software Password” .
2) Enter the desired password in the field “Enter New Password:” of
the window displayed .
3) Another window will appear: To confirm, enter the password once
again in the field “Confirm New Password:” and make sure to
remember it!
7.2.3 Changing the program password
To change the password for starting the program:
1) Call up the menu item “Tools
Change Software Password” .
2) Enter the current password in the field “Enter Old Password:” of
the window displayed .
3) Another window will appear: Enter the new password in the field
“Enter New Password:” .
Summary of Contents for WALL-05DT
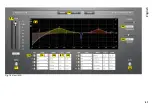
Page 21: ...21 Deutsch Abb 13 Konfigurationsfenster in der Ansicht MAIN 1 2 6 7 8 13 9 11 3 4 5 12 10...
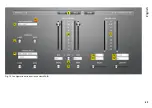
Page 23: ...23 Deutsch Abb 14 Ansicht IN A 14 15 16 18 19 20 21 22 17 23 24 25...
Page 49: ...49 English Fig 13 Configuration window in the view MAIN 1 2 6 7 8 13 9 11 3 4 5 12 10...
Page 51: ...51 English Fig 14 View IN A 14 15 16 18 19 20 21 22 17 23 24 25...
Page 79: ...79 Fran ais Sch ma 14 Visualisation IN A 14 15 16 18 19 20 21 22 17 23 24 25...
Page 105: ...105 Italiano Fig 13 Finestra di configurazione nella vista MAIN 1 2 6 7 8 13 9 11 3 4 5 12 10...
Page 107: ...107 Italiano Fig 14 Vista IN A 14 15 16 18 19 20 21 22 17 23 24 25...


