4
MONARK MEDICAL TREADMILL
MONARK MEDICAL TREADMILL
5
FACTS
Monark Medical Treadmill is a Medical device according to
Medical Device Directive, MDD 93/42/EEC class IIa.
MONARK MEDICAL TREADMILL
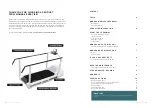
The Monark Exercise Medical Treadmill is an exercise device for walking
or running and is primarily developed to be used in a medical environment.
The possibility to change and control the speed and inclination of the moving
belt which allows the device to be used for training, diagnostics and therapy
applications. As the moving belt can be controlled at very low speeds, the
Monark Exercise Medical Treadmill is extra suitable for patients who undergo
different rehabilitation programs where low speeds are important.
The physical condition of patients can be analysed by through different
treadmill stress test protocols, also in combination with a metabolic cart. The
Monark Exercise Medical Treadmill is designed for both manual operation
and to be controlled via external devices and can then be used as a loading
device for ergospirometry, ECG measurements and different stress tests for
cardiovascular diseases.
The Monark Exercise Medical Treadmill should be operated by well-trained
specialist staff only. The correct loading for a patient on the treadmill must be
prescribed and monitored by a medical doctor and/or well-trained medical
specialists.
PULSE REGISTRATION
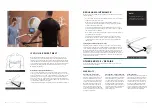
The treadmill has a module that registers the heart rate data from chest belts,
or similar, with ANT+ or Bluetooth SMART profile.
We recommend to use a Bluetooth SMART device, e.g. Polar H7, as this
allows the treadmill to pair with the heart rate sensor, which ensures a more
stable connection.
THE DISPLAY SHOWS
• Current speed in km/h
• Treadmill incline in degrees
• Distance in km
• Time in minutes and seconds
• Pulse (if chest belt is used)
NOTE!
Use of the product may involve
considerable physical stress. It
is therefore recommended that
people who are not accusto-
med to cardiovascular exercise
or who do not feel completely
healthy, should consult a physi-
cian for advice
DIMENTIONS
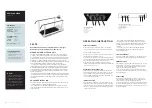
Total length:
250 cm styre
Total width
: 84.5 cm
Weight:
230 kg
Total height:
136 cm
at Display Unit
RUNNING SURFACE
Height to
:
17 cm
Length:
158 cm
Width
:
52 cm
Max user weight:
250 kg
SERIELNUMBER
xxx xxx xxx
OPERATING INSTRUCTION
START THE TREADMILL
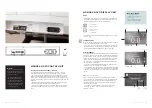
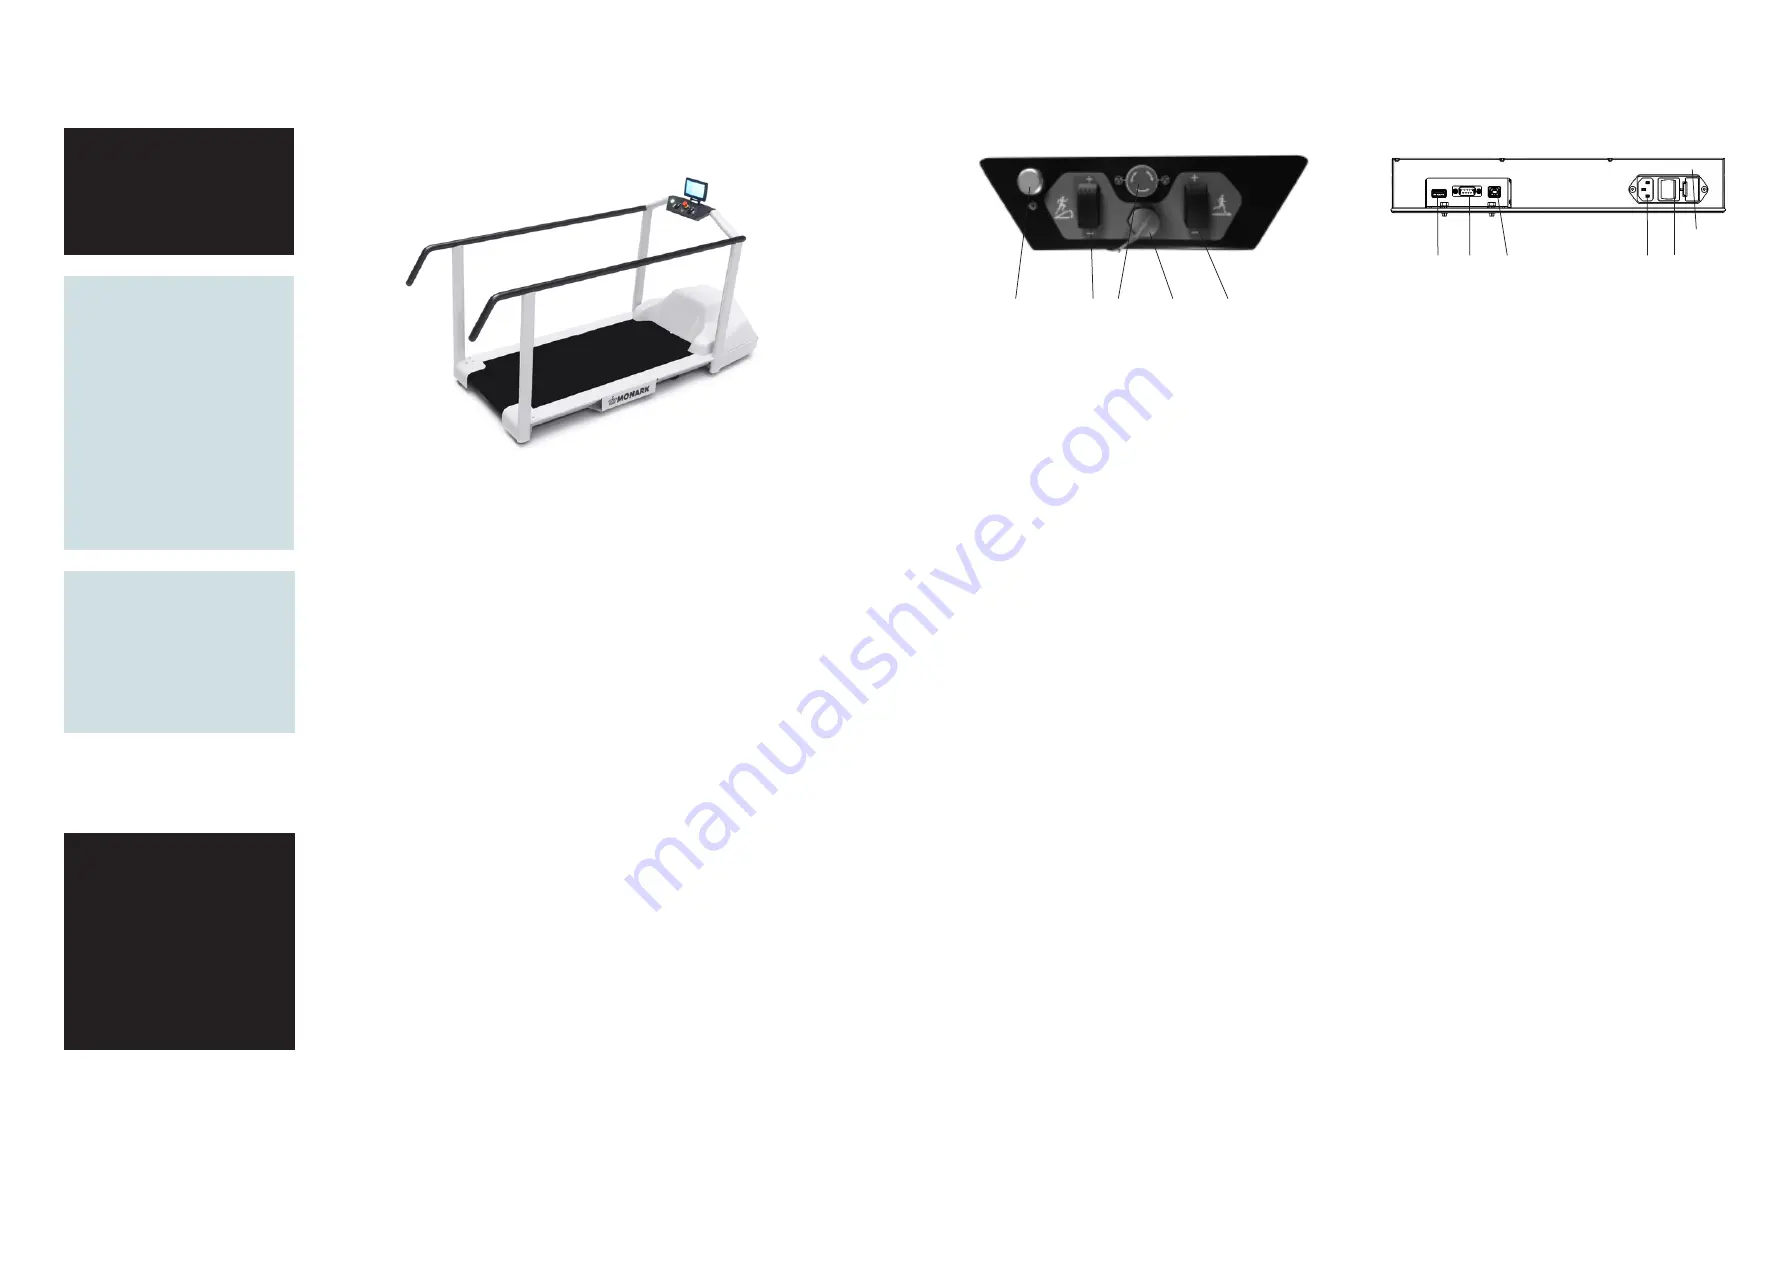
Connect the power cable and press the on / off button (5)
next to the power connector (4), see fig: Front connections.
Now the treadmill is ready for use.
Press the green on / off button (7) on the control panel and
the band starts at a speed of 0.1 km / h.
To increase the speed, press up on speed button (11) (towards
+). For each pressing, the speed increases at 0.1 km/h. Holding
down the button will increase the speed by 1.0 km / h.
To decrease the speed, press down on speed button (11)
(towards -) instead and then the speed decreases with the same
values, 0.1 resp. 1.0 km / h).
RESETTING DISTANCE AND TIME
The displayed values for distance and time will not be reset
when starting the belt after it has been stopped. To reset the
distance and time values, hold down the on/off button (7)
for three seconds. The distance and time will start from zero
when starting the belt next time.
INCLINE FUNCTION
If you want more resistance, you can raise the front of the
treadmill. To do this, press the incline button (8) up (towards
+) on the control panel. For each push the inclination is incre-
ased by 0.5˚. If you want to decrease the incline, press down
(towards -) on the button.
If the treadmill is inclined when switched off (button 7)
or unplugged, it needs to manually be lowered to its lowest
position, in order reset the inclination value. The incline value
on the display will show 0, until this procedure has been
performed.
For everyday use, we recommend leaving the treadmill
switched on during the day and manually lowering it to 0˚
before switching it off.
STOP THE TREADMILL
To stop the treadmill, press the green on / off button (7). The
belt will brake smoothly before coming to a complete stop.
EMERGENCY STOP
The treadmill is equipped with an emergency stop (9), see Fig:
Control panel, to use in case of injury or accident, or if you,
for any reason, must stop the band quickly. If you press the
emergency stop, the band stops abruptly.
If you used the emergency stop, turn the button to the right,
according to the arrows, and press the on / off button (7) once
to reset the function.
SAFETY CORD
We recommend using the safety cord (10), see
fig: Control
panel
. Should you stumble and fall, it works in the same way
as the emergency stop, the treadmill stops abruptly.
After using the safety cord, you must put the magnet (10) back
in its place and then press the on / off button (7) once to reset
the emergency stop. Press the on / off button (7) once more to
restart the treadmill.
1
6
5
4
3
2
7
11
10
9
8
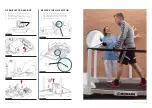
FIG: FRONT CONNECTIONS
1) Connection USB type A (only charging of e.g. smartphone, etc.)
2) Connection RS232
3) Connection USB type B
4) Power connection
5) On / off button
6) Fuse
FIG: CONTROL PANEL
7) On / off button
8) I/-
9) Emergency stop
10) Safety cord
11) Speed +/-


