8
MONARK MEDICAL TREADMILL
MONARK MEDICAL TREADMILL
9
IF YOU USE CHEST BELT
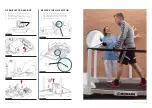
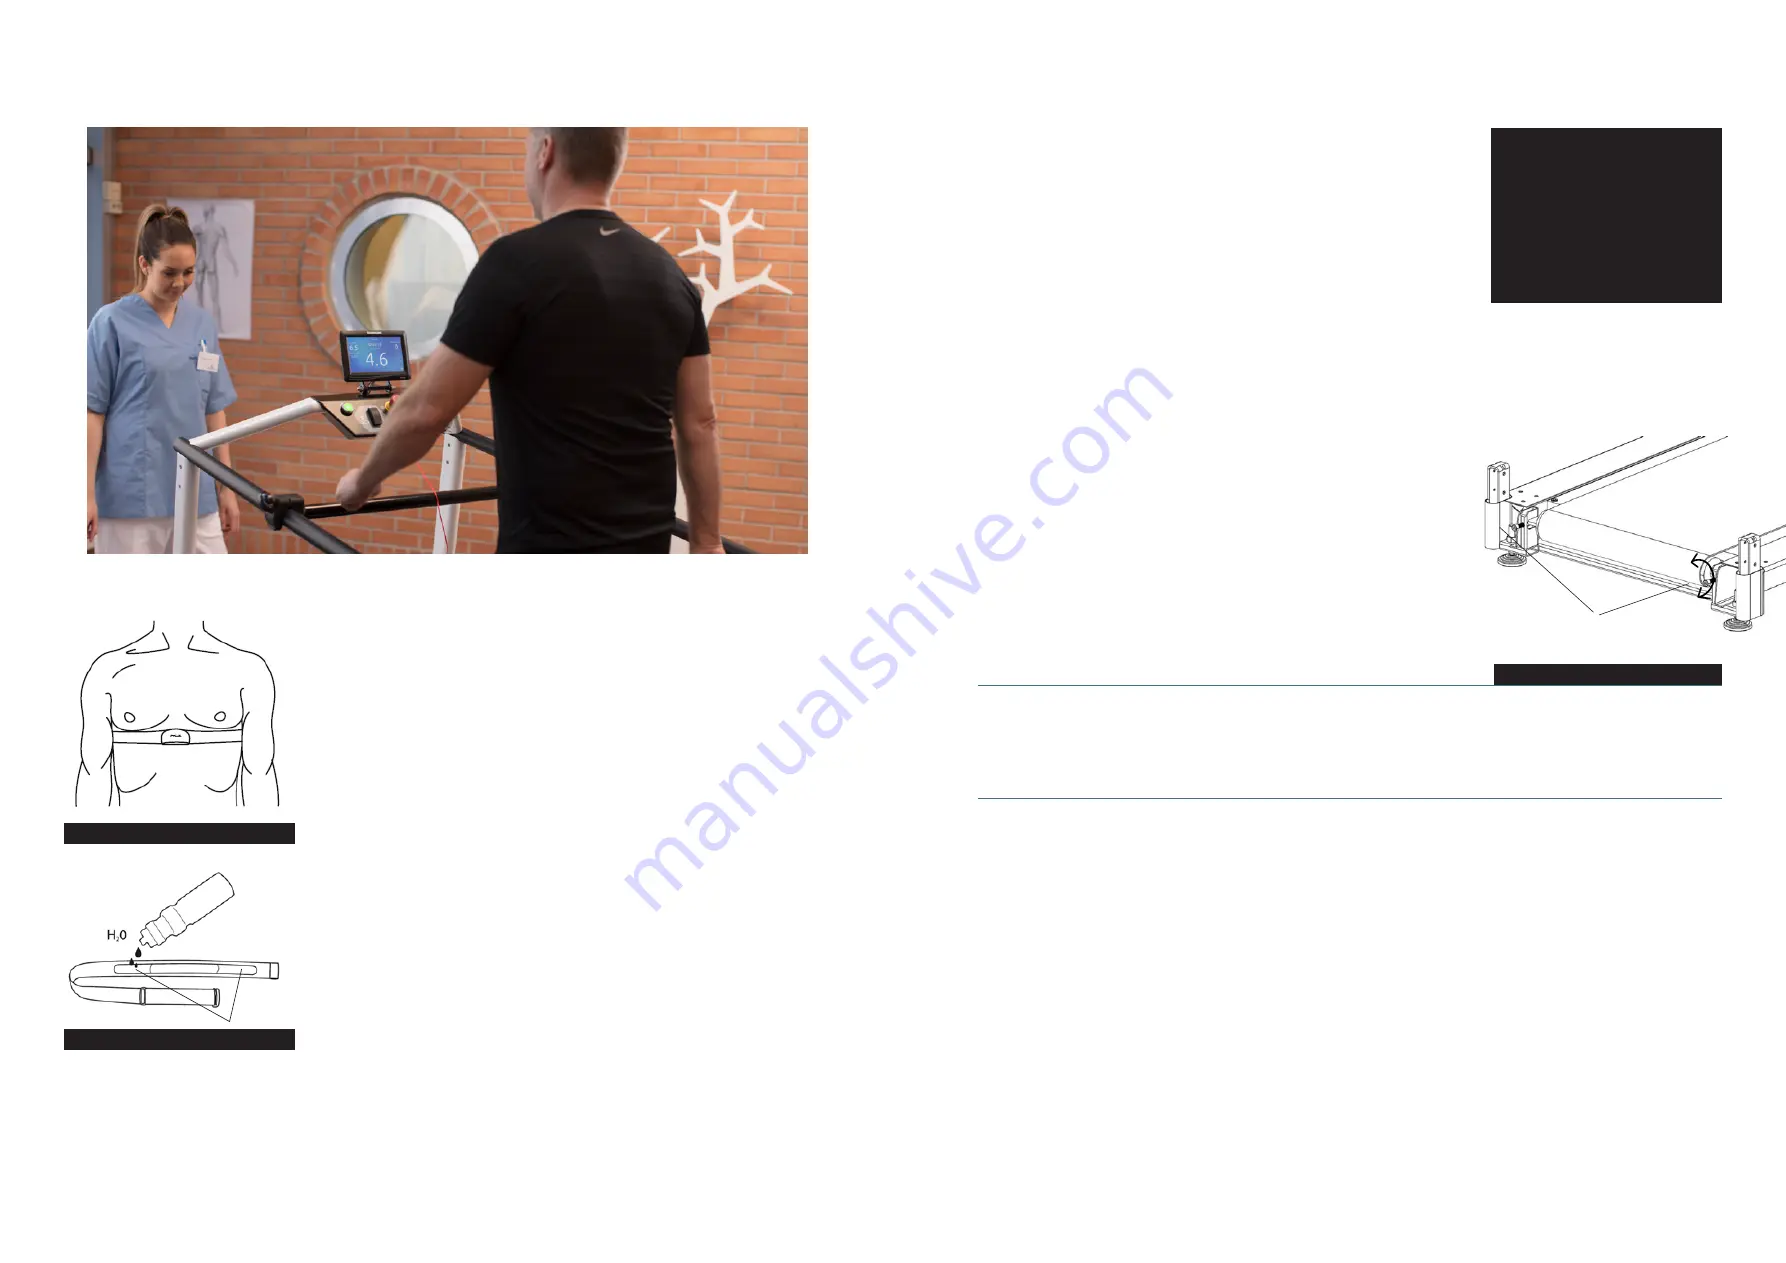
Heart rate registration requires that the heart rate monitor is positioned
correctly. When it is correctly fitted the logo on the belt will be central and
readable, outward and upright, by another person. Before putting on the belt,
clean the skin where the belt is to be placed. The chest belt should be secured
at a comfortable tension around the mid section, just below the breast muscle,
see Fig: Placement chest belt. Moisten the electrodes before use, see Fig:
Moistening the electrodes.
Disturbances of pulse measurement
If you experience disturbances in heart rate measurement use an external
device (e.g. pulse clock) to check if it also shows irregular pulse. If so, it may
be due to interference in the room. The disturbance may come from electric
fields from power cords, elevators, lamps, etc. or other electronic devices
which are too close (e.g. mobile phones). If possible, move the treadmill to
another room or change room. Even synthetic fabrics can create static electri-
city that interferes with heart rate signal.
If the pulse remains irregular at work the person’s health should be examined.
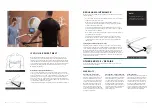
FIG: PLACEMENT CHEST BELT
FIG: MOISTENING THE ELECTRODES
The images above are used with permission of Polar Sweden
REGULAR MAINTENANCE
In order to keep your treadmill in good condition, it should be maintained and
serviced regularly.
•
Use the vacuum cleaner under the treadmill at least once a week, and in the
engine compartment once a month.
•
Wipe off sweat with mild soap solution and soft damp cloth. Do not
spray detergents directly on the display or console as too much liquid may
penetrate and destroy the function.
•
If necessary, the treadmill can be surface disinfected. Then use an isopro-
panol-based preparation. Use a damp, not wet, cloth or sponge to wipe off
the surfaces you want to disinfect.
•
Metal surfaces can be surface-treated with a rust-proof, especially after they
are cleaned and the surfaces dry.
•
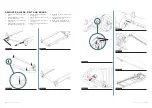
Check that the running belt is centered and does not slip on the rollers.
If the belt slips or moves to one side, it needs to be adjusted. This is done
by adjusting the two M10 screws at the rear roller, see fig: Adjusting the
running belt.
Checking the tension of the motor belt
Check the tension of the motor belt twice a year and/or if the motor belt slip
or sounds unusual. Switch off the treadmill with the on/off button at the front
of the treadmill and unplug the power cable from the socket. Remove the cover.
Inspect the motor belt visually for abrasion and correct fitting. Try to rotate the
motor belt 90˚ sideways, only by using your thumb and forefinger and with mo
-
derate force. If you can rotate the motor belt more or less than 90˚, the tension is
too low or too high and needs to be adjusted. Use the screws for the motor belt
tensioner to adjust the tension.
OTHER SERVICE / REPAIRS
If you require service or major repairs, we recommend that you contact your
dealer or our service department.
WARRENTY
NOTE!
Always disconnect power by
disconnecting power cord befo-
re performing any service point!
FIG: ADJUSTING THE RUNNING BELT
2xM10
EU countries - Private use
If you are a consumer living in the
EU you will have a minimum level of
protection against defects in accord-
ance with EC Directive 1999/44/EC.
In short, the directive states that your
Monark dealer will be liable for any
defects, which existed at the time of
delivery. In case of defects, you will
be entitled to have the defect remedied
within a reasonable time, free of charge,
by repair or replacement.
EU countries - Professional use
Monark Exercise products and parts are
guaranteed against defects in materials
and workmanship for a period of one
year from the initial date of purchase
of the unit. In the event of a defect in
material or workmanship during that
period, Monark Exercise will repair or
replace the product. Monark Exercise
will not, however, refund costs for
labour or shipping.
Other countries
Monark Exercise products and parts are
guaranteed against defects in materials
and workmanship for a period of one
year from the initial date of purchase
of the unit. In the event of a defect in
material or workmanship during that
period above, Monark Exercise will
repair or replace (at its option) the prod-
uct. Monark Exercise will not, however,
refund costs for labour or shipping.

