10
SPRINT TEST COMPUTER
This feature makes it very easy to accomplish repeated sprint tests.
The result of the test can instantly be read on the built in computer display.
TEST PROCEEDINGS
Connect the 9 volt power cable from the AC/DC adapter to the computer socket under the cover on the right side
of the bike. See fig. 11 page 11. Connect the adapter to a suitable mains supply outlet.
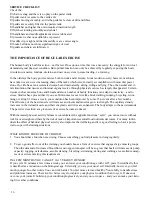
The computer is now setting up and prepares to make a test7measuring. After abot 5 seconds the display shows
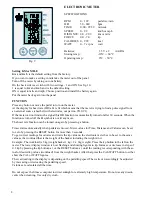
”TEST 7 s. Ready” according to fig A.
NOTE!
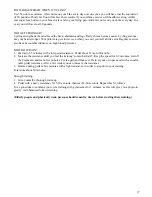
If the display after start up shows ”TEST 7s, Weight up! - according to fig. B - this means that the weight basket
has not been set in its upper locked start position.
Action:
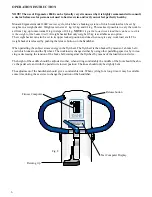
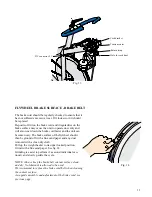
Pull the return grip, see fig. 8 page 6, or the return strap on the front of the bike, see fig. 13 page 13, until the
locking lever locks and the weight basket stops in its upper start position. The brake cord is now not tightened
around the flywheel any more and does not give brake resistance.
After a few seconds the display is now shoeing ”TEST 7s Ready” - according to fig. A.
The computer is now ready for starting a test.
Put on the number of weights in the weight basket to give the desired workload during
the test/training.
Speed up the the pedalling on the bike. Press release button on the handlebar, see fig. 8 page 6.
The weight basket is now released and the workload takes effekt.
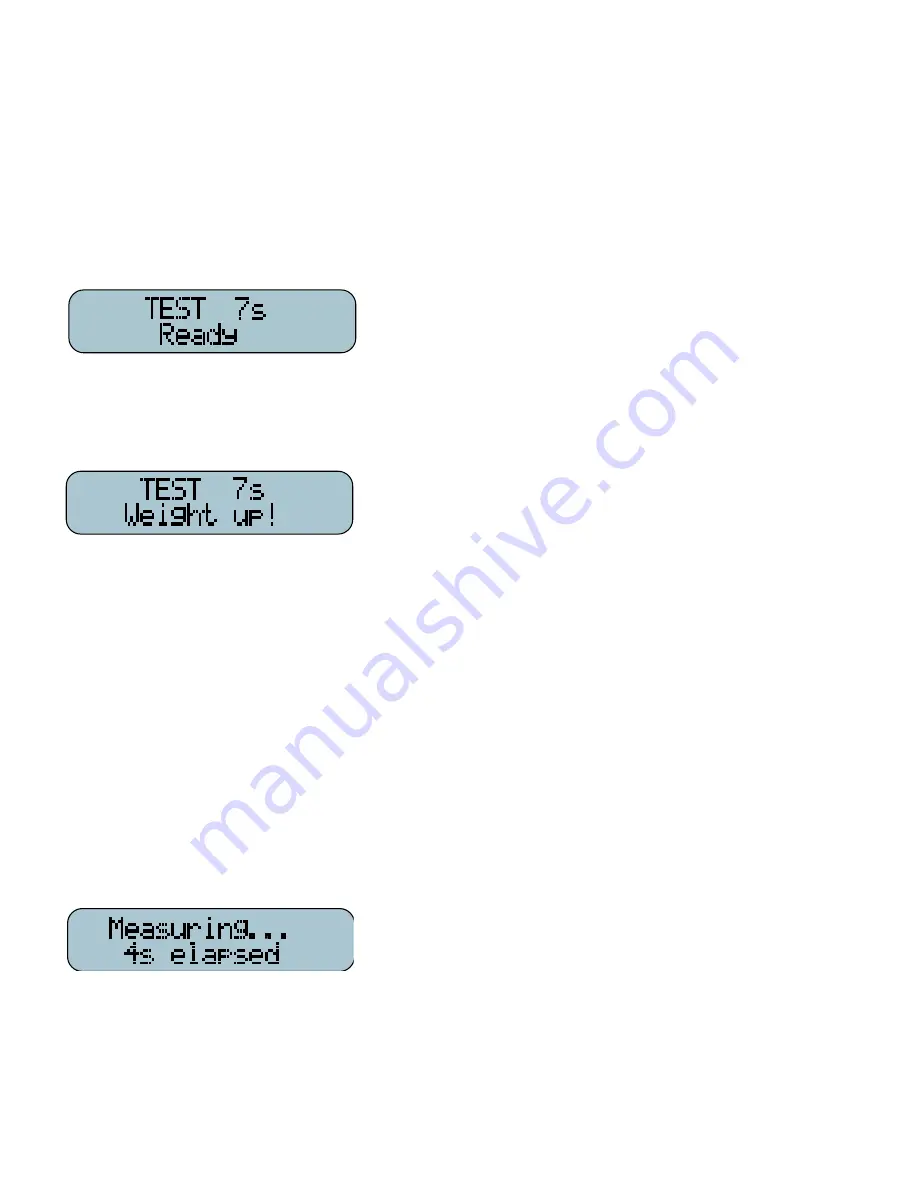
The display is now showing that the measuring has begun.
See fig. C.
After 7 seconds the display reads ”TEST VALUE” and a numeral value is presented.
See fig D.
fig. A
fig. B
fig. C


