22
49-80329 Rev. 5
11
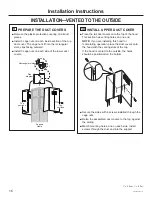
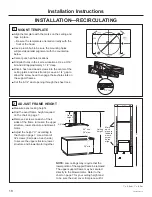
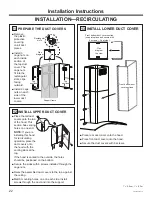
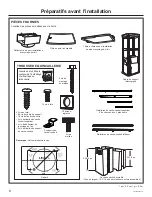
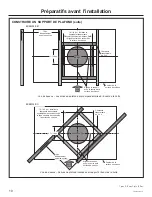
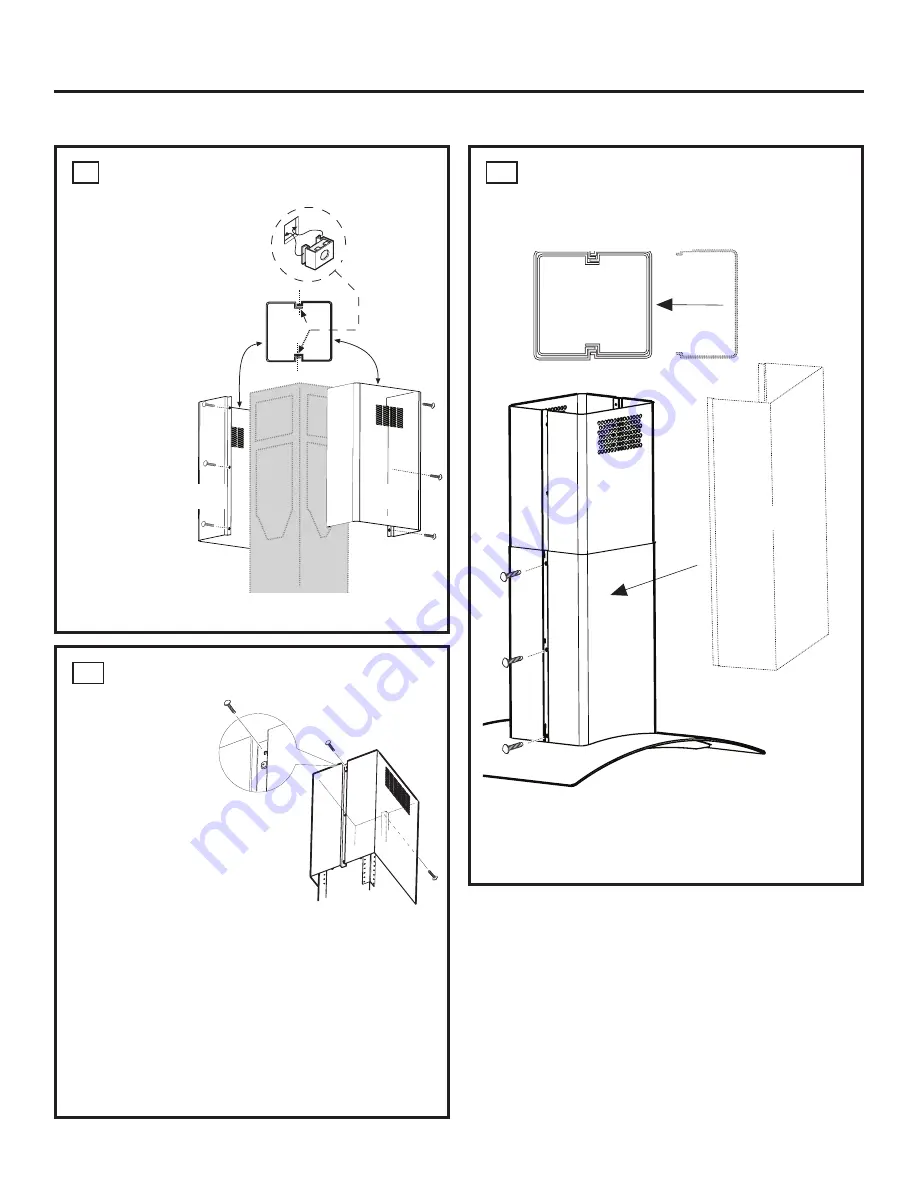
PREPARE THE DUCT COVERS
■ Remove
the plastic
protective
covering
on all duct
pieces.
■ Install 3
cage nuts on
each inside
section of
the top duct
cover. The
cage nuts
fit into the
rectangular
slots, clips
facing
outward.
■ Install 3 cage
nuts on each
side of the
lower duct
covers.
12
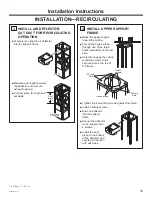
INSTALL UPPER DUCT COVER
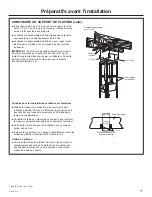
■ Place the tall duct
covers onto the top
of the hood. This
section has venting
holes on one end.
NOTE:
If you are
installing this hood
for recirculating
operation, place the
duct covers onto
the hood with the
venting slots at the
top.
If the hood is vented to the outside, the holes
should be positioned on the bottom.
■ Secure the sides with 6 screws installed through the
cage nuts.
■ Raise the assembled duct covers to the top, against
the ceiling.
■ Match mounting holes, one on each side. Install
screws through the duct and into the support.
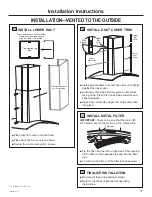
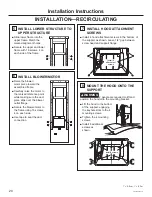
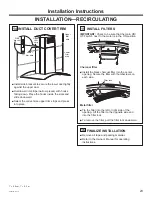
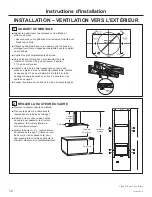
13 INSTALL LOWER DUCT COVER
■ Place rear duct cover onto the hood.
■ Place front duct cover onto the hood.
■ Secure the duct covers with 6 screws.
Installation Instructions
INSTALLATION—RECIRCULATING
Support frame
Plan
diagram
Rectangular
slots
Nut
Top
sections
Top
sections
Front bottom duct cover section
(snap into place and secure with
6 screws – 3 per side)
Plan
diagram
top view
Front bottom duct
cover sections
1” = 2.5 cm; 1’ = 0.3 m

