31-2000730 Rev. 0
7
Installation Instructions
STEP 3
INSTALL HOOD INSERT INTO HOOD
Refer now to the installation instructions for the Custom Hood Insert (ZVC48) with the following exceptions:
■ Disregard any reference to building a custom wood
canopy.
■ Disregard any reference to the Hood Liner. It is not
required when using this hood.
■ For duct planning you will need to refer to these
instructions as some of the dimensions are different.
■ You may remote mount the control for the Hood Insert
if desired.
■ Skip Step 1 (Insert Hood Liner). You may discard the
Liner, it is not required.
■ Start at Step 2, Connect Electrical.
■ Be sure to follow the remainder of the Custom Hood
Insert installation instructions to properly fasten the
Insert to the Hood.
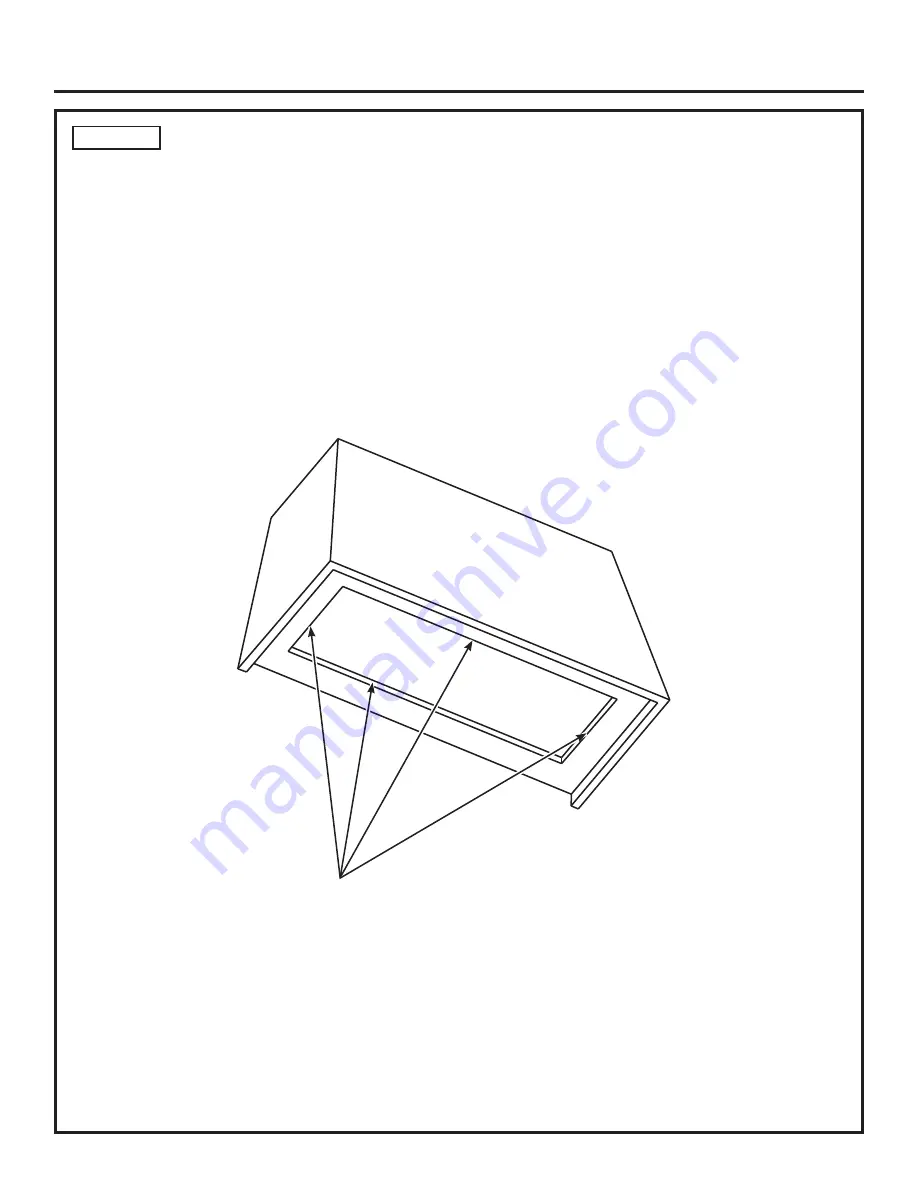
■ Pay special attention to the step that says to push
the Insert firmly up prior to driving screws. This will
prevent any visible gaps between the Insert and the
Hood.
Use provided screws to attach the Insert to the Hood as directed
in the Insert Installation Instructions.
1” = 2.5 cm; 1’ = 0.3 m


