


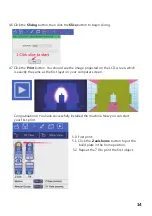


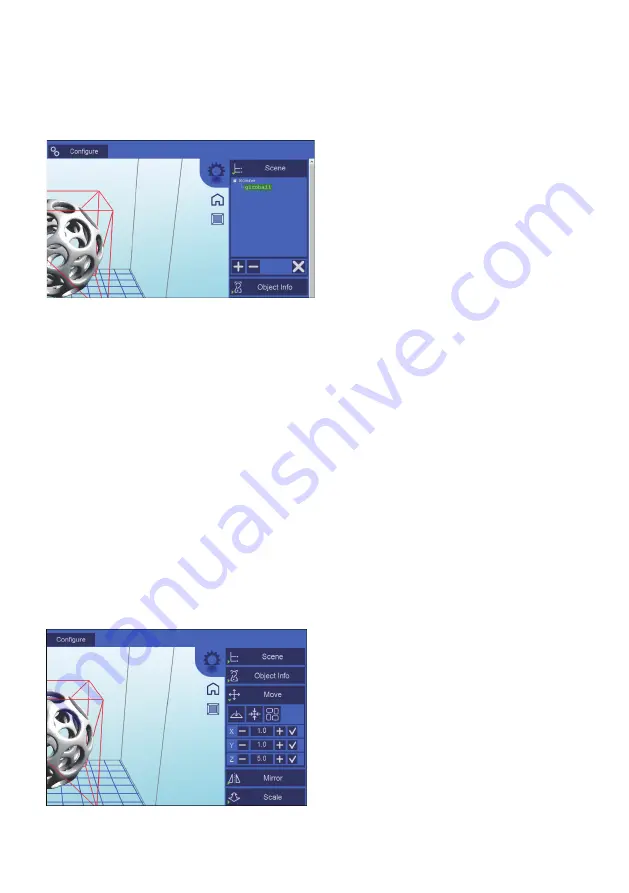
2.
Scene View
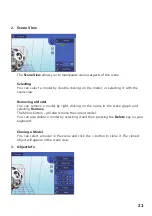
The
Scene View
allows you to manipulate various aspects of the scene.
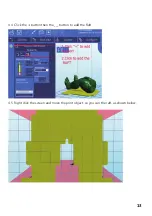
Selecting
You can select a model by double clicking on the model, or selecting it with the
scene view
.
Removing a Model
You can remove a model by right-clicking on the name in the scene graph and
selecting
Remove
.
The Minus
button
-
will also remove the current model.
You can also delete a model by selecting it and then pressing the
Delete
key on
your
keyboard.
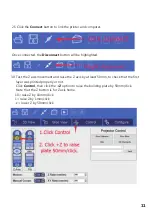
Cloning a
M
odel
You can select a model in the scene and click the +
button
to clone it. The cloned
object will appear in the scene view.
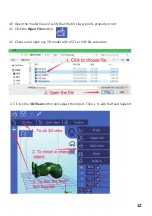
3. Object Info
21
Summary of Contents for 21824
Page 1: ...MONOPRICE MP Cadet LCD Resin Printer P N 21824 User s Manual ...
Page 32: ......
Page 34: ......


