


26
the Knob to begin updating the MP Cadet firmware. If no new firmware is available,
press the Knob to return to the Wi-Fi Network Menu.
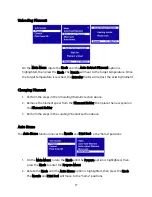
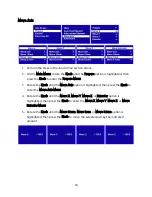
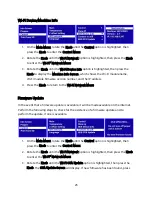
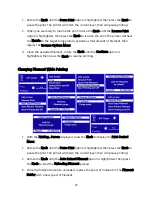
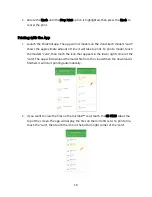
Changing Parameters While Printing
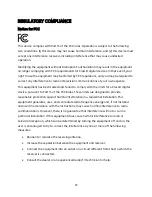
1.
With the Printing... Screen displayed, press the Knob to display the Print Control
Menu.
2.
Rotate the Knob until the Tune option is highlighted, then press the Knob to display
the Tune Menu.
3.
Rotate the Knob until the parameter you want to adjust is highlighted, then press
the Knob to displays that Adjust Screen for the selected parameter.
4.
Change the value as desired, then select the Tune option to return to the Tune
Menu.
5.
Repeat for other parameters, as desired.
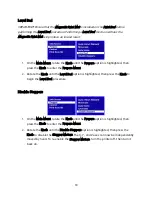
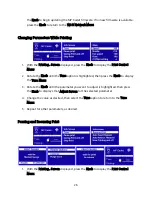
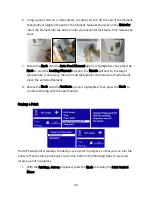
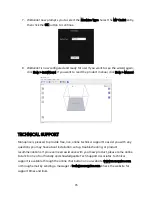
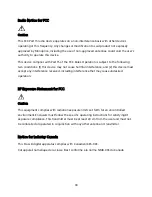
Pausing and Resuming Print
1.
With the Printing... Screen displayed, press the Knob to display the Print Control
Menu.


