


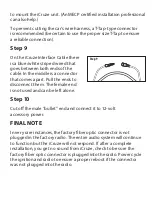


Step 7
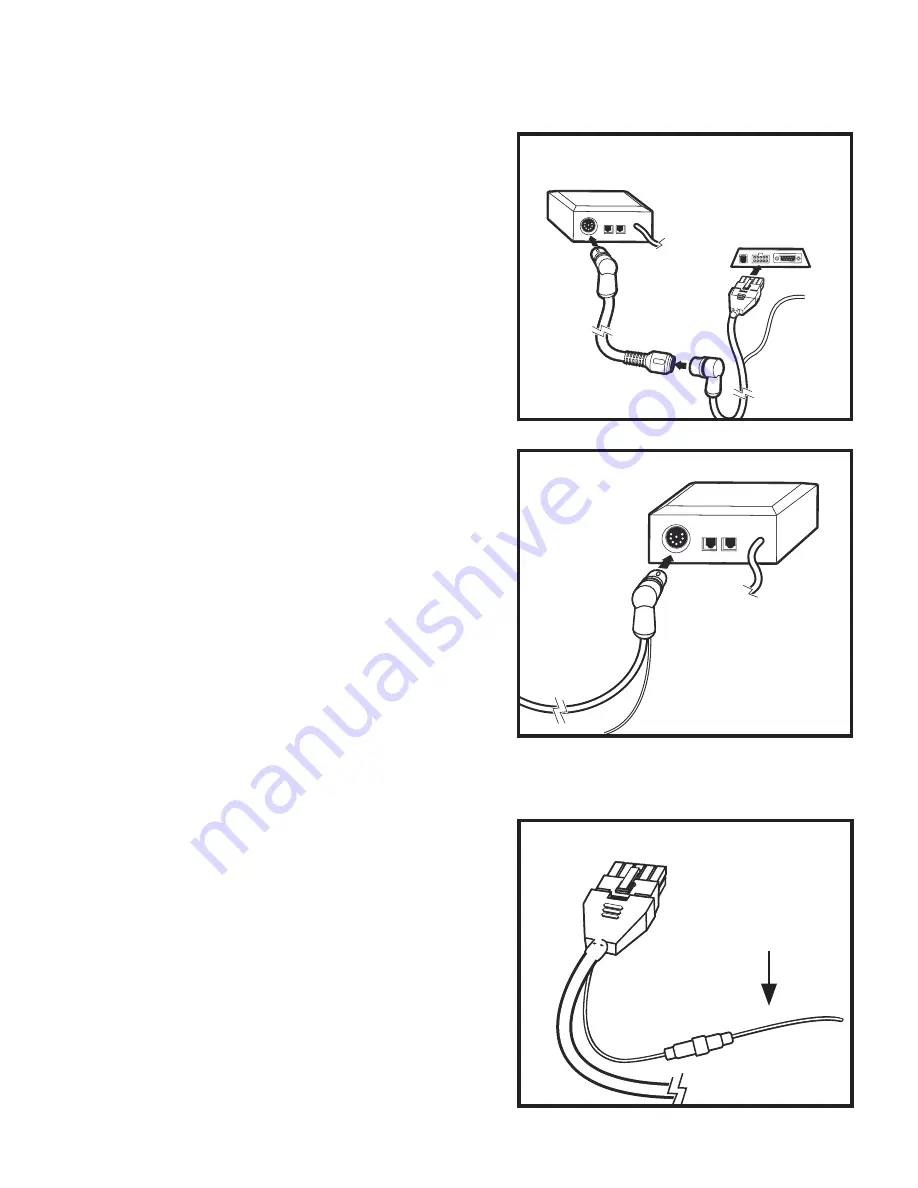
If your CD changer location is the trunk,
you will now connect the proper end
of your iCruze
®
M-Bus extension cable
to the iCruze MB1 Interface Module
and route the remaining end to the
dash. The best place to mount the
iCruze unit is a convenient, out-of-
the-way place under the dash, route
the cable to there. Connect the iCruze
M-Bus extension cable to the iCruze
Interface Cable. Connect the other end
of the iCruze Interface Cable to the
rectangular port on the iCruze.
If your changer location is the
glovebox, connect the iCruze Interface
Cable to the round port on the
iCruze MB1 Interface Module and the
rectangular plug to the iCruze.
Step 8
The iCruze Interface Cable used in
Step 7 has a loose yellow wire.
Connect the yellow wire to constant,
unswitched power. This should be
available from the car stereo wire
harness, the fusebox and sometimes
the cigarette lighter. Consult your car’s
factory service manual for the location
of a wire near where you have chosen
Step 7b
Step 7a
For installations
with trunk mounted
CD changer
For installations
with glove box
mounted CD changer
Step 8
Connect Yellow
wire to constant
battery power
Summary of Contents for ICRUZE INTERFACE CABLE MPC FX IM-MB1
Page 1: ...ICRUZE INTERFACE CABLE MPC FX IM MB1 I N S TA L L AT I O N U S E R G U I D E ...
Page 10: ...Installation Diagram Location Overview ...
Page 11: ...Alternate Configuration ...
Page 22: ...NOTES ...
Page 23: ...NOTES ...


