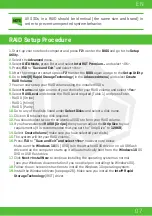
05
EN
1.
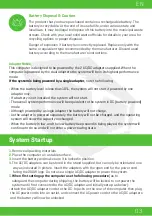
Start-up your notebook computer and press
F2
to enter the
BIOS
and go to the
Setup Utility.
2.
Select the
Advanced
menu.
3.
Select
SATA Mode,
press Enter and select Intel
RST Premium...
and select <OK>.
4.
Press F10 to “Save and Exit” and select <Yes>, however note below.
•
Make sure the
Windows 10
OS (DVD) is in the attached DVD drive or on a USB flash drive
and as the computer starts up it will automatically boot from the
Windows 10
OS DVD or
USB flash drive.
5.
Click
Next > Install Now
to continue installing the operating system as normal (see your
Windows
documentation if you need help on installing the
Windows
OS).
6.
Select
Custom: Install Windows only (advanced).
7.
It is recommended that you select and then delete existing partitions.
8.
Click
New
to create a partition for Windows.
9.
It is very important to make sure that when you create the partition, leave at least a
minimum of unallocated space of
5MB.
10.
Follow the on-screen instructions to install the
Windows 10
operating system.
11.
Install the Windows drivers. Make sure you install the
Intel® Rapid Storage Technology
(IRST)
driver.
12.
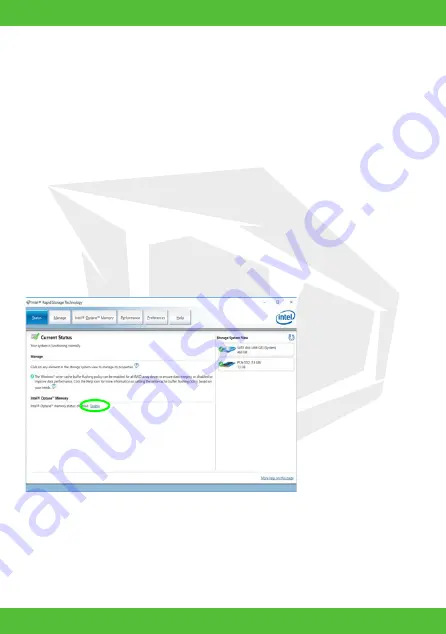
Run the
Intel® Rapid Storage Technology
application.
13.
Click
Enable.
14.
The system will pop-up a message and ask you to select a compatible fast drive (in this
case there should only be one option).
15.
You will need to restart the computer after enabling
Optane,
and make sure the system
is powered by the powered AC/DC adapter, and not by battery only.
16.
Click
Yes
to begin the process (this may take some time).
17.
After the process has been completed restart the computer.
Figure 2 -
Intel® Rapid Storage Technology - Status
Summary of Contents for SEMRUK S7 V7.1
Page 90: ...TURKEY UAE CYPRUS GERMANY...


