


8
© 2022 Monte Carlo Fan Collections
5/2022
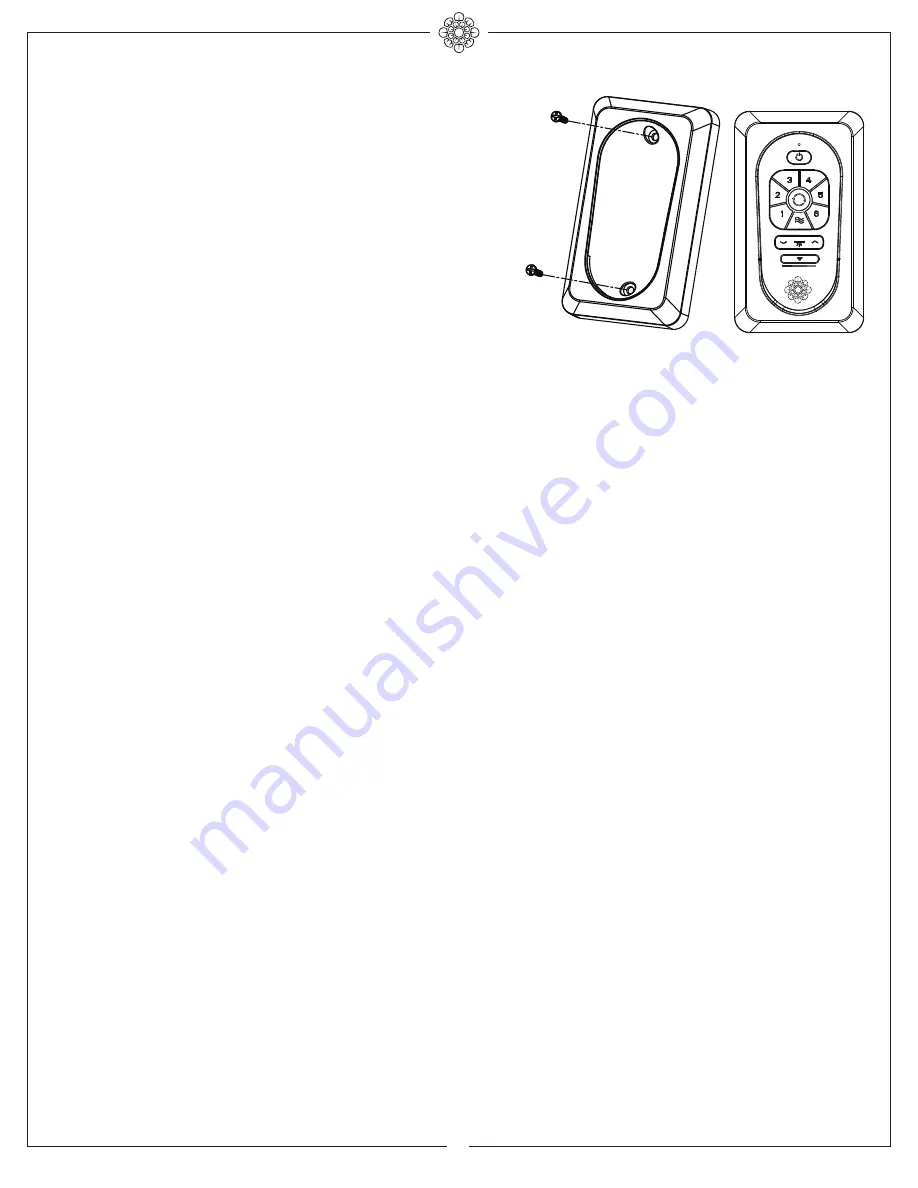
Wall mount cradle
THIS DEVICE COMPLIES WITH PART 15 OF THE FCC RULES OPERATION IS SUBJECT TO THE FOLLOWING TWO
CONDITIONS. (1)THIS DEVICE MAY NOT CAUSE HARMFUL INTERFERENCE AND (2) THIS DEVICE MUST ACCEPT
ANY INTERFERENCE RECEIVED, INCLUDING INTERFERENCE THAT MAY CAUSE UNDESIRED OPERATION.
The receiver provides the following protective functions:
Lock protection: The DC motor has a build-in safety feature
against blade obstruction during operation. If something
obstructs the fan blades, the motor will stop operation after
about 20 seconds of interruption. Please remove obstacles
and reset it by turning the power off, and then turn power
back on.
Over 40W protection: When the receiver detects motor
power consumption which is greater than 40W, the fan RPM
will automatically lower to prevent it from overloading.
User Tips
1. If your fan is operating automatically after installation, it is still using the factory setting. Follow the settings for Learn Mode
above to reset.
2.
If the fan or light isn’t working, reset power (turn the power off then turn the power back on) and follow the Universal Mode or
Learn Mode remote control settings.
3. If two or more fans in the same remote signal range are on the same power supply, they cannot be operated separately by
remote control. Use a separate power supply for each fan, such as an individual wall switch, and restrict the power supply to
only the fan which you are pairing with its transmitter in order to use the remote controller.
4. When the fan is turned on to oscillate in either forward or reverse direction, it may shudder briefly until fully engaged. This is a
normal operation for this fan; the shuddering will quickly cease as movement is engaged.
Install Transmitter wall mount cradle with 2 screws provided.
Useful tips:
The remote transmitter can be removed by pressing it
upward from the lower half.
The remote transmitter can be held on magnetic metal
materials by a magnet built in the transmitter.
Summary of Contents for 3JVR58 D Series
Page 10: ...Jun 2022 ...


