1
•
888
•
557
•
3848
Wards.com
7
6
How to Use
How to Use (cont.)
WARNINGS:
• Use only outdoors or in a well-ventilated area.
• Provide exhaust and fresh air introduction to avoid accumulation of flammable
vapors.
• Avoid all ignition sources such as static electric sparks, open flames, pilot
lights, electrical appliances and hot objects. Connecting or disconnecting
power cords or working light switches can make sparks. The sprayer
contains arcing parts that emit sparks and can ignite vapors.
• Plastic can cause static sparks. Never hang plastic to enclose the spray area.
DO NOT use plastic drop cloths when spraying flammable materials.
• Avoid physical contact with grounded surfaces like pipes, heating elements,
stoves and refrigerators.
• DO NOT smoke in spray area.
• A working fire extinguisher must be kept near the spray area.
• Follow the material and solution manufacturer warnings and instructions.
• DO NOT use materials or solutions with a flashpoint below 70°F (21°C).
• DO NOT use materials or solutions containing bleach or chlorine.
• Contact your material or solution supplier about compatibility with aluminum.
• DO NOT use halogenated hydrocarbon solvents such as bleach, mildewcide,
methylene chloride and 1,1,1--trichloroethane. (They are not compatible with
aluminum.)
• Paints, solvents, insecticides and other materials can be harmful if inhaled or
if they come in contact with the body. Vapors can cause severe nausea,
fainting or poisoning:
a. Use a respirator or mask if vapors can be inhaled. Read all
instructions supplied with the mask to be sure it will provide the
necessary protection.
b. Wear protective eyewear.
c. Wear protective clothing as required by material or solution
manufacturer.
• Keep the sprayer away from rain and moisture.
• DO NOT carry the tool by the cord or plug.
• Keep the cord away from heat, oil, sharp edges or moving tool parts.
ASSEMBLY
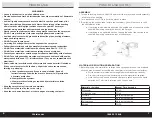
1. Turn both locking knobs to UNLOCK and insert the sprayer and nozzle assembly
into place in the housing.
2. Turn both knobs to LOCK to hold the pieces in place.
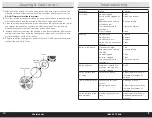
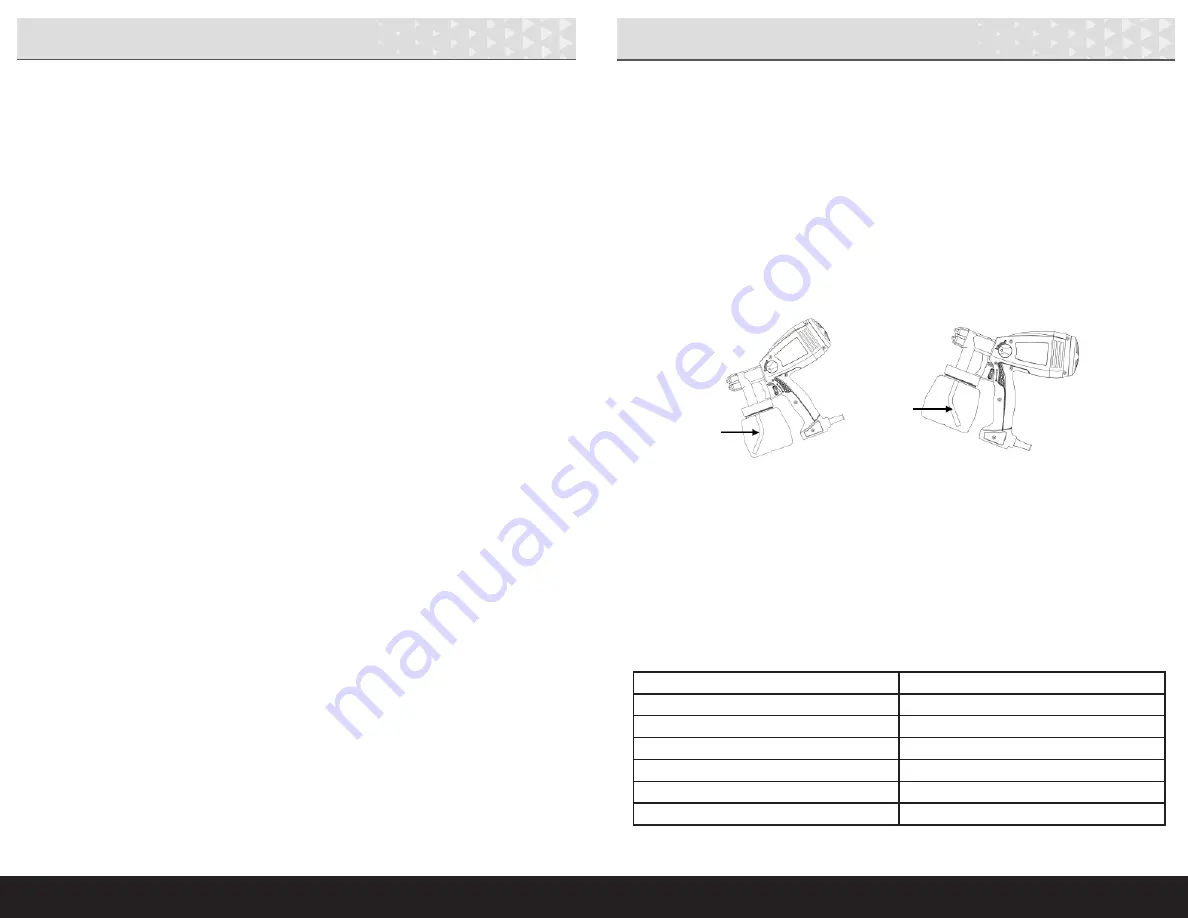
3. By aligning the suction tube (within the container), you will not have to refill
the container as often:
a. If spraying in a downward direction, the angled end of the suction tube
should be pointing toward the front of the sprayer.
b. If spraying in an upward direction, the angled end of the suction tube
should be pointing toward the rear of the sprayer.
MATERIAL OR SOLUTION PREPARATION
1. Before spraying, the material or solution to be sprayed may need to be thinned
with the proper solvent as specified by the material or solution manufacturer.
a. Stir the material or solution thoroughly before measuring viscosity.
b. Dip the viscosity test cup completely into the material or solution.
c. Hold the test cup up and measure the time in seconds until the liquid
empties out. This time is referred to as “runout time.”
Material or Solution
Runout Time (seconds)
Oil enamel
25-40
Oil based primer
30-45
Oil stain
No thinning required
Clear sealer
No thinning required
Polyurethane
No thinning required
Varnish
20-50
a.
b.
Summary of Contents for 774679
Page 8: ...15 14...

