© 2009 Skier’s Choice, Inc.
Trailer & Towing
NOTE: Moomba trailers feature disk brakes. The fifth wire (blue)
on the wire connector needs to be connected to your vehicle’s
reverse lights to be operative. This wire (blue) provides power
to a solenoid which deactivates the brakes while in reverse.
You may still tow your trailer without the blue wire connected,
however, you may experience difficulty backing the trailer.
Connecting the Trailer
BEFORE USE, READ ALL INFORMATION SUPPLIED WITH THE TRAILER BY THE MANUFACTURER.
The following guidelines will prolong the life of the boat and trailer:
Always secure the boat to the trailer with tie-downs. Do not place straps around fenders or lights.
Always verify that the winch hook is securely in the bow eye, the strap is tight and the winch handle locked in place before
trailering.
Check the recommended pressure displayed on the side of the tires and assure that it is maintained.
Under-inflated tires could cause trailer sway and excessive tire wear.
Verify that the trailer hitch on the tow vehicle is the proper class and size to support the tongue weight and the trailer
load.
Check wheel bearing lube (Bearing Buddy®).
1.
2.
3.
4.
5.
6.
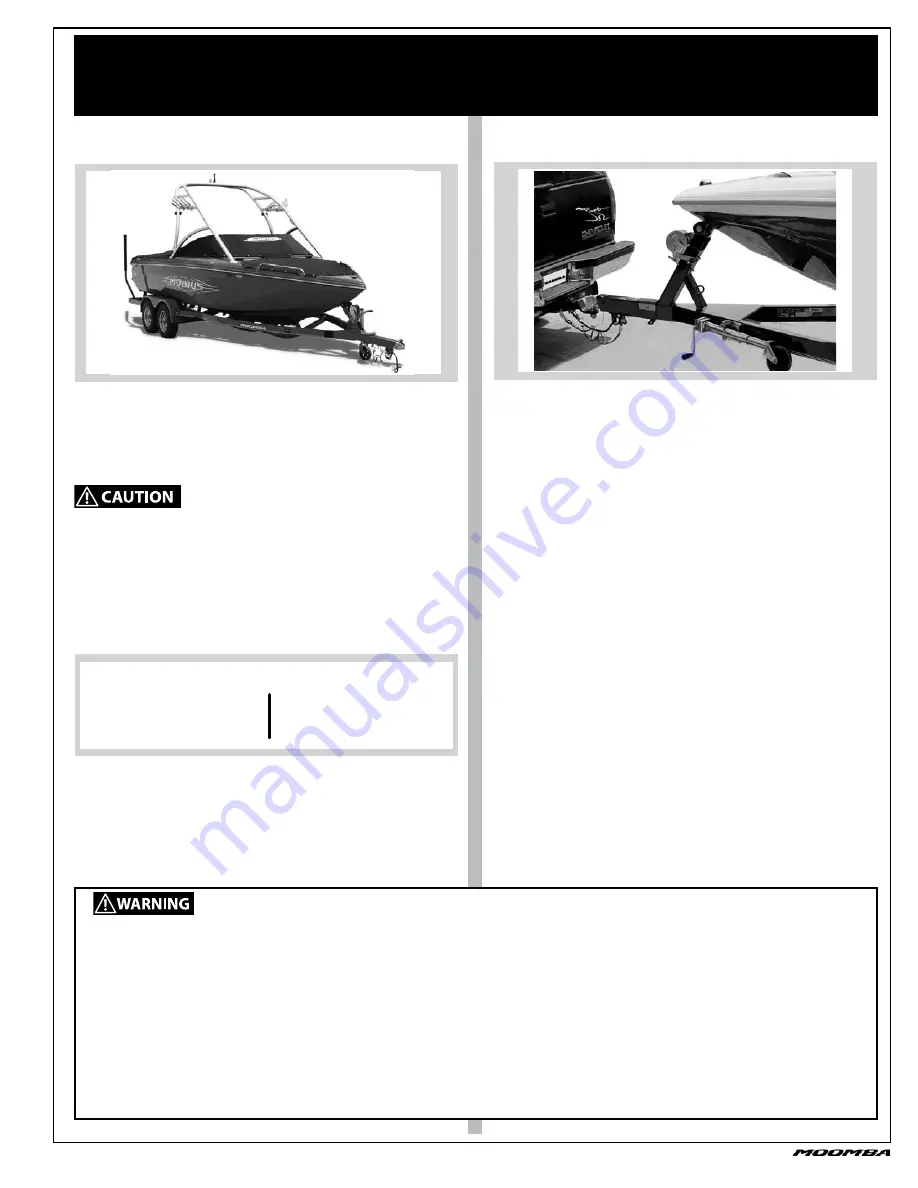
The trailer supplied with your Moomba model was designed
especially for the boat with your convenience in mind. Please be
sure that you have an appropriate tow vehicle before attempting
to trailer your boat. Your vehicle must be capable of towing 3,500
— 6,000 lbs. depending on the model.
Read the trailer towing section of your vehicle owner’s manual
before towing your trailer.
All Moomba trailers require a 2” ball and a five (5) pin marine
grade trailer wiring connector. The standard height from the
ground to the top of the hitch ball should be about 20 inches.
With the trailer attached to the tow vehicle, the trailer should
stand level.
Section XIV
Trailering Your Boat
When connecting the trailer to your tow vehicle use the
following procedure:
Raise the tongue with the trailer jack, position the trailer
tongue directly over the 2” ball, and lower the jack until the
tongue goes all the way down over the ball.
Press down on the latch until it locks on the ball with a
“click.”
1.
2.
NOTE: If your hitch ball has an excessive flat spot on top, the
latch may not engage properly. If the latch does not catch, check
with your dealer or hitch installer before trailering.
Insert the locking pin into the tongue. Lock pin hole is on
the side of the tongue.
When all weight is off the trailer jack, pull the jack lock pin
and rotate the jack to the horizontal position and re-lock
the pin.
Attach the safety cables to the tow vehicle hitch. Cross the
cables and wrap them around each other once or possibly
twice allowing just enough slack to permit tight turns of the
vehicle and trailer.
Plug the trailer lights connector to the vehicle harness.
Clip the brake lockout cable to the vehicle hitch.
3.
4.
5.
6.
7.
Trailer Plug Wire Schematic
White: Ground
Green: Right Turn/Brake
Yellow: Left Turn/Brake
Brown: Running Lights
Blue: Reverse Lights
Summary of Contents for 2009 Gravity Edition
Page 12: ...12 2009 Skier s Choice Inc Notes ...
Page 16: ...16 2009 Skier s Choice Inc Notes ...
Page 19: ...19 2009 Skier s Choice Inc ...
Page 20: ...20 2009 Skier s Choice Inc Notes ...
Page 24: ...24 2009 Skier s Choice Inc Notes ...
Page 30: ...30 2009 Skier s Choice Inc Notes ...
Page 62: ...62 2009 Skier s Choice Inc Notes ...
Page 80: ...80 2009 Skier s Choice Inc Notes ...


