Starting up
Section 1
A.
PREPARATION AND CALIBRATION
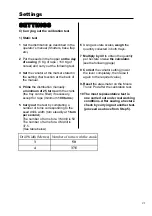
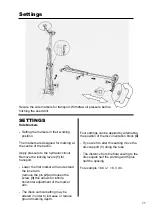
Attach the drill to the tractor and raise the drill to its maximum height, remove the transport
pins. Calibrate the seeding mechanism for seeds to be sown as in Section 2. Settings.
B.
RUNNING IN
If the drill is new and is to be used in cultivated soil, it is better to “run-in” the drill in hard
ground, such as a grass field. It is easier to work off the paint and rough edges from the seed
tube and disc coulters when working in firm ground as there is more friction to turn the
discs. This only requires a few turns across a field without seed. The depth control of the
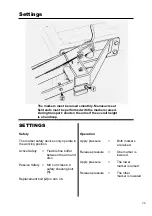
Uni-Drill can be tried out by 1. Retracting or extending of the depth control ram to increase
or decrease the depth of penetration. 2. Retracting or extending of the tractor top link if the
drill is mounted, Check that all discs turn relatively freely; it may be necessary to slacken
off seed tubes that are rubbing tight against the discs.
C
.
SEEDBED PREPARATION
It is not necessary to prepare a fine seedbed as for other drills. The Uni-Drill prepares its
own mini seedbed by using an angled disc and seed tube coulter tine. In most fields it is only
necessary to plough and perhaps level and roll. If the soils are loose, puffy soft or have loose
stones on the surface, it will generally be advantageous to roll or press the field first. This
will reduce blockages and help maintain even depth control.
Where a fine seedbed has been prepared and it gets wet then the soil acts as a sponge and
absorbs a lot of water, making it almost impossible for the drill or any other implement to
work in it. Therefore it is better to consolidate loose seedbeds soon after any tillage, so that
they will not absorb so much water. The drill will work on most consolidated seedbeds
provided the drill is being used at speed. At a speed of over 6 MPH the centrifugal force on
the discs and rollers tends to fling the sticky soil from them; just like driving a tractor along
a road, where the dirt on the tyres is thrown off when it reaches a certain speed.
13
Summary of Contents for UNIDRILL 300
Page 1: ...August 2001...
Page 5: ...4 Safety Regulations...
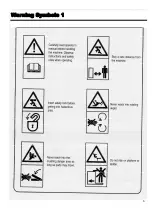
Page 7: ...6 Warning Symbols 1...
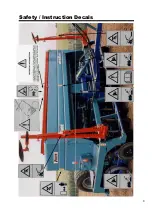
Page 9: ...Safety Instruction Decals 8...
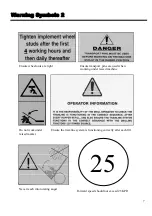
Page 10: ...Safety Instruction Decals 9 25...
Page 29: ...28...
Page 41: ...Maintenance Tyre pressure chart for 10 0 75 15 3 Vredestein Tyres 40...
Page 42: ...Optional Equipment Section 5 MS Flow Modulation 41...
Page 44: ...Starting up 43...
Page 45: ...Starting up 44...
Page 46: ...Operation 45...
Page 47: ...Operation 46...
Page 48: ...Operation 47...
Page 49: ...Operation 48...
Page 50: ...Operation 49...
Page 51: ...50 D E...
Page 55: ...Dragarm Seeding Unit 47 48 54 Parts list...
Page 59: ...Drawbar and Rear Axle Assembly 58 Parts list 47 48 45 1 2 49 3 4 50 51 52 53 53 A B 55 54 35...
Page 61: ...Drive wheel Assembly 60 Parts list 26...
Page 63: ...Seed Box Assembly S900520 S901537 62 Parts list...
Page 65: ...Seed Box Drive Unit 64 Parts list...
Page 67: ...Multiplicator Parts list 66...
Page 69: ...MS Flow Modulation Parts list 1 3 2 7 10 8 9 11 6 5 4 15 14 12 13 68...
Page 71: ...Linak Actuator Tramline Mechanism Parts list 1 5 2 7 6 4 3 9 8 70...
Page 73: ...Seedbox Metering Parts Parts list 10 12 11 8 6 5 4 3 9 2 1 7 72...
Page 75: ...SPI Vertical Lift Marker 74 Parts list...
Page 77: ...Moore Vertical Lift Marker 17 13 16 47 48 Complete disc hub assembly 14 15 74 Parts list...
Page 79: ...Electric Parts Sensors Parts list 1 4 3 2 76...
Page 86: ...Calibration Charts Calibration charts for Rape Barley Peas and Field Beans 83...
Page 87: ...Calibration Charts Calibration charts for Oats Mustard Phacelia and Radish 84...
Page 88: ...Calibration Charts Calibration charts for Lucern Linseed Rye grass and Clover 85...
Page 89: ...Notes 86...

