I Class Medical Device
according to 93/42/EEC direc tive
C
Co
od
de
es
s::
7
75
55
5S
S -- R
RP
P7
75
55
5T
T -- R
RP
P7
75
53
3S
S
Thank you for choosing a demountable walker
M
MO
OP
PE
ED
DIIA
A
by Moretti S.p.A. product range,
manufactured to support people with movement difficulty. It is realised in chrome plated steel
tubing with four swivel wheels two which with brakes. The RP755S and RP753S models are equip-
ped with padded armrests, adjustable height, width and depth. The RP755T is equipped with
padded table
•
•
R
RP
P7
75
55
5S
S
fixed
•
•
R
RP
P7
75
55
5T
T
fixed with padded table
•
•
R
RP
P7
75
53
3S
S
adjustable height every
2,5
cm from
117
cm to
135
cm
R
RP
P7
75
55
5S
S
a
an
nd
d
R
RP
P7
75
53
3S
S
a
as
ss
se
em
mb
blliin
ng
g iin
ns
st
tr
ru
uc
ct
tiio
on
n
11..
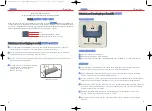
Start assembling your walker with the pole of the back frame which has to be inserted in
the tubes of the lateral frame and fixed with two brass buttons
2
2..
Use the two horizontal poles to install in the back frame to strengthen the whole walker.
Fix the poles with the four screw-buttons
3
3..
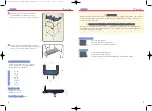
Adjust the rests to the shoulder rest to the patient’s desired height and fix them with the
two lock system.
E
EN
NG
GL
LIIS
SH
H
E
EN
NG
GL
LIIS
SH
H
•
RP757 optional
R
RP
P7
75
55
5T
T
a
as
ss
se
em
mb
blliin
ng
g iin
ns
st
tr
ru
uc
ct
tiio
on
n
V
VIIE
EW
W O
OF
F T
TH
HE
E P
PA
AR
RT
TS
S
L
LIIS
ST
T O
OF
F T
TH
HE
E P
PA
AR
RT
TS
S
A
A..
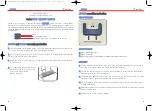
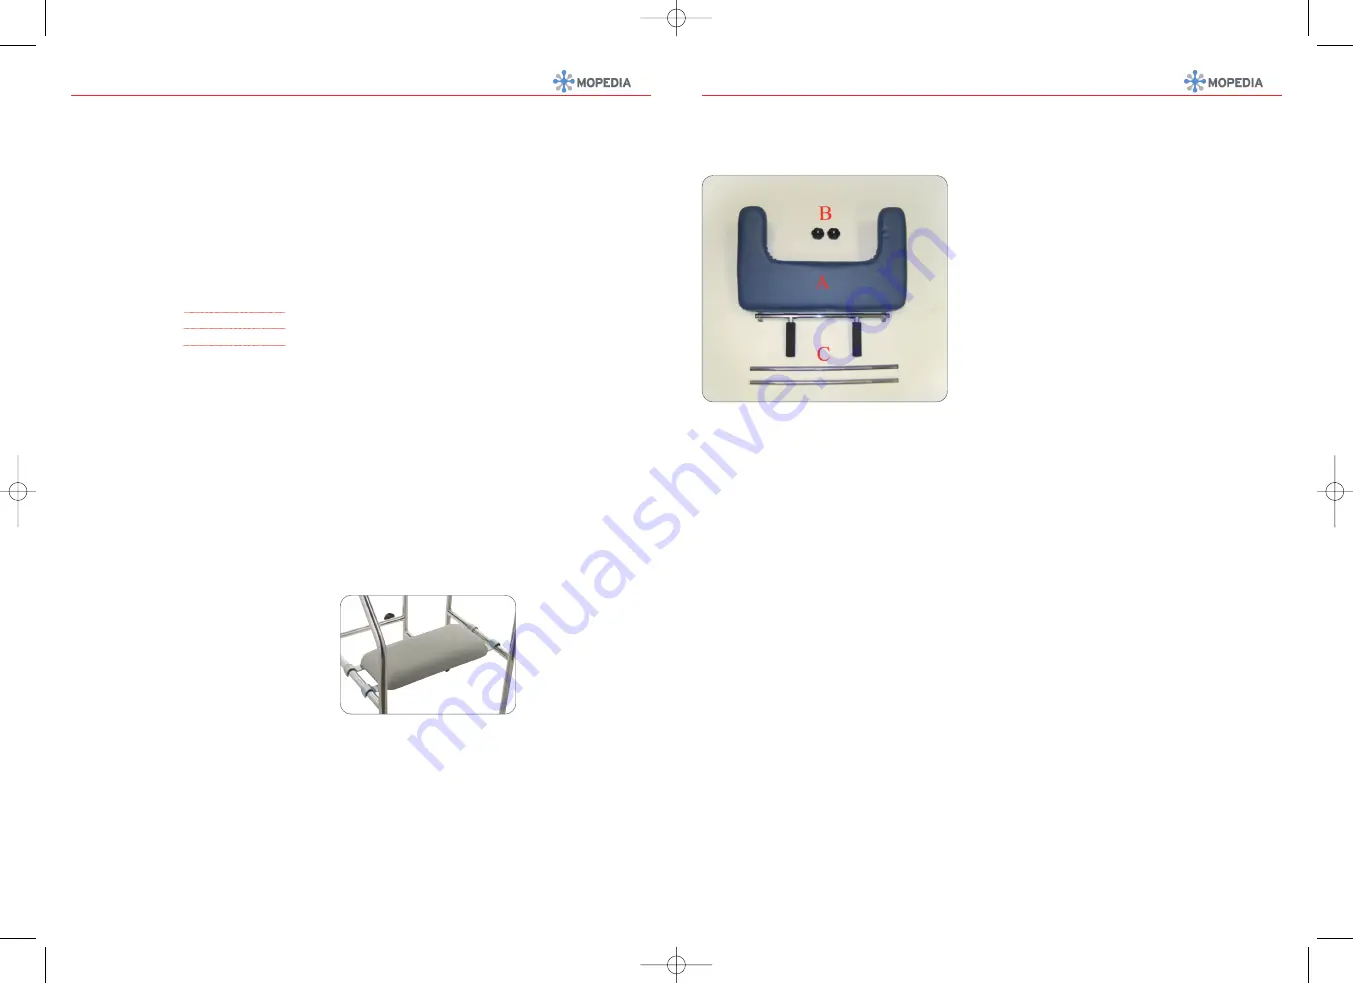
Padded table with handles
B
B..
Handles lock knobs
C
C..
Table support poles (length 560mm or 720 mm depending on the model)
A
AS
SS
SE
EM
MB
BL
LY
Y
11..
Start assembling your walker with the pole of the back frame which has to be inserted in
the tubes of the lateral frame and fixed with two brass buttons.
2
2..
Use the two horizontal poles to install in the back frame to strengthen the whole walker.
Fix the poles with the four screw-buttons.
3
3..
To assembly the padded armrest, insert the poles (ref.C) into the support tubes, once they
are at the same height block them with the levers on the walker.
4
4..
Place the padded table (ref.A) and adjust the height, in order the user can rest his arms
forming a 90° angle.
5
5..
Adjust the handles at the desired opening and block them with the screw-buttons supplied
with the padded table.
6
6..
Assure that the screws are duly tighten.
4
4..
The seat can be easily assembled or
removed thanks to the hooks on the
poles of the lateral frame.
(RP757 optional)
8
9
MA RP753S RP755S 01-B:MA RP753S RP755S 01-A 13-07-2011 10:15 Pagina 5


