12
13
OPERATION INSTRUCTIONS
COOKING GUIDELINES
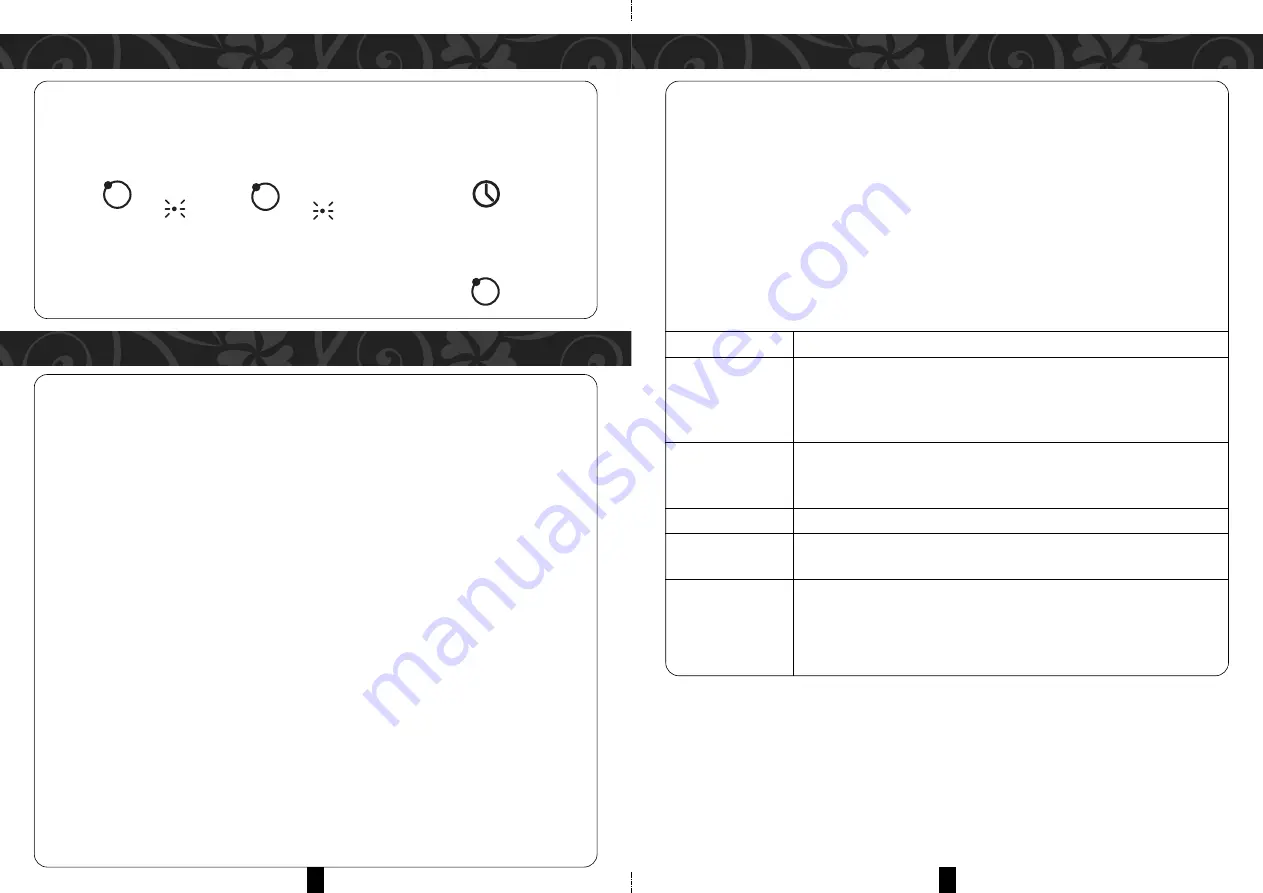
SETTING THE TIMER TO TURN MORE THAN ONE COOKING ZONE OFF
1. If more than one heating zone use this function, the timer indicator will show the lowest time.
(e.g. zone 2# setting time of 3 minutes, zone 3# setting time of 6 minutes, the timer indicator shows “3”.)
NOTE:
The red dot next to power level indicator will flash.
2. When cooking timer expires, the corresponding cooking zone will power off automatically and show “H”.
NOTE:
To change the time after the setting the timer - start from step 1 again.
COOKING GUIDELINES
COOKING TIPS
• When food comes to the boil, reduce the power setting.
• Using a lid will reduce cooking times and save energy by retaining the heat.
• Minimize the amount of liquid or fat to reduce cooking times.
• Start cooking on a high setting and lower the setting when the food has heated through
SIMMERING, COOKING RICE
• Simmering occurs below boiling point, at around 85 C, when bubbles are just rising occasionally to the
surface of the cooking liquid.
• It is the key to delicious soups and tender stews because the flavour develops without overcooking the
food.
• Egg-based and flour-thickened sauces are recommended for cooking below boiling point.
• Some tasks, including cooking rice by the absorption method, may require a setting higher than the
lowest setting to ensure the food is cooked properly in the time recommended.
SEARING STEAK
To cook juicy flavoursome steaks:
1. Stand the meat at room temperature for about 20 minutes before cooking.
2. Heat up a heavy-based frying pan.
3. Brush both sides of the steak with oil. Drizzle a small amount of oil into the hot pan and then lower the
meat onto the hot pan.
4. Turn the steak only once during cooking. The exact cooking time will depend on the thickness of the steak
and how cooked you want it. Times may vary from about 2 – 8 minutes per side. Press the steak to gauge
how its doneness – the firmer it feels the more ‘well done’ it will be.
5. Leave the steak to rest on a warm plate for a few minutes to allow it to relax and become tender before
serving.
FOR STIR-FRYING
1. Choose a ceramic compatible flat-based wok or a large frying pan.
2. Have all the ingredients and equipment ready. Stir-frying should be quick. If cooking large quantities, cook
the food in several smaller batches.
3. Preheat the pan briefly and add two tablespoons of oil.
4. Cook any meat first, put it aside and keep warm.
5. Stir-fry the vegetables. When they are hot but still crisp, turn the cooking zone to a lower setting, return
the meat to the pan and add your sauce.
6. Stir the ingredients gently to make sure they are heated through.
7. Serve immediately.
HEAT SETTINGS
HEAT GETTING SUITABILITY
1 – 2
• Delicate warming for small amounts of food
• Melting chocolate, butter, and foods that burn quickly
• Gentle simmering
• Slow warming
3 – 4
• Reheating
• Rapid simmering
• Cooking rice
5 – 6
• Pancakes
7 – 8
• Sauteing
• Cooking pasta
9
• Stir-frying
• Searing
• Bringing soup to the boil
• Boiling water
6
(set to 6 minutes)
3
3
H
(set to 3 minutes)


