

4
5
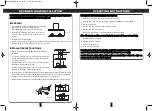
OPERATING INSTRUCTIONS
DESIGNER HOOD INSTALLATION
The manufacturer shall not be held responsible for damages to property or injuries to persons or
animals arising from incorrect installation or use of equipment.
IMPORTANT
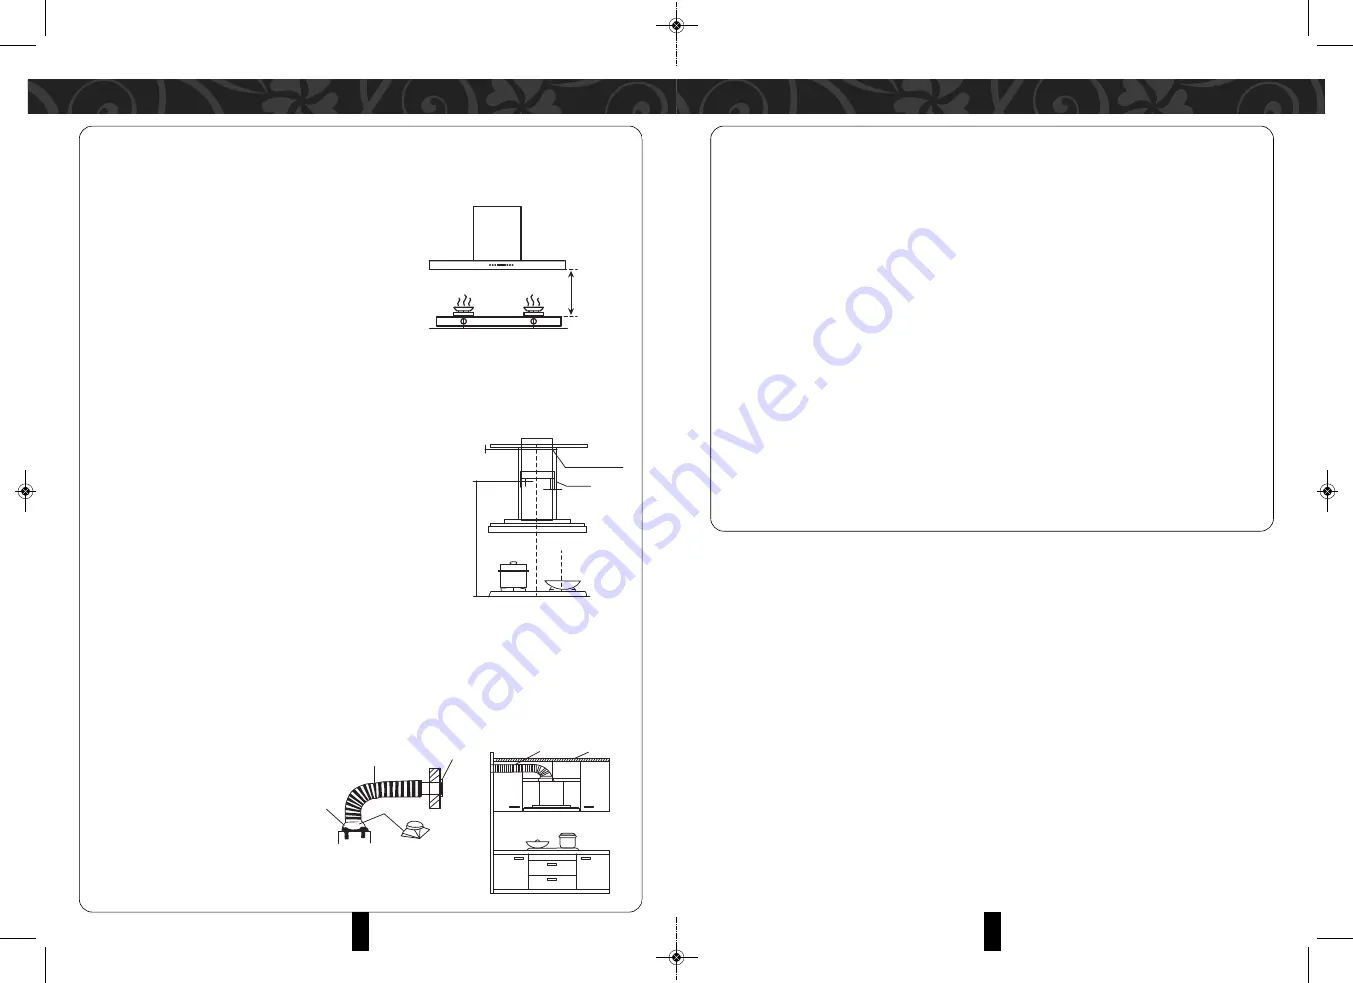
• Install the designer hood on the wall above the stove firmly
and securely. Ensure there is a distance about
700~800mm between the range hood and the stove.
• Ensure that the ventilation pipe connects to open air or
enters the cold-air suction flue, and ensure the joints are
air-tight.
• Earth the electrical outlet reliably.
• The gas evacuated from the designer hood should not be discharged into the tent flue which is used to
discharge the smoke produced by burning coal gas or other fuels.
INSTALLATION INSTRUCTIONS
• Use the concussion electrical drill matching with the diameter
8mm drill.
• To confirm hole placement on the wall, drill a hole and insert the
inflated pipe firmly. Rivet the pothook, and spin the pet tightly
(according to Picture 1)
• Rivet the Ventilation cover and Air-proof circle to the top of the
Mainframe using 4pcs of M5x12 Screws.
• Rivet the curving ventilation pipe to the cover with ST9×8 Screw
and hang the Mainframe firmly, without deflection.
• (Refer to Picture 2) to install the Ventilation pipe. Ensure the pipe keeps its natural condition, the curving
part is flexible, the joint is airtight, and the smoke-back preventive valve is free from top and bottom.
• Rivet the decorative (inner)corer to the top of Mainframe with 2pcs of M5×8 nails.
• When using the lengthened cover to fit the height of the ceiling, install the pothook on the wall first.
700-800mm
7
0
0
-8
0
0
m
m
4
7
5
Hook
Hook for
decorative Pipe
42
3
3
It is advised to follow these instructions before first use.
• Install the oil cup by inserting it from the rear to the front side.
• Insert the power plug into the power supply. A beep will sound when it is first switched on.
• Press the power button.
• Press the lamp button to ensure that it functions properly.
• Press the lamp button to switch off.
• Press the fan speed buttons to ensure that the motor functions properly.
If the following abnormalities are found during the test, shut off the power immediately:
1. Mainframe vibrates excessively.
2. Inflated pipe becomes flexible
3. Loud noises from the motor.
4. The Impeller is not working
Press the power switch to stop operation. Contact the manufacturer or its authorized service
agents to inspect, troubleshoot or repair (Including damage to power supply).
DO NOT attempt to alter/modify/repair the appliance yourself. Failure to follow the advice can
affect your personal safety and your appliance.
(Picture 1)
Shutter
Airproof Pipe
Airproof
underlay
Air Outlet Set
Vent Pipe
Roof
S
(Picture 2)
MDH-916(IM)030718.qxp_Layout 1 7/5/18 9:55 AM Page 3


