background image

4

5

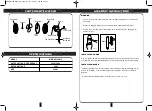
ASSEMBLY INSTRUCTIONS

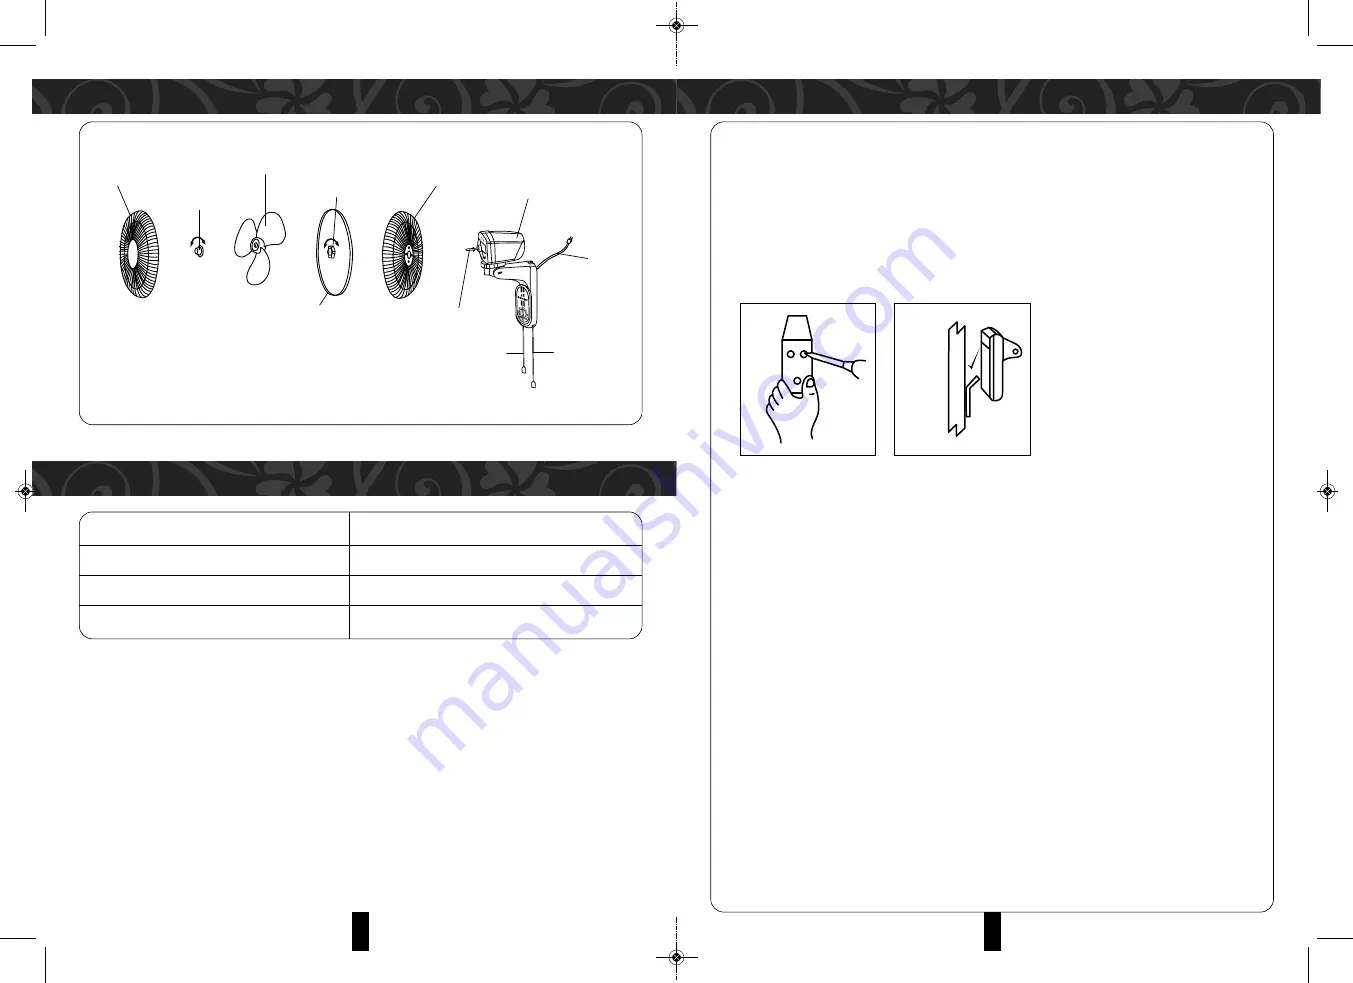
PARTS IDENTIFICATION

SPECIFICATIONS

WARNING

•   Ensure the Wall Fan is disconnected from the power supply before commencing 

    assembly.

•   Mount the hanging bracket (2) on the wall with the supplied screws (Fig 1).

•   Secure the motor and control assembly with the bracket onto the hanging wall 

    bracket (Fig 2).

INSTALL FAN GUARD

Remove blade cap and rear guard locking nut from the motor shaft first. Then attach
rear guard to the motor shaft and tighten the rear guard locking nut clockwise tightly.

INSTALL FAN BLADE

Install the fan blade onto the motor shaft, ensure that the retaining pin snaps into the
groove on the blade. Turn the blade cap counter clockwise to secure the blade in
position

• Recommended ground distance to the fan is 2.3 meters (7.5 feet).

Front Grille

Spinner

Blade

Plastic Nut

Rear Grille

Motor

Motor Shaft

Circlip

Power Cord

Fan Speed Switch

Oscillation

Pull Switch

MODEL                                                                      MWF-NC168MS
RATED VOLTAGE / FREQUENCY                              240V~ 50Hz
RATED WATTAGE                                                             45W
SIZE                                                                                  40CM

WALL

(Fig 1)

(Fig 2)

MWF-NC168MS(IM)171117.qxp_Layout 1  11/20/17  4:19 PM  Page 3

Summary of Contents for MWF-NC168MS

Page 1: ...lectrical appliance dksh com www morgan my Market Expansion Services by www dksh com my facebook com morganappliances USER MANUAL Wall Fan MWF NC168MS MWF NC168MS IM 171117 qxp_Layout 1 11 20 17 4 18 PM Page 1 ...

Page 2: ...ended for household use only Do not use this appliance for any purposes other than its intended use Never carry the appliance by the power cord or forcibly yank on it to disconnect from the power supply Instead grasp the plug and pull to disconnect Do not attempt to repair disassemble or modify the appliance There are no user serviceable parts Do not insert or allow foreign objects to enter the gr...

Page 3: ... guard to the motor shaft and tighten the rear guard locking nut clockwise tightly INSTALL FAN BLADE Install the fan blade onto the motor shaft ensure that the retaining pin snaps into the groove on the blade Turn the blade cap counter clockwise to secure the blade in position Recommended ground distance to the fan is 2 3 meters 7 5 feet Front Grille Spinner Blade Plastic Nut Rear Grille Motor Mot...

Page 4: ...NING WARNING 1 Switch off the fan and disconnect from the power supply before removing the guard for cleaning 2 Disassemble the fan guard and blade from the fan motor and control assembly before cleaning 3 Clean only the fan s surface body using a mild detergent and soft cloth 4 Allow to dry completely before reassembly NOTE 1 If supply cord is damaged have it replaced by a qualified technician 2 ...

Reviews: