Page 10
CREASING
Quick Start Guide
7.
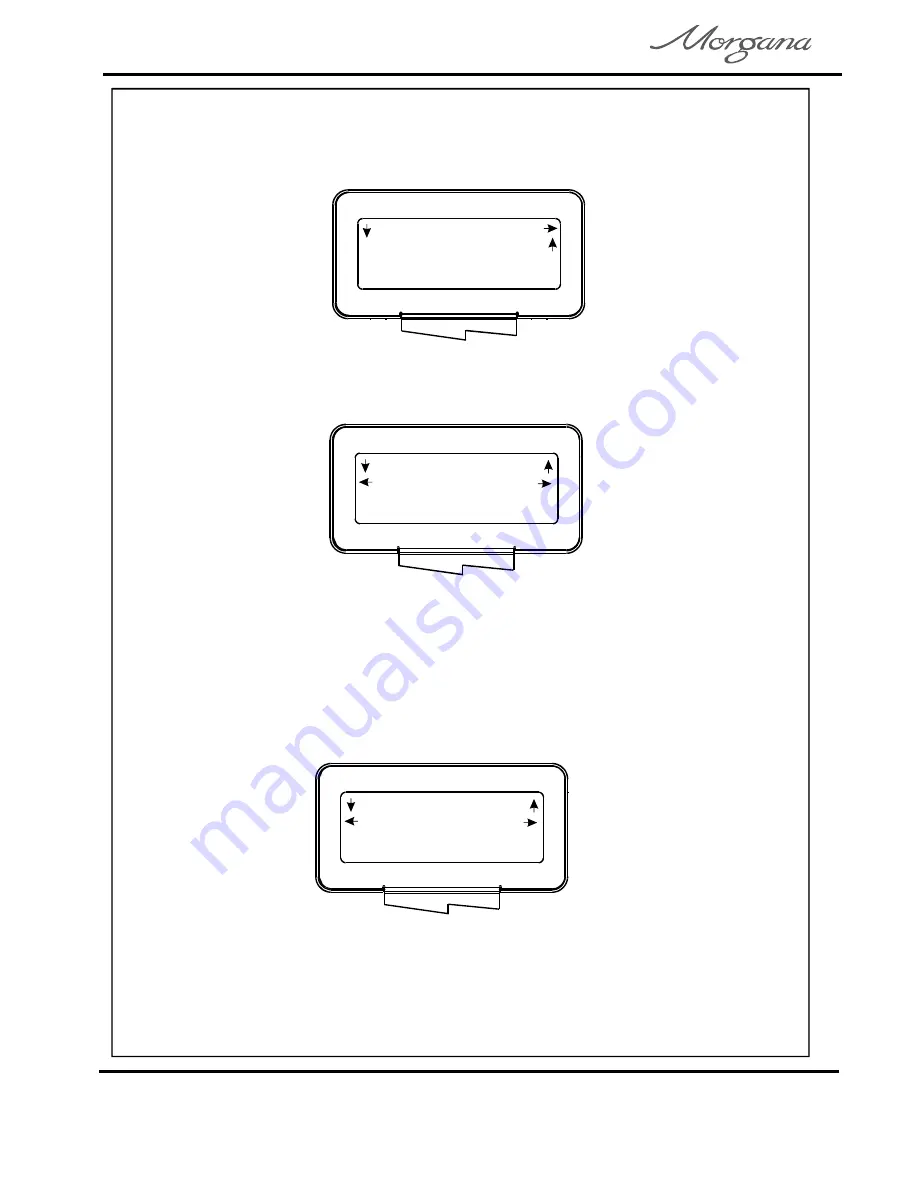
Following the arrows on the display unit; move the selection switch down
to set the creases. The 1st Crease is now selected.
6.
Following the arrows on the display unit; move the selection switch to
the right to select
(i.e. Setting the crease positions), a typical
Setup
display is shown below.
2nd Crease
0.0
1st Crease 148.0
Home
More
Set Creases
Back
Tens
Decimals
2nd Crease
0.0
( 1st Crease 148.0 )
Move the Selection Switch to the left to select
or to the right to
Tens
select
. The
or
(whichever has been selected)
Decimals
Tens
Decimals
can then be adjusted by rotating the Selection Switch, (clockwise to
increase or anti-clockwise to decrease).
8.
9.
To set the 2nd Crease position move the selection switch down; the 2nd
Crease is selected and can be set as described in step 8. above.
10. Further creases can be set in this way, up to a maximum of sixteen
creases.
Set Creases
Back
Tens
Decimals
3rd Crease
0.0
( 2nd Crease
000.0 )
Set Creases


