To operate the motors manually, switch the machine ‘on’ at the Emergency Stop switch.
Following the arrows on the display unit, move the selection switch to the left to select
Tools
, the display will now show the Tools sub-menu. Press the system switch down and
then move the selection switch to the left or to the right, to rotate the rollers in short pulses.
This procedure should be repeated when installing perforating blades and anvils onto the
drive wheels and hubs.
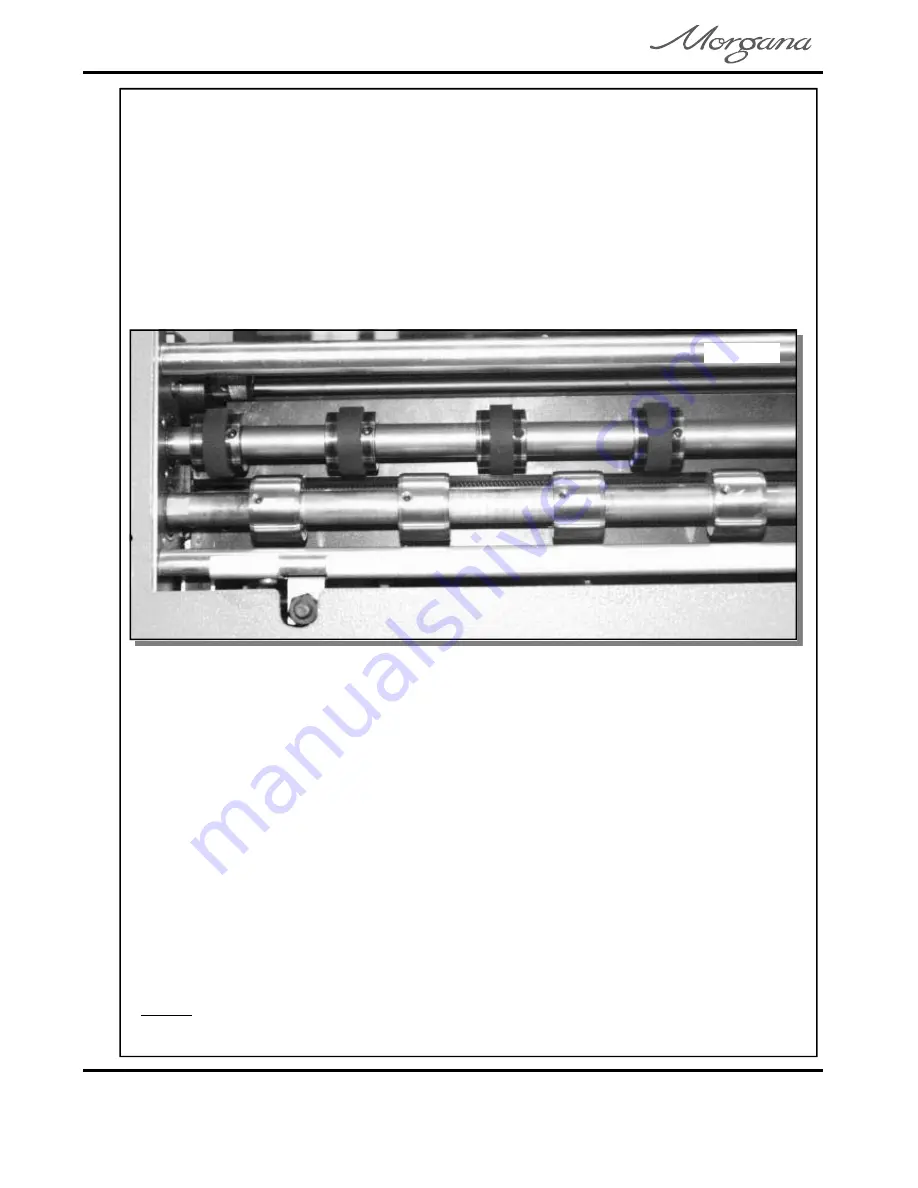
FIG 10.1
Lift the exit guard to see if the grub screws in the drive wheels and hubs can be seen. If the
grub screws cannot be seen, lower the exit guard and rotate the rollers by moving the
selection switch to the left or to the right. Loosen the drive wheels and hubs with a 2mm
allen key. Arrange the drive wheels and hubs as shown in FIG 10.1. In order to avoid
marking on some types of media ensure a gap between the drive wheels and hubs.
Operating the Autocreaser 50
Set Feed
The length of suction on the sheet of paper being fed can be adjusted by setting the feed
type as follows:-
(i) From the start up menu, move the selection switch to the right to select
.
Setup
(ii) Move the selection switch to the right, one click at a time, until the display contains
the words
.
Set Feed
(iii) Move the selection switch down to select the required feed type (
,
Standard Pulse
Medium Pulse Short Pulse
Stream Feed
,
, or
)
Use
for all standard size sheets, general purpose.
Standard Pulse
Use
for short non-standard sheets.
Medium Pulse
Use
for very short sheets.
Short Pulse
Use
for high throughput, see note below.
Stream Feed
(iv) Move the selection switch to the right to select
.
Ok
NOTE.
Do not use stream feed for creases less than 32mm from the leading edge of the paper.
Page 14
CREASING


