All of the blades and anvils are supplied with fixings.
*Perforator stripper
Standard Part Number
78-013
*It is recommended that for multiple perforations, a separate perforator stripper is used for
every perforating blade set fitted in the creasing unit.
Setting the machine
1.
Turn the mains supply to the machine ‘off’.
2.
Remove the stacker unit and open the exit guard.
3.
Locate and remove the blades / anvils from the despatch kit supplied with the
machine.
4.
Using the 2mm allen key (supplied), loosen the drive wheel that is to accommodate
the blades.
5.
Slide the drive wheel away from any obstructing drive wheels or hubs in order to
mount the blades.
6.
Using the 2.5mm allen key (supplied), take one
of the matching pairs and mount on to the drive
wheel. Do not secure the blade.
7.
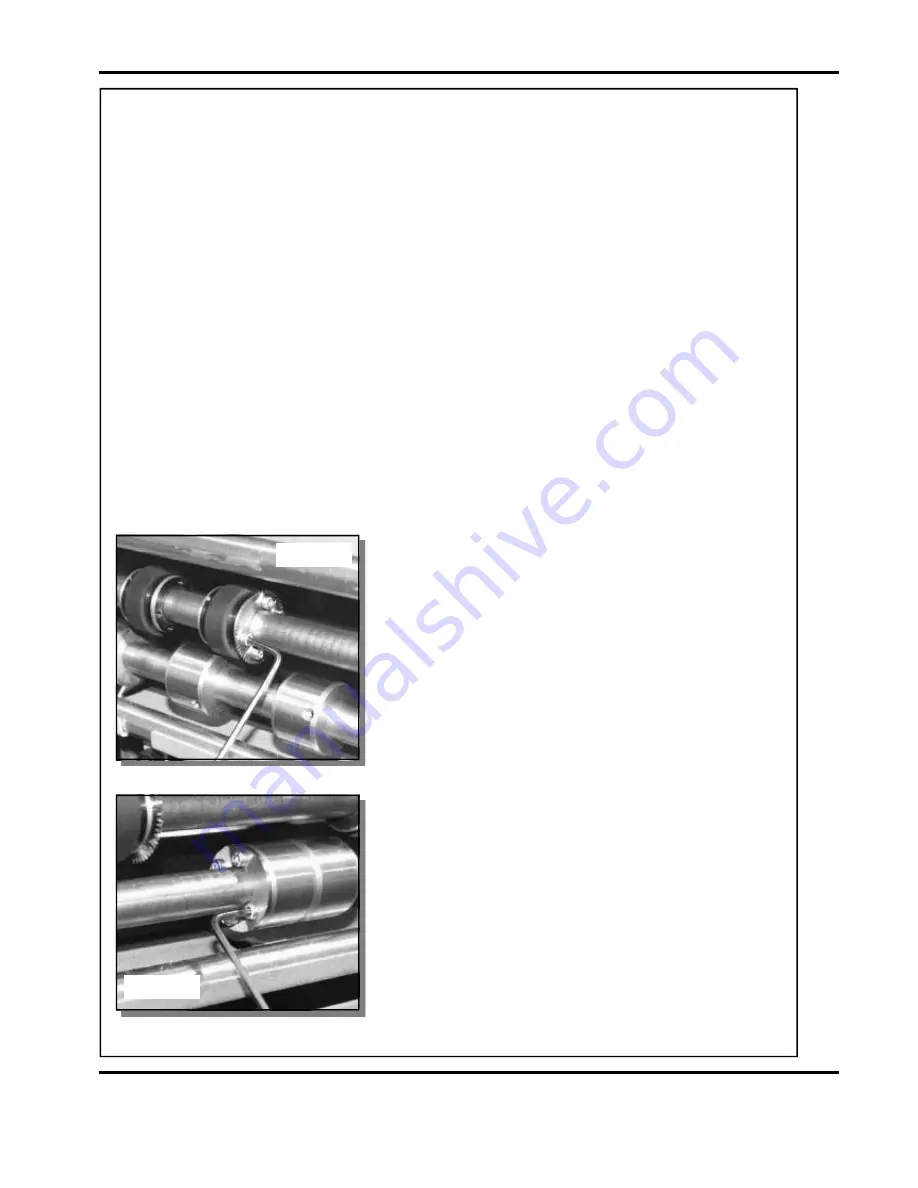
Mount the other matching pair to the drive wheel
as shown (fig 16.1). Secure the blades to the
wheel ensuring not to over tighten grub screw.
8.
Mark on a single sheet the desired perforating
position. Feed the sheet through the machine
manually until the mark can be seen. Use this
mark to assist in fixing the position of the
perforating drive wheel to the roller drive shaft.
9.
Using the 2mm allen key, loosen the drive hub
nearest the perforating drive. Slide the drive hub
away from any obstructing drive wheels or hubs
in order to mount the anvils.
10.
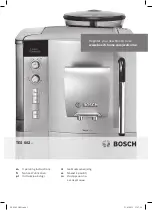
Using the 2,5mm allen key, take one of the
matching pairs of anvils and mount to the drive
hub. Do not secure the anvil.
FIG 16.2
FIG 16.1
Perforating
AutoCreaser 50
Page 21
SYSTEM


