Page 36
CREASING / BOOKLET MAKING
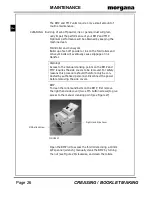
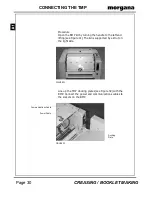
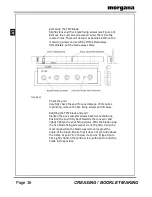
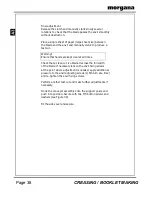
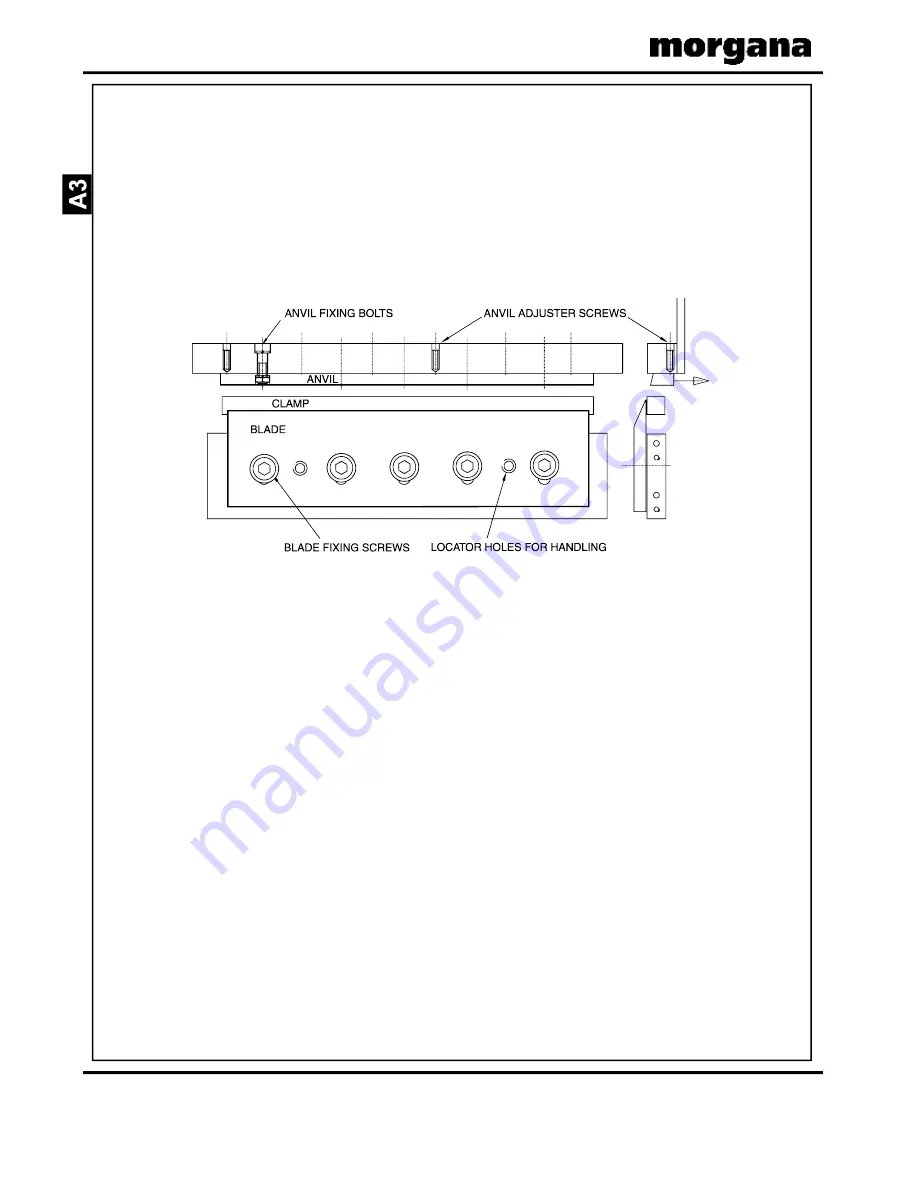
FIGURE 40
Removing the TMP Blade
Slightly loosen all five blade fixing screws (see Figure 40).
Remove the outer two screws and screw them into the
locator holes. These will now act as handles. Remove the
remaining screws and carefully lift the blade away.
Immediately put the blade away safely.
Check the anvil
Carefully check the anvil for any damage. If it requires
regrinding, remove the five fixing screws and lift away.
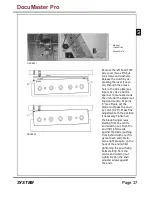
Refitting the TMP blade and anvil
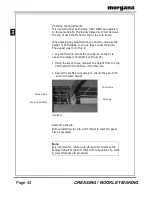
Slacken the anvil adjuster screws back two revolutions.
Position the anvil fully back towards the conveyor and
lightly tighten the anvil fixing screws. Affix the blade using
the five blade fixing screws but do not tighten. Using the
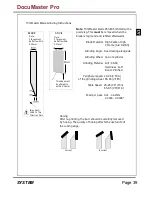
mark made when the blade was removed, adjust the
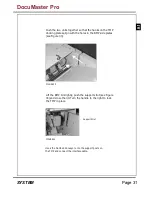
angle of the blade. Ensure that it does not protrude above
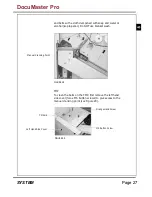
the clamp at point 'A' or below it at point 'B' (see Figure
42). Lightly tighten the centre screw, sufficient to hold the
blade in this position.
Summary of Contents for Documaster Pro
Page 11: ...Page 9 SYSTEM THIS PAGE IS INTENTIONALLY BLANK DocuMaster Pro ...
Page 15: ...Page 13 SYSTEM THIS PAGE IS INTENTIONALLY BLANK DocuMaster Pro ...
Page 19: ...Page 17 SYSTEM THIS PAGE IS INTENTIONALLY BLANK DocuMaster Pro ...
Page 23: ...Page 21 SYSTEM THIS PAGE IS INTENTIONALLY BLANK DocuMaster Pro ...
Page 27: ...Page 25 SYSTEM THIS PAGE IS INTENTIONALLY BLANK DocuMaster Pro ...
Page 31: ...Page 29 SYSTEM THIS PAGE IS INTENTIONALLY BLANK DocuMaster Pro ...
Page 35: ...Page 33 SYSTEM THIS PAGE IS INTENTIONALLY BLANK DocuMaster Pro ...
Page 45: ...Page 43 SYSTEM THIS PAGE IS INTENTIONALLY BLANK DocuMaster Pro ...
Page 47: ...Page 45 SYSTEM DocuMaster Pro ...

