Page 38
CREASING / BOOKLET MAKING
Final adjustment
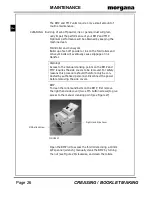
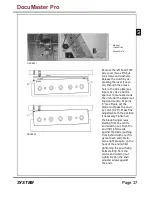
Release the clutch and manually crank slowly several
rotations to check that the blade passes the anvil smoothly
without obstruction.
Place a single sheet of paper (large sheet size) between
the blade and the anvil and manually crank to produce a
test cut.
Warning!
Ensure that hands are kept clear at all times.
Check that a clean cut is obtained across the full width
of the blade. If necessary loosen the anvil fixing screws
at the point where adjustment is needed, apply additional
pressure to the anvil adjusting screws (1/6th turn at a time)
and re-tighten the anvil fixing screws.
Perform another test cut and make further adjustments if
necessary.
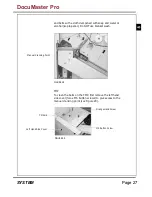
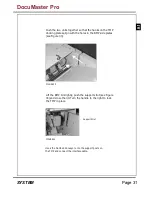
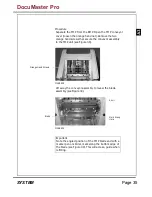
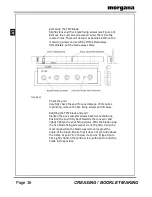
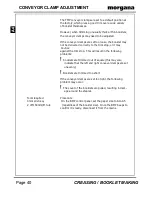
Hook the conveyor assembly onto the support posts and
push into position. Secure with two M5 button screws and
washers (see Figure 38).
Fit the side cover and secure.
Summary of Contents for Documaster Pro
Page 11: ...Page 9 SYSTEM THIS PAGE IS INTENTIONALLY BLANK DocuMaster Pro ...
Page 15: ...Page 13 SYSTEM THIS PAGE IS INTENTIONALLY BLANK DocuMaster Pro ...
Page 19: ...Page 17 SYSTEM THIS PAGE IS INTENTIONALLY BLANK DocuMaster Pro ...
Page 23: ...Page 21 SYSTEM THIS PAGE IS INTENTIONALLY BLANK DocuMaster Pro ...
Page 27: ...Page 25 SYSTEM THIS PAGE IS INTENTIONALLY BLANK DocuMaster Pro ...
Page 31: ...Page 29 SYSTEM THIS PAGE IS INTENTIONALLY BLANK DocuMaster Pro ...
Page 35: ...Page 33 SYSTEM THIS PAGE IS INTENTIONALLY BLANK DocuMaster Pro ...
Page 45: ...Page 43 SYSTEM THIS PAGE IS INTENTIONALLY BLANK DocuMaster Pro ...
Page 47: ...Page 45 SYSTEM DocuMaster Pro ...

