3.14
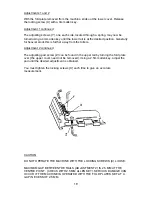
Setting of fold plates.
Set the fold length by releasing the lock knob (H) and rotating the dial (J).
Press the 'ON' button on the fold plate, the fold length can then be
read off the display (K). More precise movements can be made by pressing
the 'Micro' button, which will display increments of one tenth of a millimetre
or one hundreth of an inch for imperial machines. To preserve battery life,
the display will switch off after 30 seconds.
To se the fold plate as a reflector first set the tilt to zero, by releasing knob
(M) turning dial (J) and re- locking knob (M). Release the lock knob (H) and
rotate the dial (J) to minimum length until it stops. Tighten the lock knob
(H), the display (K) will show a series of dashes.
The fold length can be tilted by twisting the two discs of dial (J) after
unlocking knob (M).
The scale on dial (J) relates to the length of the fold on the operator side,
i.e. setting the pointer towards the + (plus) mark will lengthen the fold on
the operator side, whilst setting towards the - (minus) will shorten it.
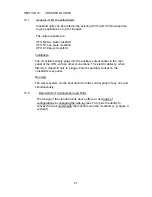
3.15
Set the fold roller pressures by inserting thicknesses of paper by rotating
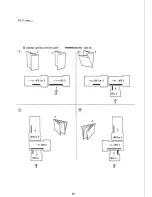
the tee handle on each side of the machine. The different folds and roller
pressure settings are set out in the chart on the following page.
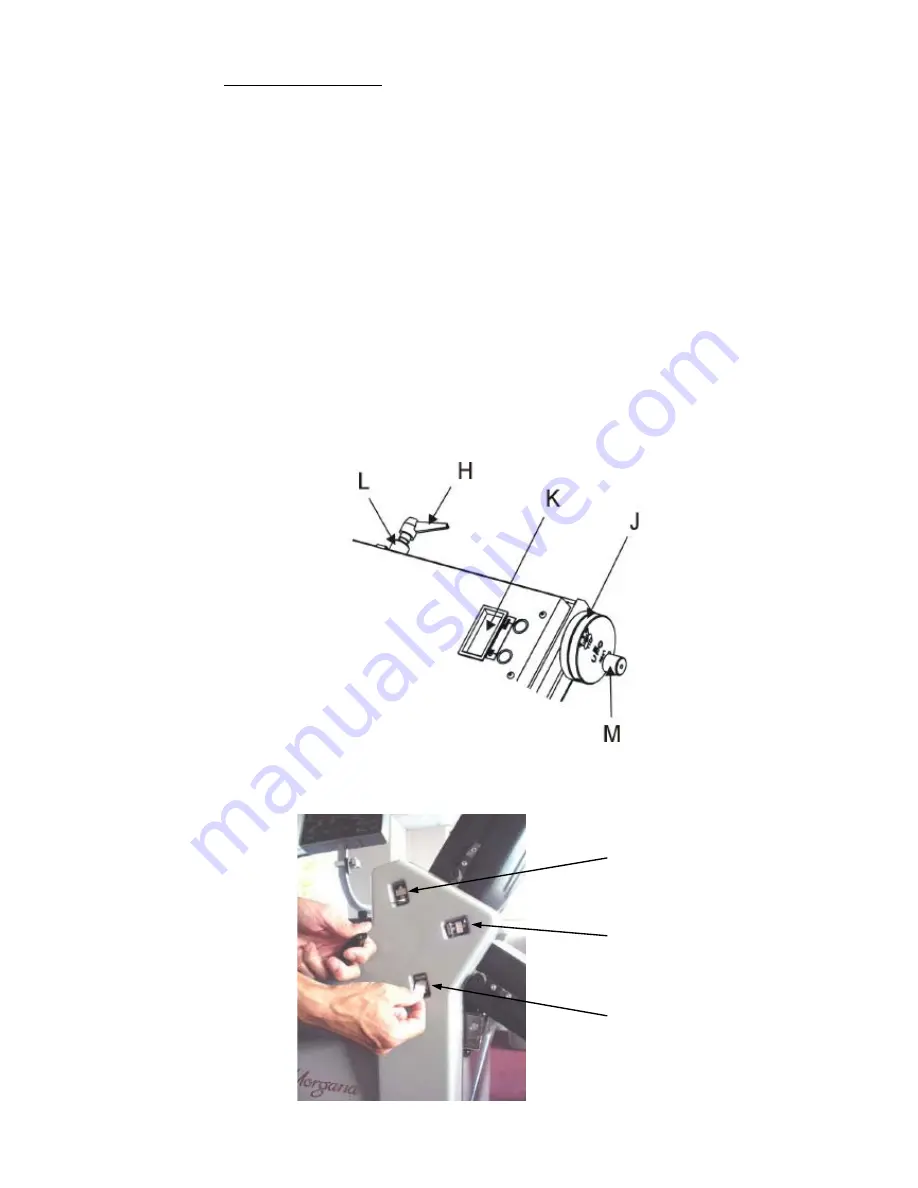
8
Top roller
Back roller
Bottom roller


