7
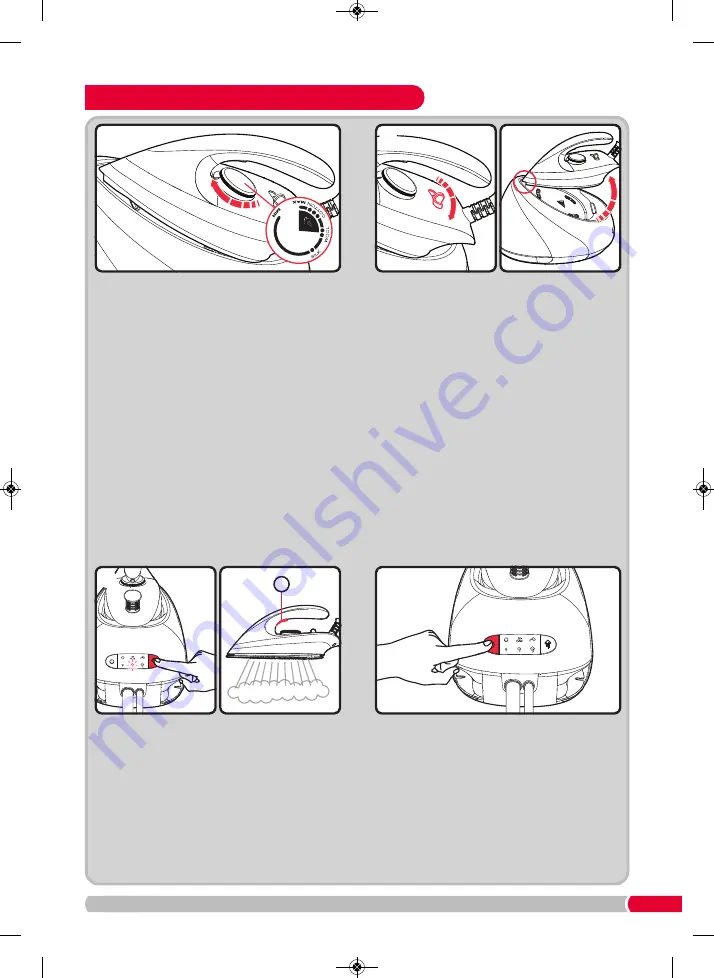
Turn the temperature dial
(5)
to suit the garment
(see ‘Temperature guide’ on page 5). The
temperature indicator light
(4)
illuminates until the
temperature is reached. Begin ironing when the
temperature indicator light goes out.
It is advised to begin with ‘cool’ fabrics (see
above) and work up to higher settings. An iron
heats up quicker than it cools down so you’ll save
time and electricity.
If you turn the temperature dial
(5)
down from a
hot setting to a cooler setting, wait until the
temperature indicator light
(4)
illuminates and goes
out again (indicating the correct temperature has
been reached) before you continue ironing.
3
Unlock the iron from its storage position on top
of the base unit
(17)
by sliding the iron-to-base
lock
(9)
to the position marked with an unlocked
padlock icon - the iron can then be lifted off the
base unit.
WARNING: The soleplate will be hot.
During use, the iron may be rested on the iron
rest plate
(14)
.
4
Using the Steam Generator (continued)
7
5
Press the steam level select button
(24)
to
select your desired steam level. The selected
steam level will be displayed by illumination of
the relevant steam level indicator
(25)
. The
steam level indicator will stop flashing and
illuminate constantly when the selected steam
level is reached.
WARNING: The steam supply cord will get
hot during use.
When you have finished ironing, turn off the
appliance by pressing and holding the On/Off
power button
(23)
for three seconds. A beep will
be heard and all the indicators on the control
panel
(16)
will be extinguished.
Disconnect the plug from the mains outlet.
NOTE: The product may occasionally produce a
pumping sound during steam ironing. This is
normal and is caused by water being pumped
from the water tank to the steam generator.
6
RN332100 MUK Rev1.qxp_IB 01/08/2018 16:11 Page 7


