background image

5)

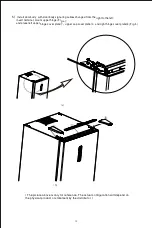
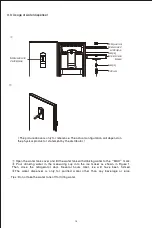
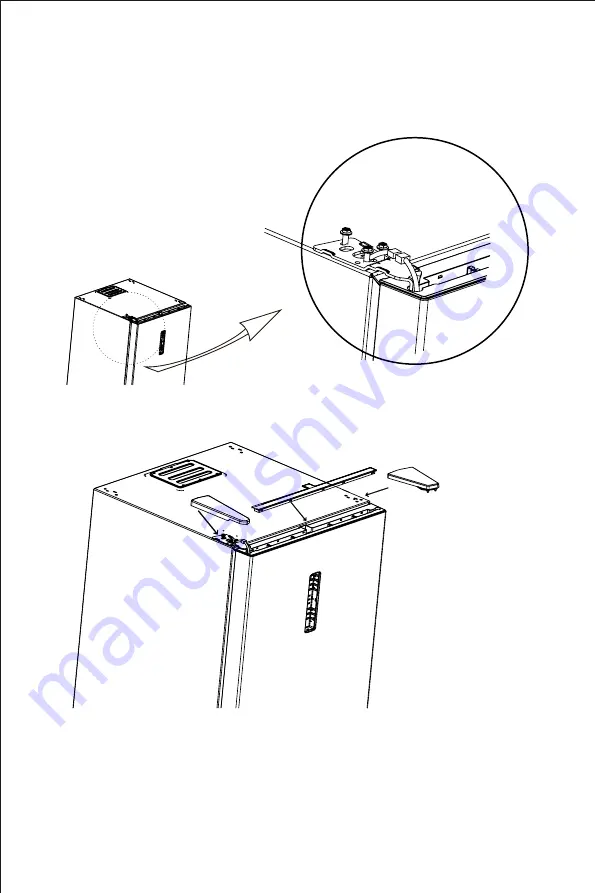
       insert terminal; mount upper hinge (Fig. a); 

       and place left upper hinge cover plate①,upper cap cover plate②,  and right hinge cover plate③ (Fig. b)

 Install door body, with door body signaling cables changed from the right to the left;

a

(The picture above is only for reference. The actual configuration will depend on
 the physical product or statement by the distributor)

b


13

Summary of Contents for S71349NFF

Page 1: ......

Page 2: ...the Light 15 2 7 Starting 15 2 8 Energy saving tips 15 3 1 Key components 16 3 2 Functions 17 3 2 18 4 1 Overall cleaning 19 4 2 Cleaning of the water dispenser 19 4 3 Defrosting 20 4 4 Out of operati...

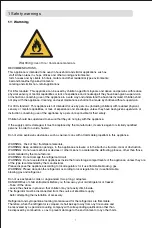
Page 3: ...stances such as aerosol cans with a flammable propellant in this appliance WARNING Risk of fire flammable materials WARNING Keep ventilation openings in the appliance enclosure or in the built in stru...

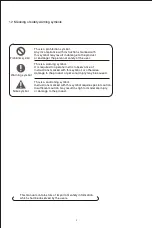
Page 4: ...d to operate in strict observance of instructions marked with this symbol or otherwise damage to the product or personal injury may be caused This is a cautioning symbol Instructions marked with this...

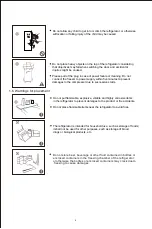
Page 5: ...rator and other electrical appliances considering that spark may cause a fire Do not use electrical appliances inside the food storage compartments of the appliance unless they are of the type recomme...

Page 6: ...n switching the door and accidental injuries might be caused Please pull of the plug in case of power failure or cleaning Do not connect the freezer to power supply within five minutes to prevent dama...

Page 7: ...ten the storage life 6 The necessity that for doors or lids fitted with locks and keys the keys be kept out of the reach of children and not in the vicinity of the refrigerating appliance in order to...

Page 8: ...ect The refrigerator is placed in a well ventilated indoor place the ground shall be flat and sturdy rotate left or right to adjust the wheel for leveling if unstable The top space of the refrigerator...

Page 9: ...ories it shall be ensured that the refrigerator is disconnected from power Before installation of the door handle precautions shall be taken to prevent fall of the handle from causing any personal inj...

Page 10: ...3 Cover the nut cap of handle hole The picture above is only for reference The actual configuration will depend on the physical product or statement by the distributor 8...

Page 11: ...veling feet precautions shall be taken to prevent any personal injury 1 Schematic diagram of the leveling feet 2 Adjusting procedures a Turn the feet clockwise to the refrigerator b Turn the feet coun...

Page 12: ...it shall be ensured that the refrigerator is disconnected from power Before installation of the door handle precautions shall be taken to prevent fall of the handle from causing any personal injury 1...

Page 13: ...3 Remove the door body and take off the right hinge 2 Pull off the signal line of the door body and use remove the screw of upper hinge Remove the upper hinge socket and ratchet signal line screw 11...

Page 14: ...4 and install the adjusted lower hinge on the left side of refrigerator Fig b Turn over the lower hinge install installation shaft on the other side of hinge Fig a a b 12...

Page 15: ...upper cap cover plate and right hinge cover plate Fig b Install door body with door body signaling cables changed from the right to the left a The picture above is only for reference The actual config...

Page 16: ...ts onnecting 2 Fit the lower connecting hinge at the bottom of two cabinets 1 Put two cabinets together with only 10mm gap Fix the connecting hinge to the place as shown in the picture The picture abo...

Page 17: ...paper toweling Liners interfere with cold air circulation making the appliance less efficient Organize and label food to reduce door openings and extended searches Remove as many items as needed at o...

Page 18: ...wn for a reasonable amount of storage space and easy use Note Storage of too much food during operation after the initial connection to power may adversely affect the freezing effect of the refrigerat...

Page 19: ...value after 15s 5 Fast cool function Enter Circulating modulation rapid cooling mode Operate Indicator of rapid cooling lights up and the refrigerator operates at 2 Operate 150min under the rapid coo...

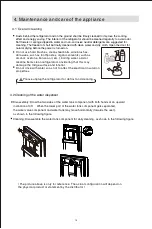
Page 20: ...ave been formed The water dispenser is only for purified water other than any beverage or juice Tips Do not take the water tank off for filling water Water dispenser cover Water tank cover of water di...

Page 21: ...e cleaned regularly to avoid odor Soft towels or sponge dipped in water and non corrosive neutral detergents are suggested for cleaning The freezer of shall be finally cleaned with clean water and dry...

Page 22: ...er freezing chamber drawers and etc with tape and tighten the leveling feet close the doors and seal them with tape During moving the appliance shall not be laid upside down or horizontally or be vibr...

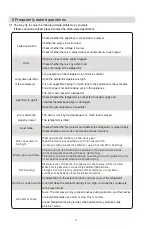
Page 23: ...to be tight Remove foreign matters on the door seal Heat the door seal and then cool it for restoration or blow it with an electrical drier or use a hot towel for heating Hot housing Heat dissipation...

Page 24: ......

Reviews: