02/12/19 C0DN6000_IT
Sol.
1
Sol.
2
Ti
Tu
2
1
14
13
7
8
1
2
11
12
2
1
T
T
ON
OFF
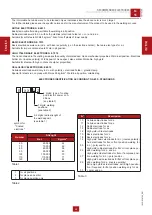
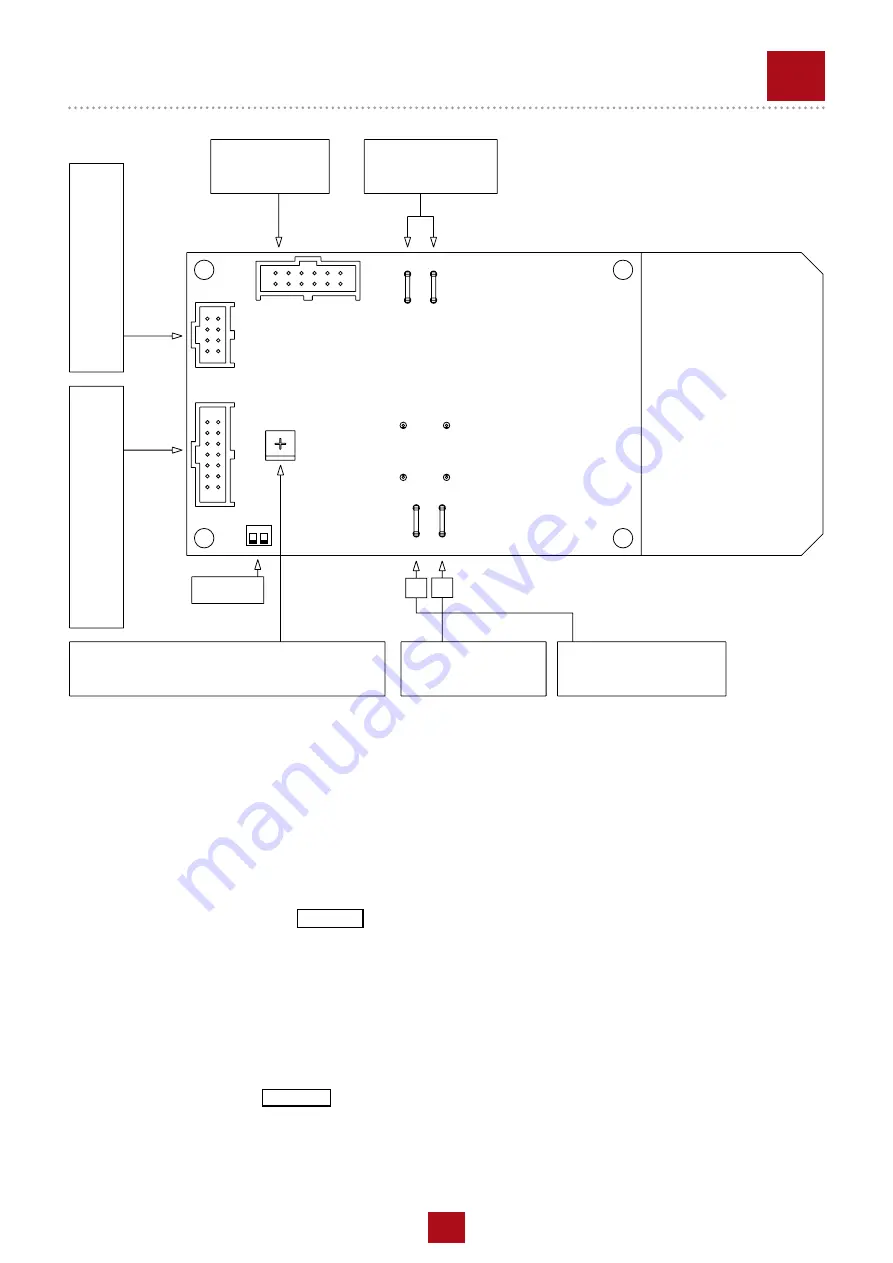
*) Tutte le volte che viene sostituita o la scheda o il sensore di corrente è necessario procedere ad una verifica della
massima corrente di saldatura e eventualmente procedere ad una sua taratura nel seguente modo:
- Fissare la scheda sulla lamiera porta scheda, collegare tutti i cavi e connettori.
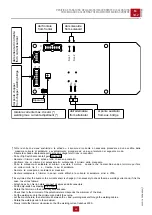
- Porre i Dip Switch secondo la figura Dip Switch
- Ruotare il trimmer sulla scheda tutto in senso antiorario.
- Verificare che al minimo del potenziometro corrisponda il minimo della manopola.
- Porre la manopola di saldatura al minimo e avviare il motore. Lasciare che la macchina vada al minimo poi fare
un corto circuito tra il + e - tramite i cavi di saldatura.
- Ruotar e la manopola di saldatura al massimo.
- Ruotare lentamente il trimmer in senso orario affinché la corrente di saldatura arrivi a 200A.
*) Every time either the board or the current sensor is changed, it is necessary to check the max. welding current and, if it is the
case, to set it as follows:
- Attach de pcb on his iron plate, connect all wives and all connectors.
- Put the dip-switch as drawing Dip Switch
- Rotate the trimmer on the board fully anticlockwise.
- Check that to the minimum of the potentiometer corrisponds the minimum of the knob.
- Put the welding knob to the minimum and start the engine.
- Let the machine idle, then shortcircuit between the + and - welding sockets through the welding cables.
- Rotate the welding knob to the maximum.
- Slowly rotate the trimmer clockwise so that the welding current reaches 200 A.
dal ponte chopper from chopper welding bridge
dal sensore di corrente from current sensor
taratura corrente max. di sald. (*)
welding max. current adjustment (*)
dall'alternatore
from alternator
al ponte ausiliario
from aux. bridge
dal frontale
from frontal
dal solenoide
from solenoid
Dip switch
M
34.2
VERIFICA E TARATURA DELLA MASSIMA CORRENTE DI SALDATURA
CHECKING AND ADJUSTING THE MAXIMUM WELDING CURRENT
REV
.0-12/19
22
Summary of Contents for MAGIC WELD 200
Page 2: ......
Page 33: ...11 01 01 Note NOTE 33...
Page 34: ...11 01 01 Note NOTE 34...
Page 35: ......


