7
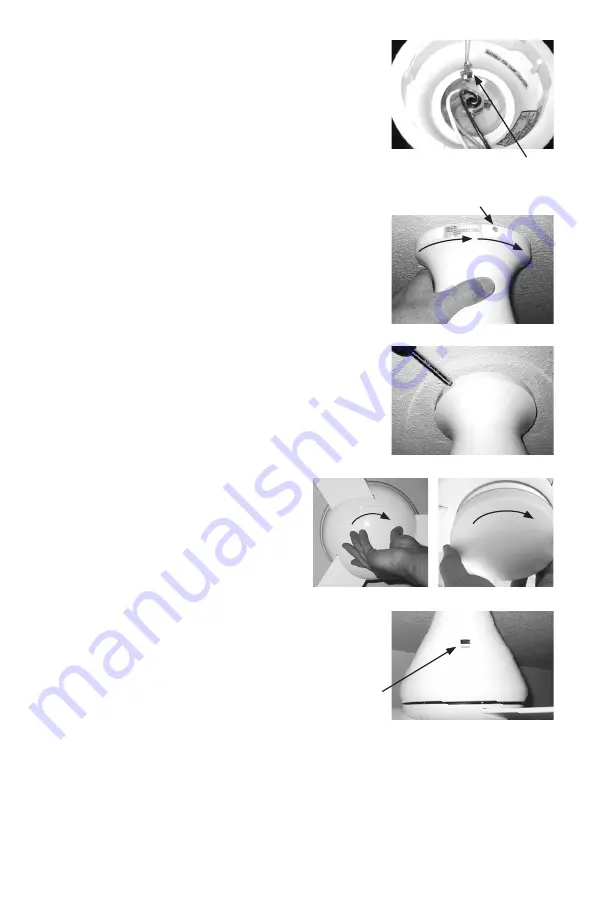
Secure suspension cable loop around the
hook inside the top of the fan body.
With fan safely suspended by cable, make
wire connections with wire nuts included
in hardware package as described in the
Control Installation Instructions.
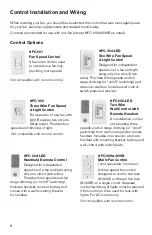
If using the #003, #004 or #005 control
option, the receiving unit should be placed
inside the top of the fan and connected
at this time.
Insert and partially thread each of the
three set screws. Once all three screws
are partially threaded, firmly tighten
each one.
Install wall control as described in the control installation instructions
(unless you are using a handheld remote control only).
The rotor and motor of your fan have been dynamically balanced at the
factory. In addition, the blades have been matched to the nearest gram
to ensure a well balanced ceiling fan. Furthermore, a blade balancing kit
has been included with your fan. Please refer to the instructions packaged
with the balancing kit should your fan require additional balancing.
Install bottom cap if your
fan does not have a light kit
or the glass diffuser if your
fan does have a light kit. In
either case, rotate clockwise
until cap or diffuser comes
to a stop.
Lift fan body and carefully align collar
with ceiling plate. Tabs on ceiling plate
should seat into channel on inside of fan
collar. Rotate fan so that set screw holes
on fan body align with set screw holes
on ceiling plate.
9
11
14
15
12
10
hook
Your fan is reversible for summer and winter
operation. The reverse switch is located on
the side of the fan body. The LEFT position
is for summer and the RIGHT position
is for winter.
13
reverse switch
set screw hole


