Description of the components.
1. Head (4) binocular and vertical in the case of S-10 series, or inclined for the S-20 series.
2. Eyepiece (1). The collection of lenses closest to the eye, they magnify the image formed by the
objectives.
3. Objectives (5). The collection of lenses closest to the object or slide sample being examined. They
form the first image.
4. Stage (9). Flat area where the slide is placed, and help with the stage clips.
5. Focusing knob (12). Situated on both sides of the stereomicroscope head holder, they permit precise
focussing.
6. Illumination (6). Depending on the model, it incorporates a 12V and 10W incident (Base LO)
illumination system, or an incident and transmitted illumination (Base 2LOO).
Operation
A. Starting
Up.
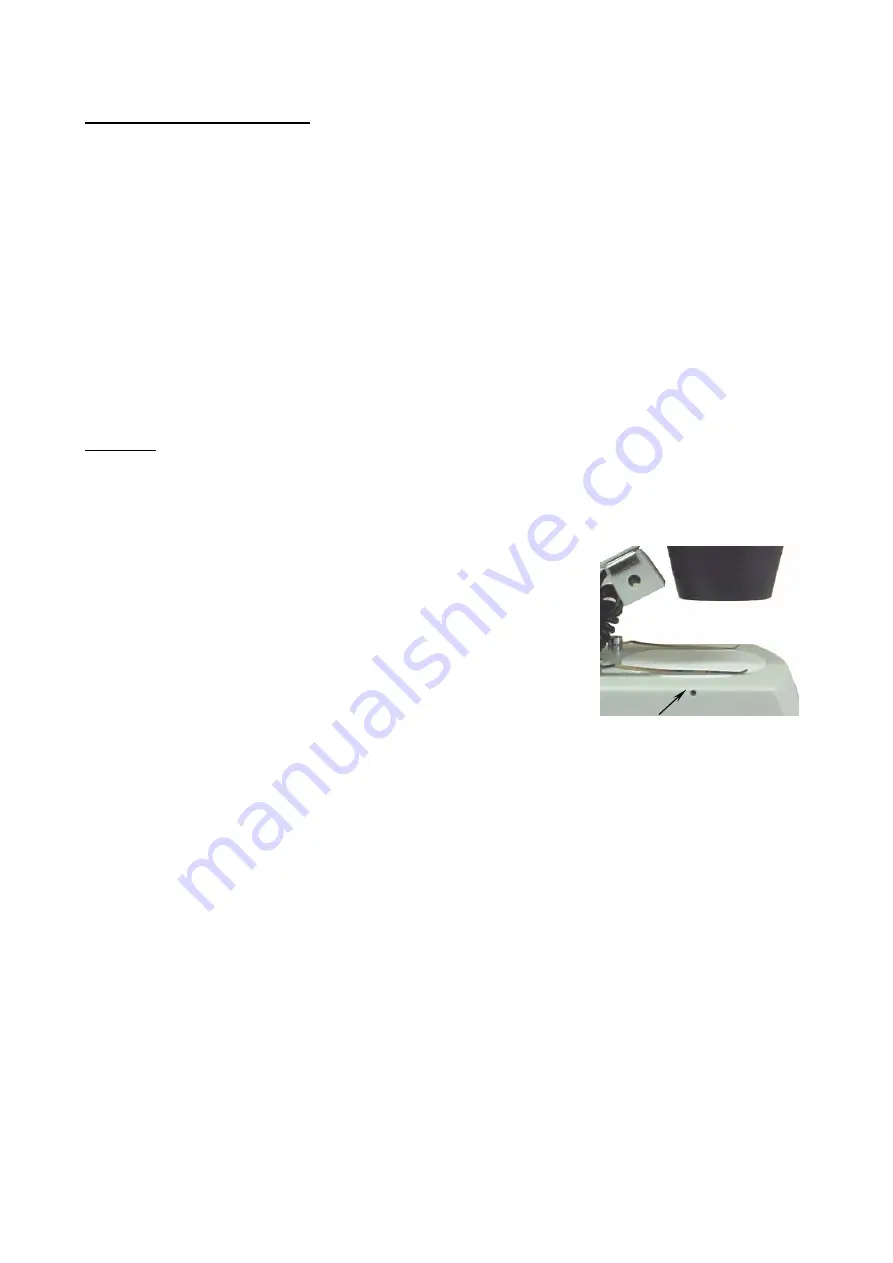
1. Changing the stage. (Only for model S-20-2LOO)
The stereomicroscope has two stages. One frosted glass for
the observation of slides, or thin, or transparent samples, such
as leaves, insect wings, etc. The other is opaque, black and
white and can be used for non-transparent samples, or for
dissection. The best contrast of a sample depends on the side
of the stage selected.
Fig. 1
Stage support
screw
a. Loosen the stage support screw (Fig. 1) with the
key provided, and remove the stage. (9).
b. If the frosted glass stage is being used, place it so
the frosted part faces upwards.
c. Tighten the stage support screw.
Depending on model, there exist three types of light switch situated on the base of the
stereomicroscope:
MAIN : Principal switch, which turns the entire unit on or off.
I
: Switch to turn incident light on or off (superior illumination)
T
: Switch to turn transmitted light on or off (inferior illumination)
2. Press the principal switch (7) to on position “I”.
3. Press the incident (15) illumination switch, or the transmitted illumination switch (16) or both
to position “I” or “II”, according to necessity, for the observation of the sample.
-4-


