background image

1A

1B

1B

4A
4A
4B

5A
6A

7A

7B

8B

8A

10A

8B

10B

9A

11A
11B

12A
12B
13A

14A

13B

EN

EN

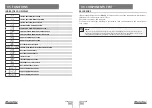
00. CONTENT

INDEX

TECHNICAL SPECIFICATIONS

LEDs

CONNECTORS

01. SAFETY INSTRUCTIONS

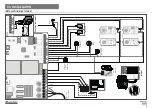
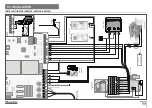
INSTALLATION MAP (STARK)

INSTALLATION MAP (KVM105-KVM110-KVM115)

BASE INSTALLATION PROCESS

03. INSTALLATION

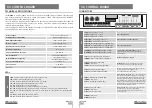
02. THE CONTROL BOARD

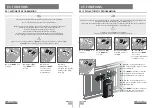
PROGRAMMING AND DELETE TRANSMITTERS

04. PROGRAMMING

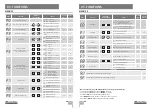
MENUS P

P1 - P2 - P3 - P4

P0 | AUTOMATIC PROGRAMMING

P7 - P8 - P9 

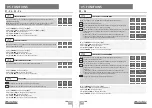
MENUS E

P5 - P6

P0 | SEMI-AUTOMATIC PROGRAMMING

E0 - E1 - E2

E3 - E5 - E6 - E7

E8 - E9
DISPLAY INDICATIONS

05. FUNCTIONS

FINAL CONSUMERS INSTRUCTIONS AND SPECIALIZED INSTALLERS

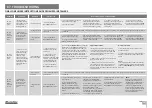
ERL ERRORS

07. TROUBLESHOOTING

06. COMPONENTS TEST

ATTENTION:

01. SAFETY INSTRUCTIONS

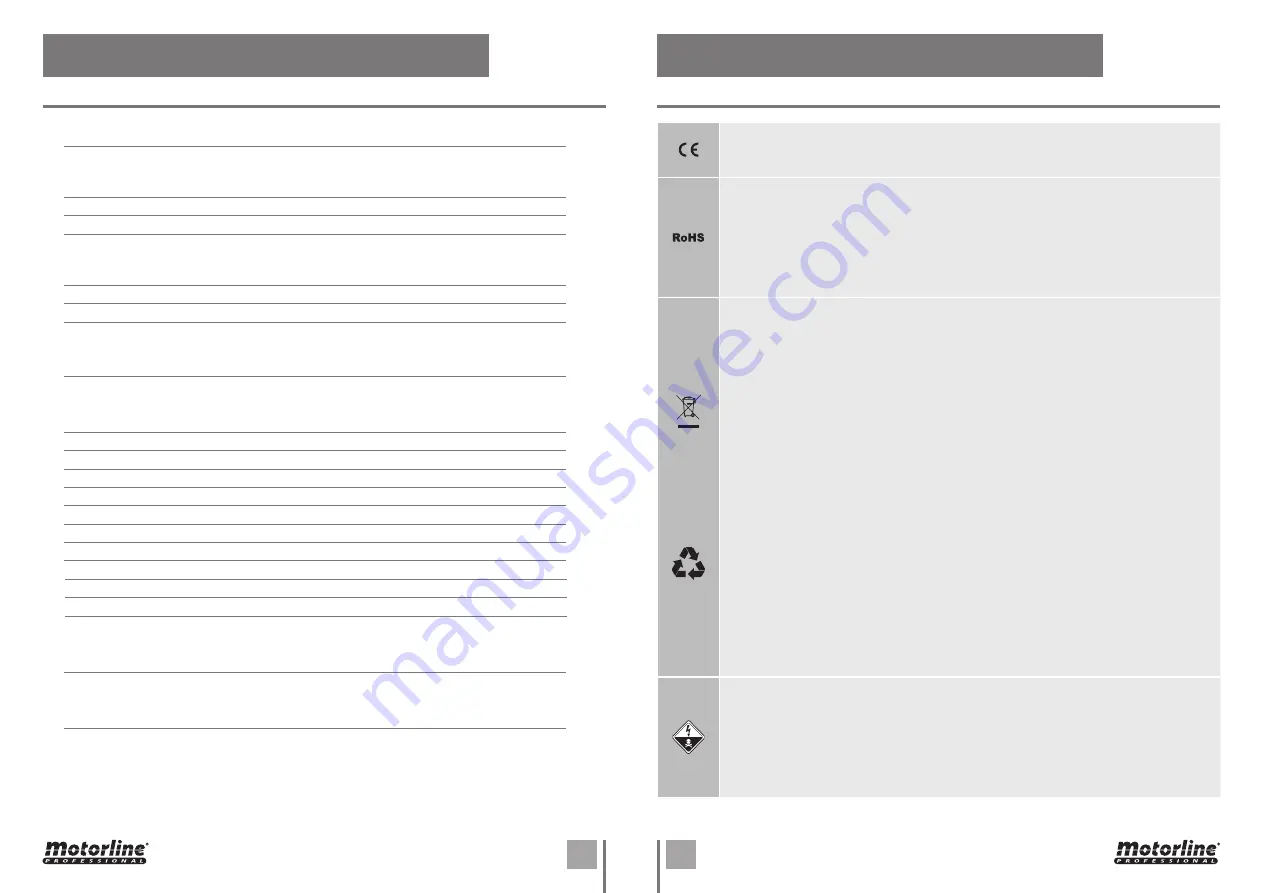
This product is certified in accordance with European 

Community (EC) safety standards.
This product complies with Directive 2011/65/EU of the 

European Parliament and of the Council, of 8 June 2011, on 

the restriction of the use of certain hazardous substances 

in electrical and electronic equipment and with Delegated 

Directive (EU) 2015/863 from Commission.
(Applicable in countries with recycling systems).

This marking on the product or literature indicates that the 

product and electronic accessories (eg. Charger, USB cable, 

electronic material, controls, etc.) should not be disposed 

of as other household waste at the end of its useful life. To 

avoid possible harm to the environment or human health 

resulting from the uncontrolled disposal of waste, separate 

these items from other types of waste and recycle them 

responsibly to promote the sustainable reuse of material 

resources. Home users should contact the dealer where 

they purchased this product or the National Environment 

Agency for details on where and how they can take these 

items for environmentally safe recycling. Business users 

should contact their vendor and check the terms and 

conditions of the purchase agreement. This product and 

its electronic accessories should not be mixed with other 

commercial waste.
This marking indicates that the product and electronic 

accessories (eg. charger, USB cable, electronic material, 

controls, etc.) are susceptible to electric shock by direct or 

indirect contact with electricity. Be cautious when handling 

the product and observe all safety procedures in this manual.

Summary of Contents for MC410

Page 1: ...F 1 F 2 F 3 L1 L2 V L3 T1 LAMP T2 T3 LS LO OL CL LE LA ST PU LS LO ST PU OL LS LE LA R G B Y V v1 2 REV 03 2021 MC410 MC410 EN INSTALLER AND USER S MANUAL...

Page 2: ...cable in countries with recycling systems This marking on the product or literature indicates that the product and electronic accessories eg Charger USB cable electronic material controls etc should n...

Page 3: ...with experienced in terms of usage of the product in a safe manner and who understands the risks and dangers involved Children shouldn t play with the product or opening devices to avoid the motorize...

Page 4: ...esanyrepairormodification unlocktheautomatism turn off the power and do not use it until all safety conditions have been met In the event of tripping of circuits breakers of fuse failure locate the ma...

Page 5: ...light or Flashing light This output allows the connection of a courtesy light or a Flashing light CN2 11 V Power supply 24Vdc 325mA max 12 GND Power supply 24Vdc 325mA max 24Vdc Auxiliary Power Supply...

Page 6: ...U R G B Y V TX RX TX RX R G B Y V F 2 F 3 L1 L2 L3 T1 LAMP T2 T3 V LS LO OL CL ST PU EN 03 INSTALLATION INSTALLATION MAP STARK Pedestrian or Close Pushbutton Motor connection Total or Open Pushbutton...

Page 7: ...2 COM 3 4 NC NO TX RX 9 10 10 9 1 2 3 11 4 6 5 11 8 7 1 2 3 5 6 4 7 8 EN 03 INSTALLATION INSTALLATION MAP KVM105 KVM110 KVM115 Connections Motor Pushbutton Flashlight Example Control Board Loading do...

Page 8: ...ion appears 05 Press the command button you want to program The display will blink and move to the next free location 03 Press cmd once to confirm 01 Press the cmd button for 3 sec PROGRAMMING TRANSMI...

Page 9: ...ST emergency button 00 01 Operating logic Automatic mode function 00 01 Step by step mode function Condominium mode function Flashing light Flashing opening and closing 00 00 Step by step mode functio...

Page 10: ...1 second 04 When programming is complete the display returns to the initial state This menu allows you to program the engine s working time in a semi automatic way allowing you to manually define the...

Page 11: ...disable photocells Define whether this security will act when opening or closing the gate 00 acts on closing 01 acts on opening Define the behavior that the gate will have when this security is activ...

Page 12: ...hing light will flash the 1st free position appears in the display Each time you store 1 command the control board will exit remote programming If you want to memorize more commands you will always ha...

Page 13: ...eters 03 Press MENU to edit the value 04 Use UP and DW to change the value 05 Press MENU for 2sec to save the new value DECELERATION SPEED This menu allows you to adjust the deceleration speed DEFAULT...

Page 14: ...otor is in star configuration and that it is a 400V motor that does not exceed 1500W INDICA ES DO DISPLAY 05 FUNCTIONS IN STOP POSITION FULLY OPEN IN STOP POSITION MIDDLE POSITION IN STOP POSITION FUL...

Page 15: ...in order to find out if it has problems see page 11B 3 f the motors work the problem is from control board Pull it out and send it to our MOTORLINE technical services for diagnosis 4 If the motors don...

Reviews: