2
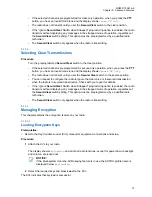
Press the
Menu Select
button directly below
Loc
.
The display shows
Location off
.
3
Perform one of the following actions:
• To obtain a location fix, press the
Menu Select
button directly below
On
.
• Press the
Menu Select
button directly below
Optn
.
or
to
Turn On GPS
and press
the
Menu Select
button directly below
Sel
.
The front display shows the MGRS or latitude/longitude location, time, and date of the last
successful location fix.
4
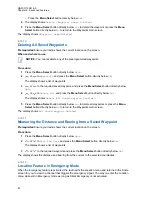
To obtain a new location fix, press the
Menu Select
button directly below
Rfsh
.
The top line temporarily displays
Please wait
while the new location is being determined.
While the new location is being determined, the location signal can be a solid or blinking icon.
Once the location coordinates are fixed, the display shows the current location along with the
UTC (Zulu) time and date that the location fix was obtained.
The location coordinates are updated automatically every 5 seconds while the location signal is
present.
If the radio fails to get a location fix, the display shows
No service
and returns to the previous
display.
5
To return to the
Home
screen, press
, the
PTT
button, the preprogrammed
GPS
button or
the
Back
button.
6.18.6
Selecting Location Format
Procedure:
1
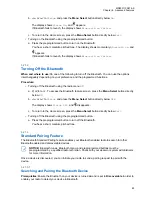
or to
Loc
.
2
Press the
Menu Select
button directly below
Loc
.
3
Press the
Menu Select
button directly below
Optn
.
4
or
to
Loc Format
and press the
Menu Select
button directly below
Sel
.
5
or
to the preferred location format and press the
Menu Select
button directly below
Sel
.
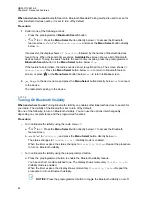
The front display shows the location with the selected format.
NOTICE:
If the SLD99 format is selected and the range is invalid, the display shows
––––––
–––––-
on the location. This situation occurs if you are using the radio outside of Sri Lanka and
using the SLD99 format. To correct this situation, switch the location display format to other
GPS options such as DDM, DMS, UTM/UCS, or MGRS.
6.18.7
Saving a Waypoint
Prerequisites:
Ensure that your radio shows the current location on the screen.
Procedure:
1
Press the
Menu Select
button directly below
Optn
.
2
Perform one of the following actions:
MN003110A01-AK
Chapter 6: Advanced Features
78


