1-16
Computer Group Literature Center Web Site
Hardware Preparation and Installation
1
Card cage rail guide description for MXP:
Switch Slot = Red
AMC Slots = Tan
Payload Slots = Black
!
Caution
Caution
Insert the board by holding the ejector lever—do not exert unnecessary
pressure on the faceplate.
You can remove hot-swap modules without removing the system's power.
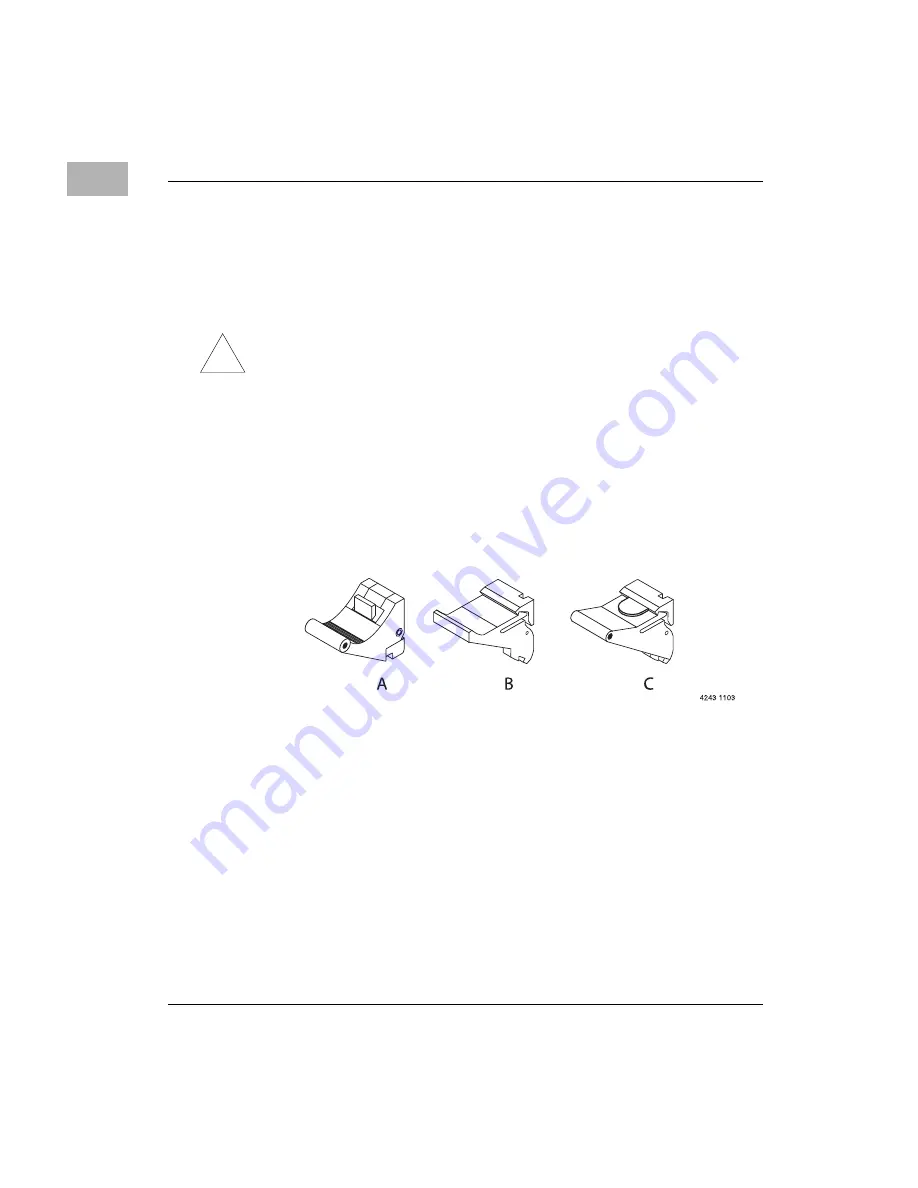
Depending on your platform configuration, the modules you install may
have different ejector handles and latching mechanisms. The following
illustration shows the typical board ejector handles used with the MXP
platform. A: Elma Latching, B: Rittal Type II, C: Rittal Type IV.
All handles are compliant with the CompactPCI specification and are
designed to meet the IEEE1101.10 standards.
To reduce the risk of pin damage, refer to the following illustration and
perform these steps when installing modules.
Note
The following illustration may not represent the exact board you
are using, it is meant for illustration purposes only.
1. Attach an ESD strap to your wrist. Attach the other end of the ESD
strap to an electrical ground (refer to
). The ESD strap must be secured to your wrist and to ground
throughout the procedure.
2. Remove any filler panel that might fill that slot.


