GETTING STARTED
iDEN
17
Tutorial
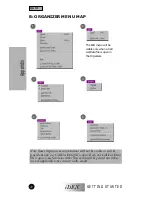
Take a few moments now to review the Organizer menus and the
various features of the Call List window. These are described in
the “Using the Organizer” section beginning on page 9. Then
proceed to the next task.
ConÞguring Call Lists
In this example, you will add a couple of entries to the Phone
List.
1.
Double-click on the Phone List folder in the tree view. This
will bring up a tabbed dialog box. (For more information on
how to use tabbed dialog boxes, refer to page 14.)
2.
In the Phone List spreadsheet, add the following entries:
3.
To enable both entries, click Enable All. Or click on the
Enabled column for each entry and put a check mark in the
box. You can also selectively enable an entry by clicking in
the corresponding cell in the Enabled column and clicking
once on the check box.
4.
Click OK to add the new entries and return to the data file’s
tree and content views.
TIP:
For help on a field, press F1 while the cursor is in that
field. For help on a dialog box, press the Help button in the dia-
log box.
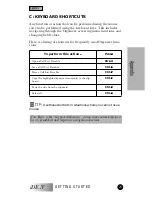
TIP:
For a list of Call List editing shortcuts, refer to the
“Organizer Keyboard Shortcuts” topic in the online help.
SAM
5551212
INFO
8005551212
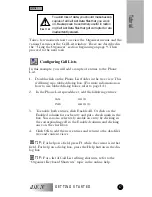
To avoid loss of data, you should make backup
copies of all Call List Data files that you work
on. Backups can be extremely useful in restor-
ing Call List Data files that get corrupted or are
inadvertently erased.
!
C a u t i o n
✓
✓
Tutorial


