MICOM-2E-ALE Owner’s Manual
76
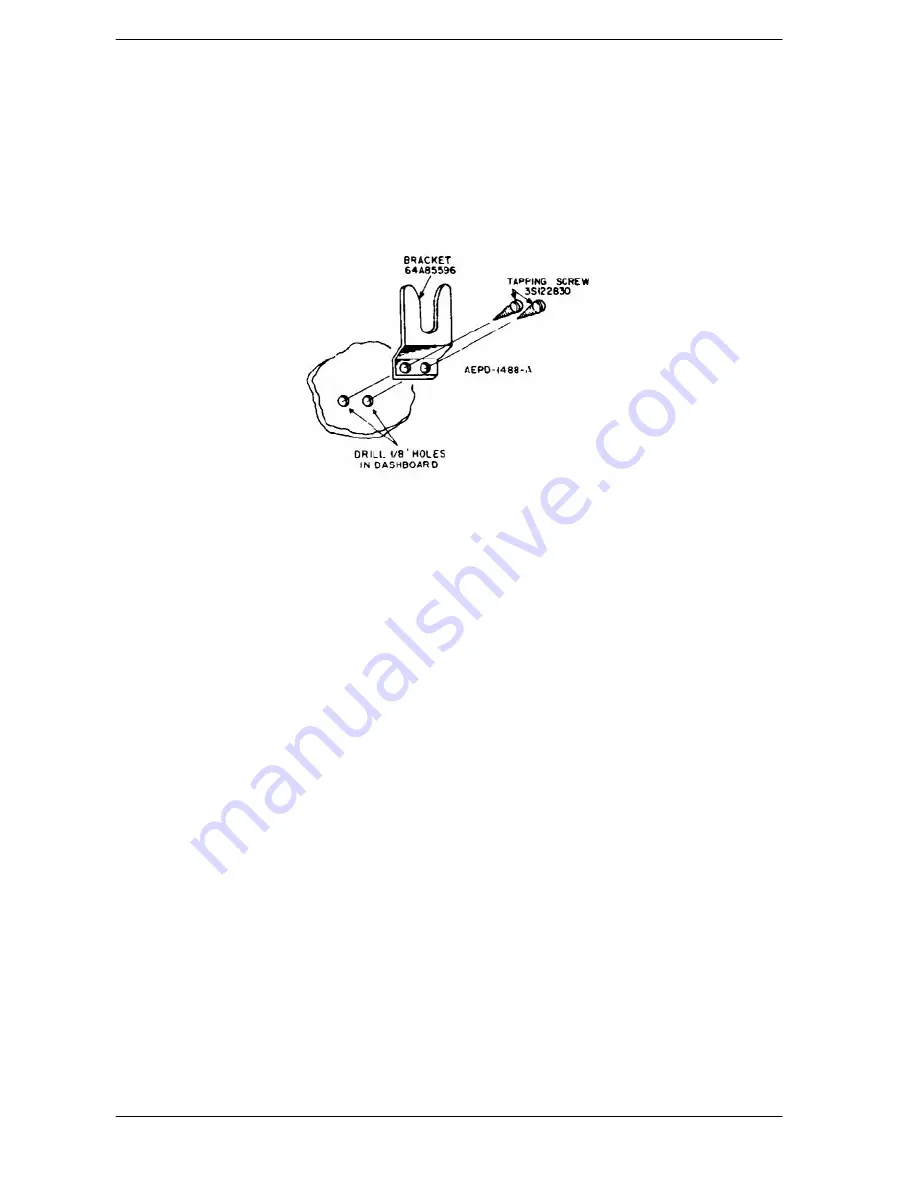
Microphone Clip
The microphone cable enables placing the microphone clip in any
convenient location up to five feet from the radio. To install the clip, use
it as a template to drill two holes to receive self-threading sheet-metal
screws. Mount the clip using the supplied screws.
Figure 10: Microphone Clip
Final Connections
Step 1.
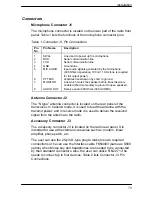
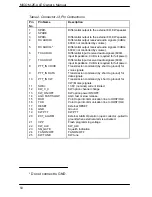
Ensure that the radio is off. Then connect the power cable to
DC connector J4 and connect the antenna RF cable to antenna
connector J2.
If an antenna tuner is used, connect the antenna to the tuner,
connect the tuner RF cable to connector J3, located on the
radio rear panel.
Step 2.
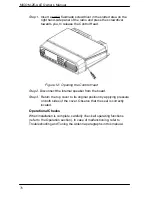
If the mounting tray is used, slide the radio into the tray and
fasten the tray bracket with the supplied screw.
Summary of Contents for MICOM-2E ALE
Page 1: ...MICOM 2E ALE HF SSB Transceiver 68P02952C60 O Owner s Guide ...
Page 3: ......
Page 5: ......
Page 17: ...MICOM 2E ALE Owner s Manual xii blank ...
Page 23: ...MICOM 2E ALE Owner s Manual xviii blank ...
Page 33: ...MICOM 2E ALE Owner s Manual 10 blank ...
Page 51: ...MICOM 2E ALE Owner s Manual 28 blank ...
Page 80: ......
Page 114: ...Installation 75 Figure 9 Wire Attachment to Chassis ...
Page 129: ...90 Toggling the speaker setting 65 Transmitting 26 Turning the radio on 11 ...
Page 132: ...68P02952C60 O 68O2952C60 ...

