Printing Layout, Schematic, and Parts List
The PDF file for the RTU component includes the following views:
•
layout
•
schematic
•
divided schematic for any page of the schematic which is too big
for printing on a letter size desktop printer
•
parts
list
To print part of the PDF file:
1. Go to the desired view by clicking once on the appropriate bookmark (e.g. Parts List) on the
left side of the screen. If the item has a minus sign to its left, click on the sign to see
further items below.
2. The diagram or list you want to print may more cover than one page. To identify which pages
should be printed, note the page numbers (e.g. 4 of 11) at the bottom of the screen. Use the
scroll bar or the Page Down button on the keyboard to advance. If the bookmark on the left
side of the screen changes, then you have advanced too far and displayed the next sheet or
view.
3. Press on the
icon on the toolbar above the diagram to open the Print dialog box.
4. Select the current page or range of page numbers to be printed (e.g. 4-5) and click on OK.
Warning
: Printing the entire PDF file is NOT recommended, as some pages will probably not fit
your printer size.
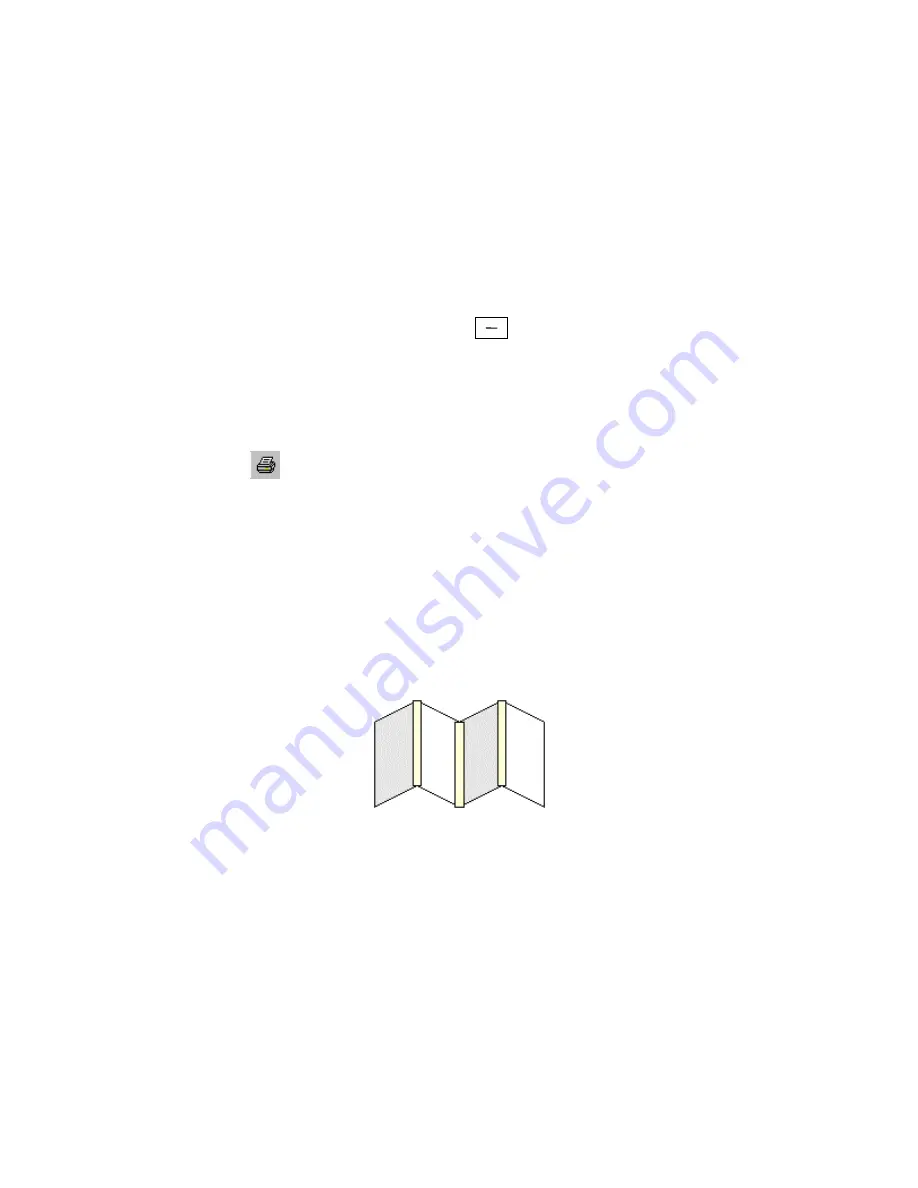
Reconnecting a Divided Schematic
Pieces of a divided schematic can be reconnected as follows:
1. Line up the pages. If necessary, consult the schematic in the PDF.
2. Use tape to join of all parts of diagram as shown below.


