4 - 30 Omnii (Windows Embedded Hand-Held 6.5) User Guide
•
In the
Name
field, type a
name
for this connection.
•
In
Host name/IP
, type the
VPN server name
or
IP address
.
•
Tap on the
VPN type
radio button next to the type of authentication for your Omnii:
IPSec/L2TP
or
PPTP
.
Your network administrator will let you know which option applies to your unit.
•
Tap on
Next
.
•
Choose the type of authentication in this screen. If you choose
A pre-shared key
, type the key provided by
your network administrator.
•
Tap on
Next
.
•
Type your
user name, password
and
domain name
. If a domain name was not provided to you, try the
connection without entering a domain name.
If you need to edit the
Advanced
settings, refer to
“Advanced Modem Settings” on page 4-25
for details about
this tab.
•
Tap on
Finish
.
•
Launch a program like Internet Explorer to activate the connection. The VPN connection will start
automatically.
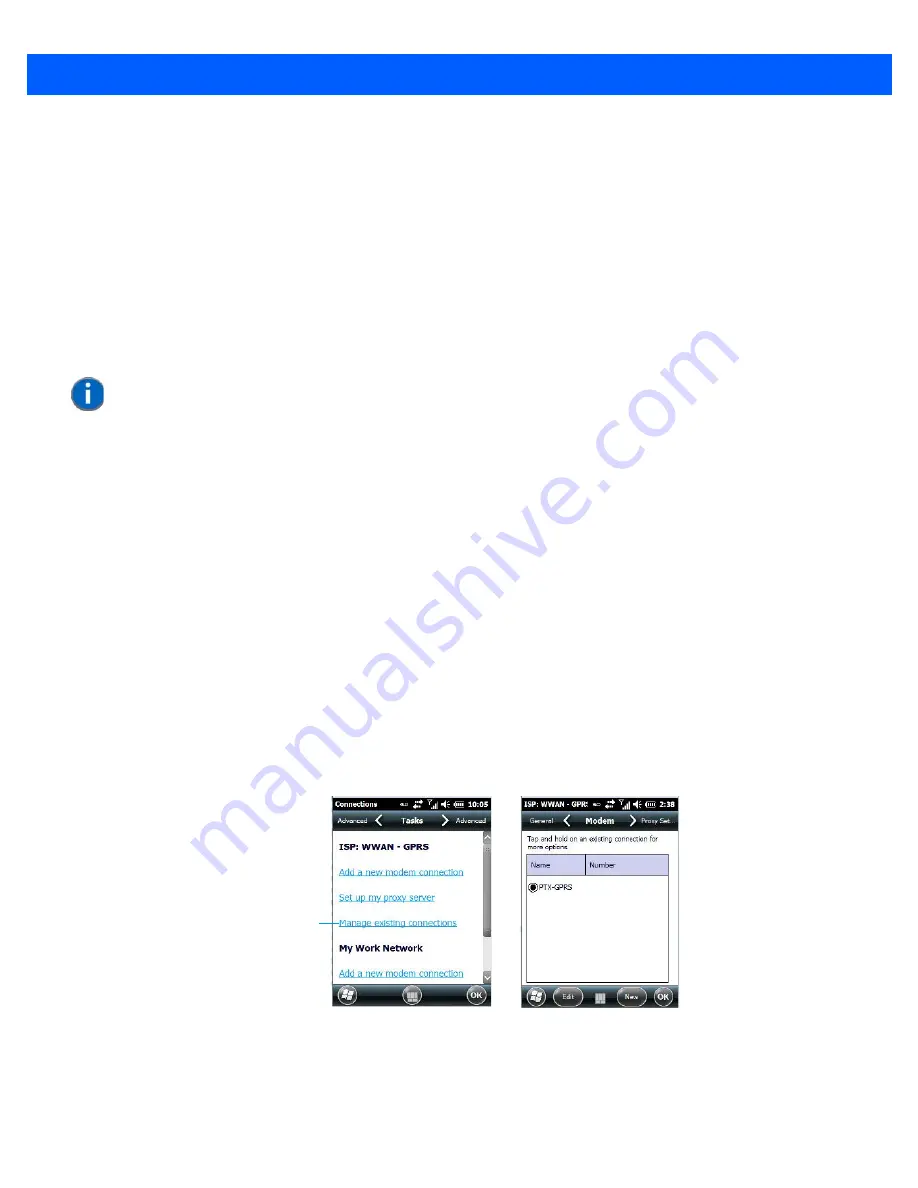
Managing an Existing Connection
Once you’ve defined a connection, a new option appears in the first
Connections
screen –
Manage
existing connections
.
Editing a Connection
•
Tap on
Start>Settings>Connections folder
icon. Tap on the
Connections
icon.
•
Tap on
Manage existing connections
.
•
To launch a connection from this screen, press and hold the stylus on the connection you want to activate.
Choose
Connect
from the pop-up menu.
•
To delete a connection, press and hold the stylus on the connection you want to delete. Choose
Delete
from the pop-up menu.
NOTE
Normally, you will not need to change any advanced settings. You will need to make
changes only under only the following circumstances:
- The server to which you are connecting does not dynamically assign addresses, and
TCP/IP settings need to be entered.
- Server DNS or WINS settings need to be changed.
Tap here
Summary of Contents for Omnii
Page 1: ...Omnii HAND HELD COMPUTER USER GUIDE Windows Embedded Hand Held 6 5 ...
Page 2: ......
Page 3: ...OMNII HAND HELD COMPUTER USER GUIDE 8000225 Rev G March 3 2014 ...
Page 6: ......
Page 18: ......
Page 20: ......
Page 28: ......
Page 36: ......
Page 39: ...Getting To Know Your Omnii 2 3 Cleaning the Omnii 2 37 ...
Page 40: ......
Page 74: ......
Page 114: ......
Page 250: ......
Page 278: ......
Page 288: ......
Page 291: ...Internal Imager Scanner Specifications D 5 SE965 Decode Zones ...
Page 304: ...D 18 Omnii Windows Embedded Hand Held 6 5 User Guide SE4600LR Decode Zones ...
Page 306: ......
Page 316: ......
Page 318: ......
Page 330: ......
Page 338: ......
Page 349: ......


