Chapter 11: Management
60
•
To paste an item, tap
Menu
>
Paste
.
•
To sort items, tap
Menu
>
Sort
, then select an option.
•
To search for a file, tap
Menu
>
More
>
Search
.
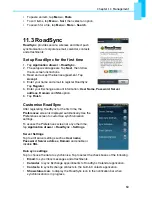
11.3 RoadSync
RoadSync
provides secure, wireless and direct push
synchronisation of corporate email, calendar, contacts
and attachments.
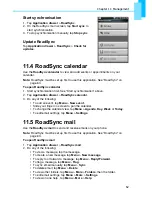
Set up RoadSync for the first time
1. Tap
Application drawer
>
RoadSync
.
2. The setup wizard appears. Tap
Next
, then follow
the on-screen instructions.
3. Read and accept the licence agreement. Tap
Accept
.
4. Enter your name and email to register RoadSync.
Tap
Register
.
5. Enter your Exchange account information:
User Name
,
Password
,
Server
address
,
Domain
and
SSL
option.
6. Tap
Finish
.
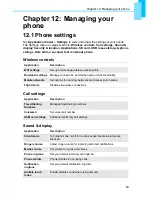
Customise RoadSync
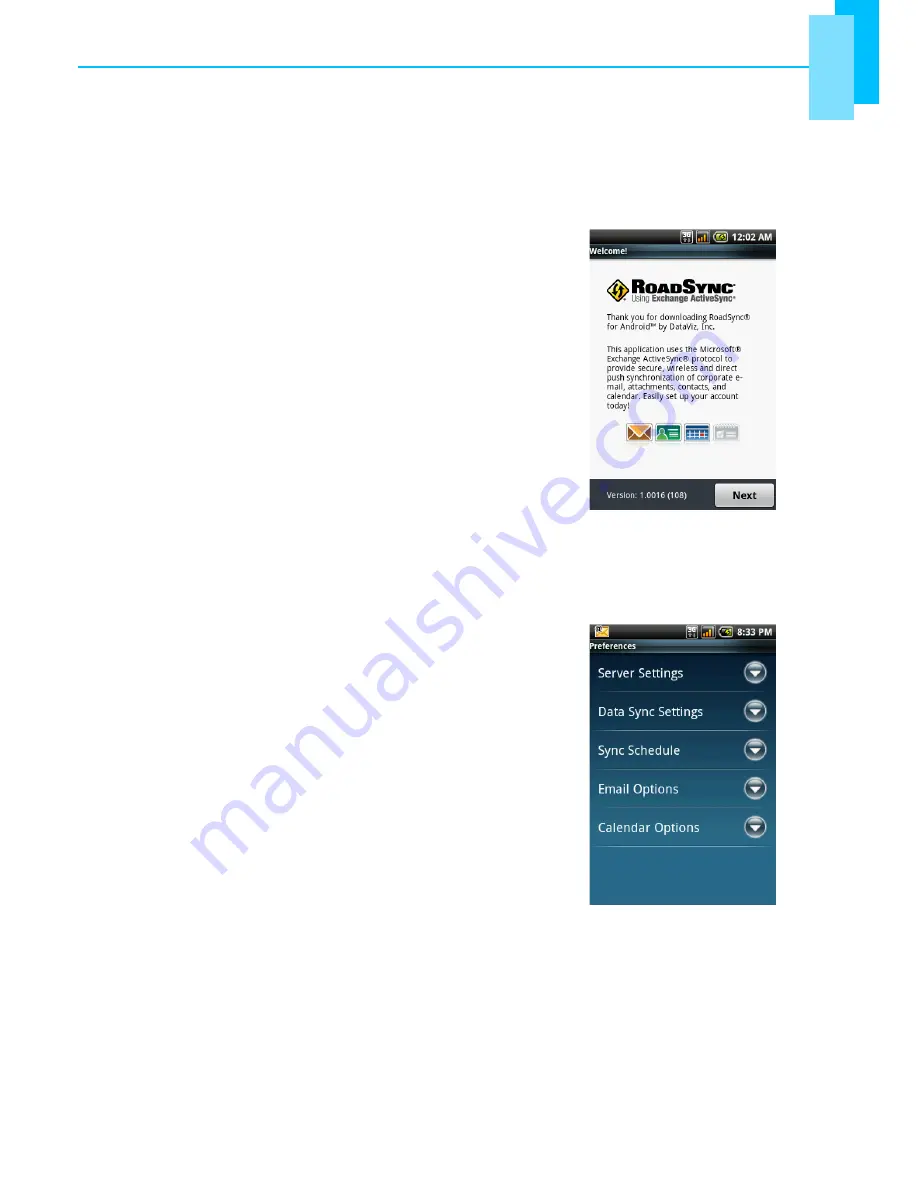
After registering RoadSync for the first time, the
Preferences
screen is displayed automatically. Use the
Preferences screen to customise synchronisation
settings.
To access the Preferences screen at any other time,
tap
Application drawer
>
RoadSync
>
Settings
.
Server Settings
Tap to edit server settings such as
User name
,
Password
,
Server address
,
Domain
and enable or
disable
SSL
.
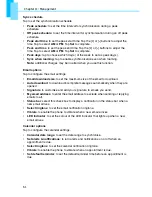
Data sync settings
Tap to choose the data to synchronise. Tap to select the check boxes of the following:
•
: to sync Inbox messages and attachments.
•
Calendar
: to sync Exchange appointments to RoadSync Calendar application.
•
Contacts
: to sync Exchange contacts to the built-in Contacts application.
•
Show status icon
: to display the RoadSync icon in the notification bar when
synchronisation is in progress.


