and Motorola are registered trademarks of Motorola, Inc.
68P81124E57-A
Copyright © 2000 Motorola, Inc. All Rights Reserved.
Introduction
The mobile rooftop antenna is supplied with a coaxial
lead-in cable and a connector. In the completed instal-
lation, the cable is concealed between the headlining
and the roof of the vehicle, with a minimum distur-
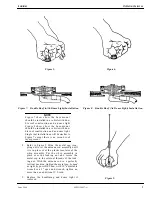
bance to the headlining and the upholstery. Figure 11
provides a pictorial drawing of the disassembled
antenna complete with component part numbers.
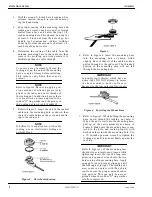
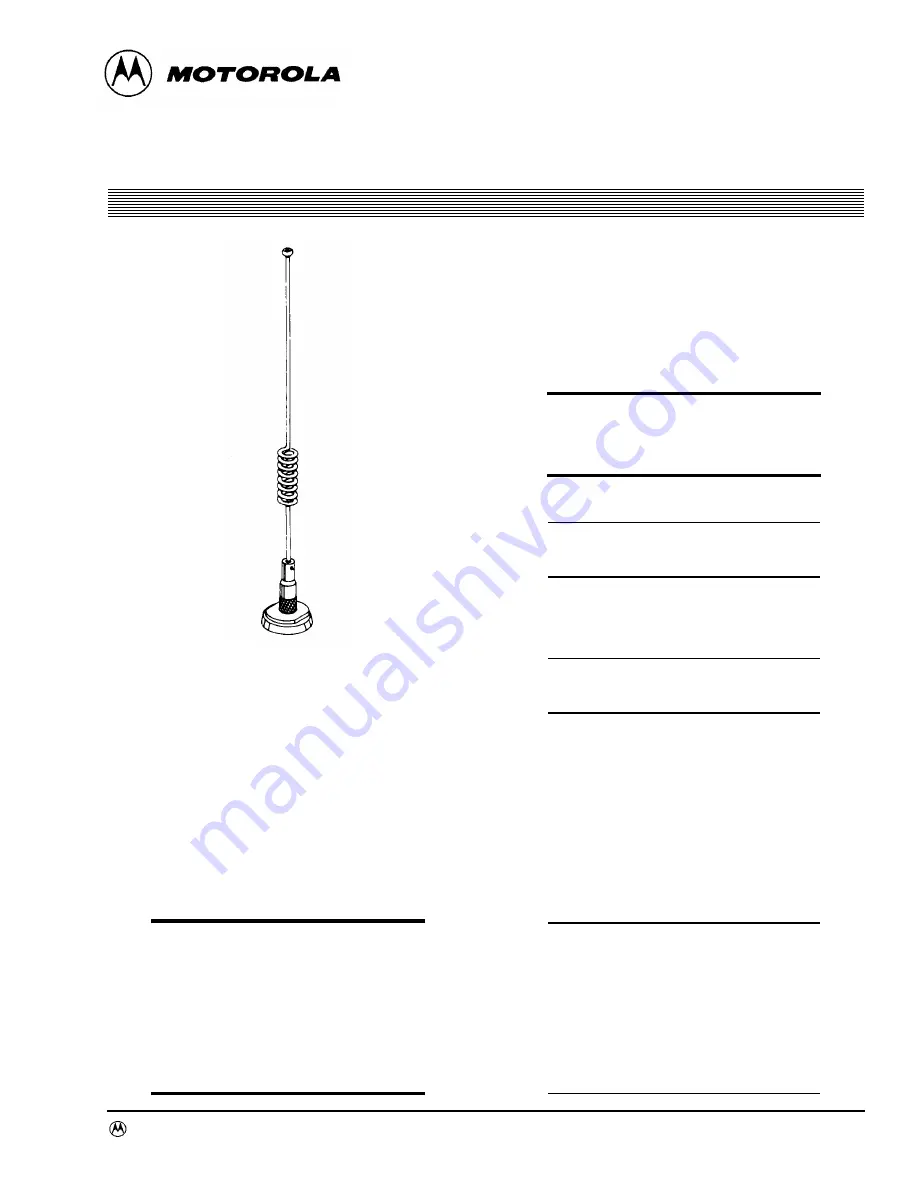
Figure 1 shows an antenna assembled.
CAUTION
Advise the radio owner to unscrew the
upper antenna assembly at the knurled
section before entering an automatic car
wash to prevent damage to the antenna
or the roof of vehicle. When unscrewing
the antenna, be sure only the upper sec-
tion, not the coupling nut is removed. If
t h e c o u p l i n g n u t s h o u l d l o o s e n ,
retighten it securely against the mount-
ing surface.
Installation
See Table 1 for recommended antenna location for var-
ious vehicles. The installation procedure which follows
is for a typical passenger car. The procedure may vary
slightly with the type of vehicle on which the antenna
is to be installed. Generally speaking, however, the
procedures outlined are of a "universal" nature.
CAUTION
Observe the safety precautions given in
this instruction manual. Never adjust
antenna whip length while the radio is
being keyed.
This antenna is factory tuned for 835 MHz.
NOTE
The antenna should be mounted on a flat
metal roof of .020 to .040 inch thickness.
First, select a location for the antenna as near the center
of the roof as possible (see Step 1 of the installation pro-
cedure following).
IMPORTANT
When installing the lead-in cable, the
cable should not be shortened.
The headlining may be probed with the fingers to
make sure that all points of obstruction will be
avoided.
1.
Drill a pilot hole at selected location then, drill
a 3/4-inch hole from the top (outside the vehi-
cle only) with the Motorola 01-80382A25
holecutting saw (or equivalent) until it bot-
toms. Clean the roof metal in a neat circle to
assure good contact with the mounting base
and its locking nut.
NOTE
In installations involving a double roof
with no dome light, a second 3/4-inch
hole must be drilled. However, a deep-
well type of 3/4-inch hole saw (with pilot
drill bit) must be used to cut the second
(or bottom) roof section. This provides
access to the area where the coaxial cable
is routed, between the second roof sec-
tion and headlining.
Figure 1.
Mobile Gain Antennas
890-960 MHz
Models RRA-4935/RRA-4936


