Getting Started
1 - 3
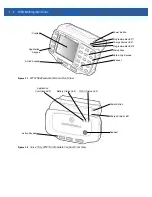
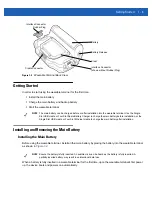
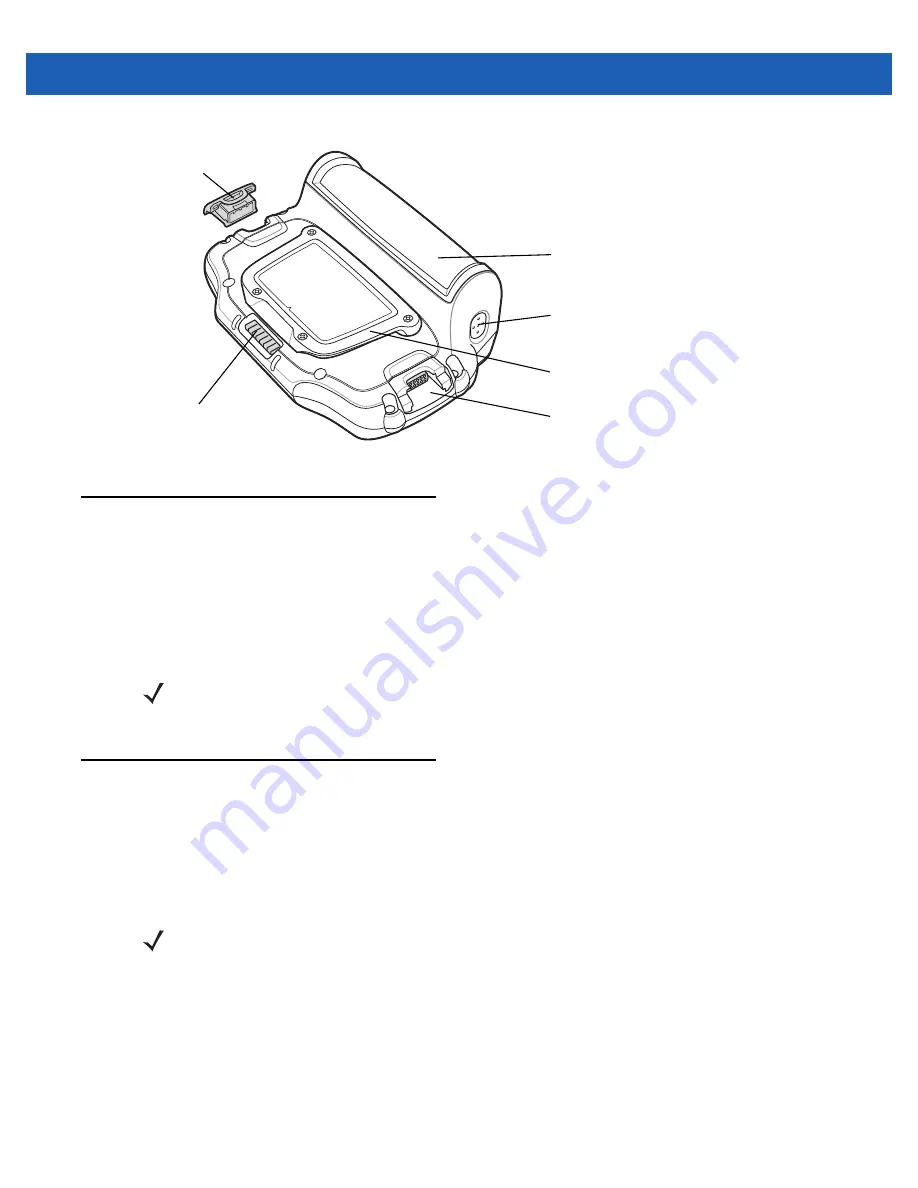
Figure 1-3
Wearable Terminal Back View
Getting Started
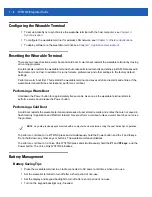
In order to start using the wearable terminal for the first time:
•
Install the main battery
•
Charge the main battery and backup battery
•
Start the wearable terminal.
Installing and Removing the Main Battery
Installing the Main Battery
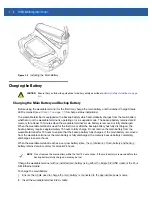
Before using the wearable terminal, install a lithium-ion battery by placing the battery into the wearable terminal
as shown in
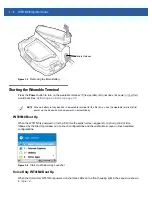
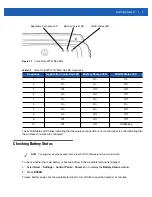
When a battery is fully inserted in a wearable terminal for the first time, upon the wearable terminal’s first power
up, the device boots and powers on automatically.
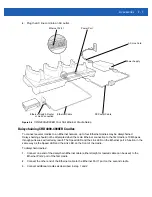
Battery
Interface Connector
Rubber Plug
Interface Connector
(shown without Rubber Plug)
Cradle Connector
Cleat
Battery Release
NOTE
The main battery can be charged before or after installation into the wearable terminal. Use the Single
Slot USB cradle or Four Slot Spare Battery Charger to charge the main battery before installation, or the
Single Slot USB cradle or Four Slot Ethernet cradle to charge the main battery after installation.
NOTE
Ensure the battery is fully inserted. An audible click can be heard as the battery is fully inserted. A
partially inserted battery may result in unintentional data loss.
Summary of Contents for WT41N0
Page 1: ...WT41N0 WEARABLE TERMINAL INTEGRATOR GUIDE ...
Page 2: ......
Page 3: ...WT41N0 INTERGRATOR GUIDE 72E 160600 01 Rev A December 2012 ...
Page 6: ...iv WT41N0 Integrator Guide ...
Page 18: ...xvi WT41N0 Integrator Guide ...
Page 60: ...3 6 WT41N0 Integrator Guide ...
Page 64: ...4 4 WT41N0 Integrator Guide ...
Page 118: ...7 16 WT41N0 Integrator Guide ...
Page 122: ...8 4 WT41N0 Integrator Guide ...
Page 154: ...A 20 WT41N0 Integrator Guide ...
Page 156: ...B 2 WT41N0 User Guide ...
Page 170: ...Index 4 WT41N0 Integrator Guide ...
Page 171: ......


