8 General Operation
62
Rev. 02/2018
3.
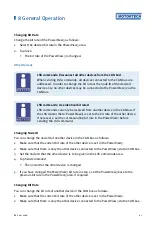
Make sure that the current node ID of the other device is set in the
LSS Commands
area.
Otherwise, it will be changed accordingly when the LSS command is sent.
4.
Select the bit rate that the other device is to be given.
5.
Tap
Send Command
.
▸
The bit rate and the node ID of the other device are changed.
6.
If you have changed the bit rate of the PowerView3 in step 1, set the PowerView3 back to the
previous bit rate in the
PowerView3
area, if required.
8.4.4
Recordings
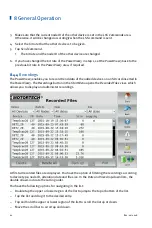
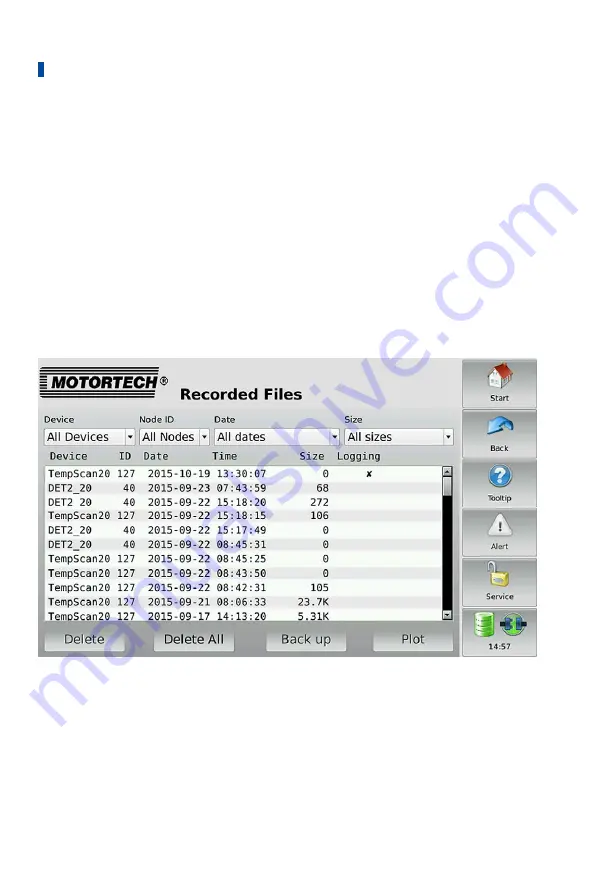
The PowerView3 enables you to record trend data of the added devices on an SD card inserted in
the PowerView3. The
Recordings
button in the
Start Menu
opens the
Recorded Files
view, which
allows you to display and administer recordings.
At first all recorded files are displayed. You have the option of filtering the recordings according
to device type, node ID, alteration date and file size. In the
Date
and
Size
drop-down lists, the
double arrows indicate the sorting order.
You have the following options for navigating in the list:
–
Double tap the upper or lower region of the list to jump to the top or bottom of the list.
–
Tap the list and drag it to the desired entry.
–
Tap and hold the upper or lower region of the list to scroll the list up or down.
–
Move the scroll bar to scroll up and down.
Summary of Contents for PoewerView3
Page 1: ...PowerView3 HMI Module Operating Manual P N 01 10 015 EN Rev 02 2018...
Page 16: ...4 Product Description 16 Rev 02 2018...
Page 17: ...4 Product Description Rev 02 2018 17...
Page 18: ...4 Product Description 18 Rev 02 2018...
Page 19: ...4 Product Description Rev 02 2018 19...
Page 26: ...4 Product Description 26 Rev 02 2018 4 1 8 Overview Drawings Rear View...
Page 27: ...4 Product Description Rev 02 2018 27 Plan View Side View...
Page 137: ...Rev 02 2018 137...
Page 138: ......


