27
Installing the Elevator
•
Install the CA hinges into the slots in the stabilizer and slide the elevator onto the CA hinges,
so half of the hinge is in each part. Move the elevator through its full range of motion and then
secure the hinges by placing a few drops of thin CA on both sides of the hinges at the hinge
line. Keep flexing the elevator to keep the CA from gluing the covering of each part together.
Attaching the Vertical Stabilizer and Installing the Rudder
•
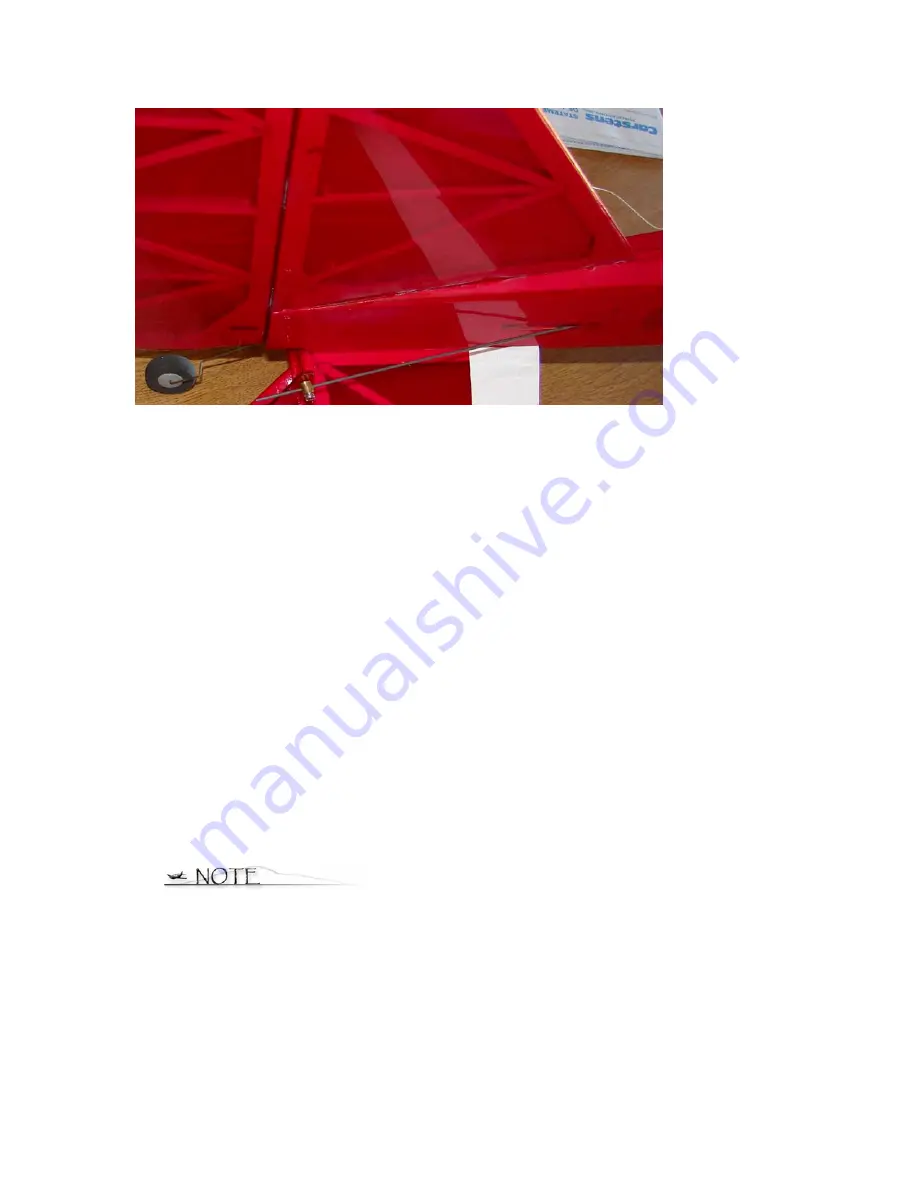
Run a bead of thick CA along the top of the fuselage sides where the vertical stabilizer
will rest, and position the vertical stabilizer, making sure that the rear of the stabilizer
lines up with the rear of the fuselage and that it’s perpendicular to the elevator. Hold in
place until the CA sets. (See image at top of page)
•
Position the three hinges into their slots on the rudder. Slide the tail wheel wire though the
hole in 1/16” plywood part on the back bottom of the fuselage. Maneuver the rudder so that
one by one, the hinges can be lined up and slid into the slots in the vertical stabilizer.
•
Glue the hinges into place with thin CA as you did with the elevator and stab.
Attaching the Ailerons
Attach the ailerons to the wing using the same method you used to attach the tail feathers. You
will use 3 half CA hinges per aileron.
Make sure that you pay attention to which is the left and right
aileron when you are attaching them to the wings. The aileron control pockets need to face
down.


