8
8.
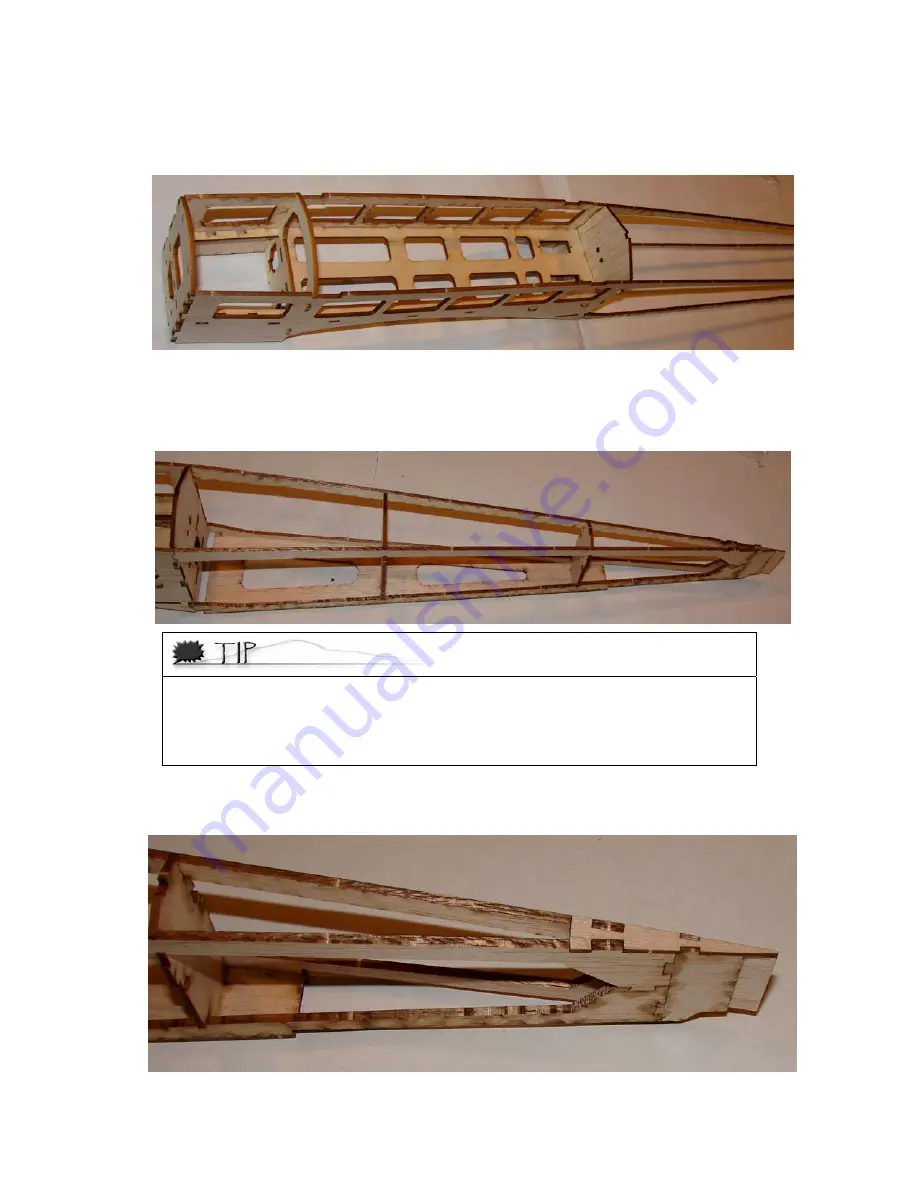
Press the 1/8” fuselage sides onto the fuselage crutch as shown below. MAKE SURE that the
rear “flush” area of the 1/8” and 1/16” balsa parts is facing to the outside. Do NOT glue this
yet.
9.
Set the assembly from step 7 on the table with the fuselage crutch assembly. Carefully slide
the rear /8” longerons into the slots in the formers. You may have to slightly bend and “crack”
the rear longerons where they attach to the front 1/8” balsa sides. You should end up with an
angle, rather than a curve at the joint with the 1/8” balsa former.
Be careful to keep your fingers as far away from the glue as possible; otherwise,
you might become a part of the model permanently. If you do get stuck, remove
yourself as carefully as possible, trying to avoid taking any of the wood with you.
Once separated, remove the CA glue from your fingers using nail polish remover or
acetone, making sure you wash your hands thoroughly when done.
10.
Install the 1/16” balsa rear top part as shown in the image below. This part is somewhat
fragile until it is installed, so be careful when you are pressing it into place.


