Now fasten the remaining acrylic blocks to the case. On the front you will have fasten 2 blocks. A left
side block on the left side and a right side block on the right side. Use the top panel to determine
placement of the blocks. Turn the case around to look at the back side and do just as you did in the
front. The 2 remaining blocks fasten to the top side walls. The left side block fastens to the left side and
vice versa. Then place the lid into place and fasten all 10 screws into the acrylic blocks.
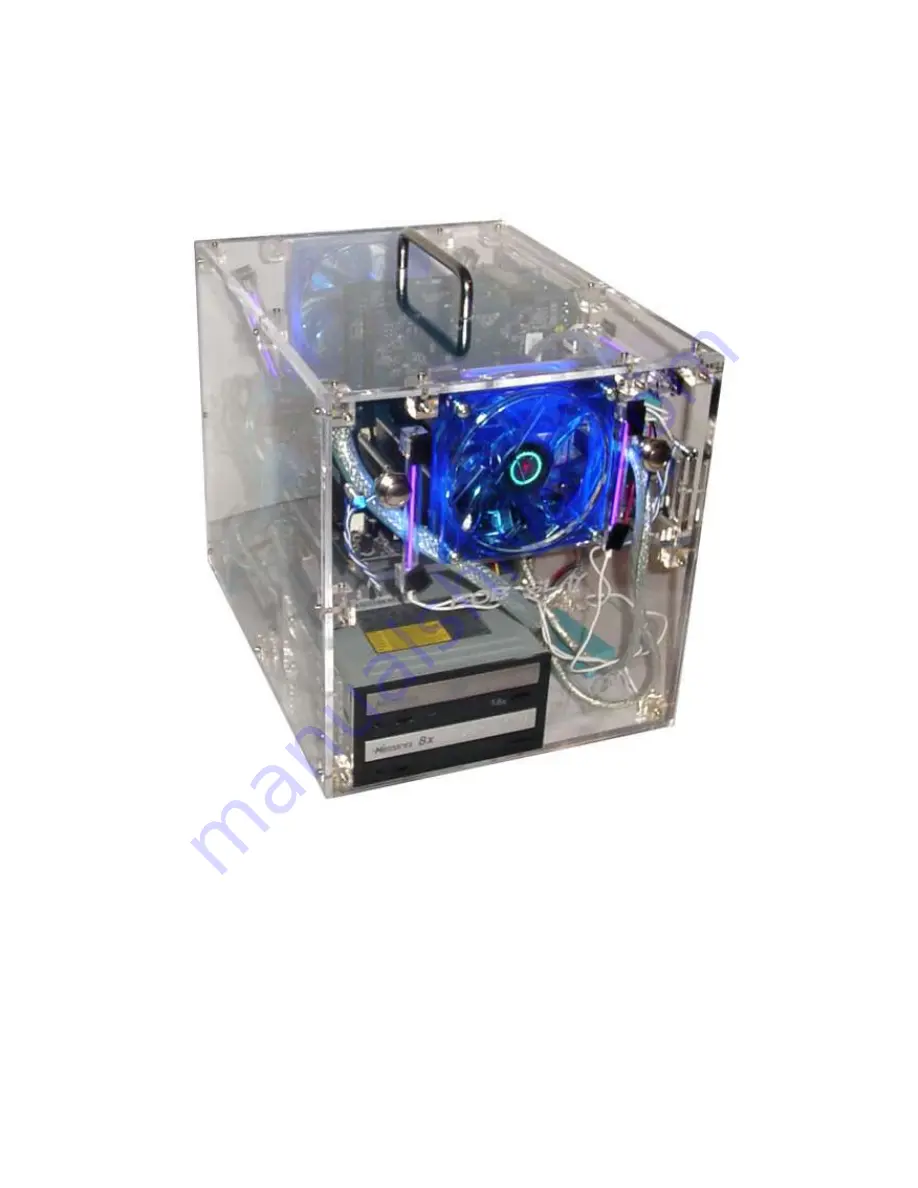
CONGRATULATIONS!!!
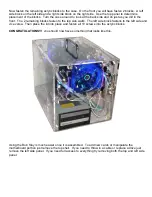
you should now have something that looks like this.
Using the Bob Slay is much easier once it is assembled. To add new cards or manipulate the
motherboard portion just remove the top shell. If you need to throw in a cable or replace a drive just
remove the left side panel. If you need full access to everything try removing both the top and left side
panel.


