LITESPORT OWNERS MANUAL
Version 1.01
9
3.
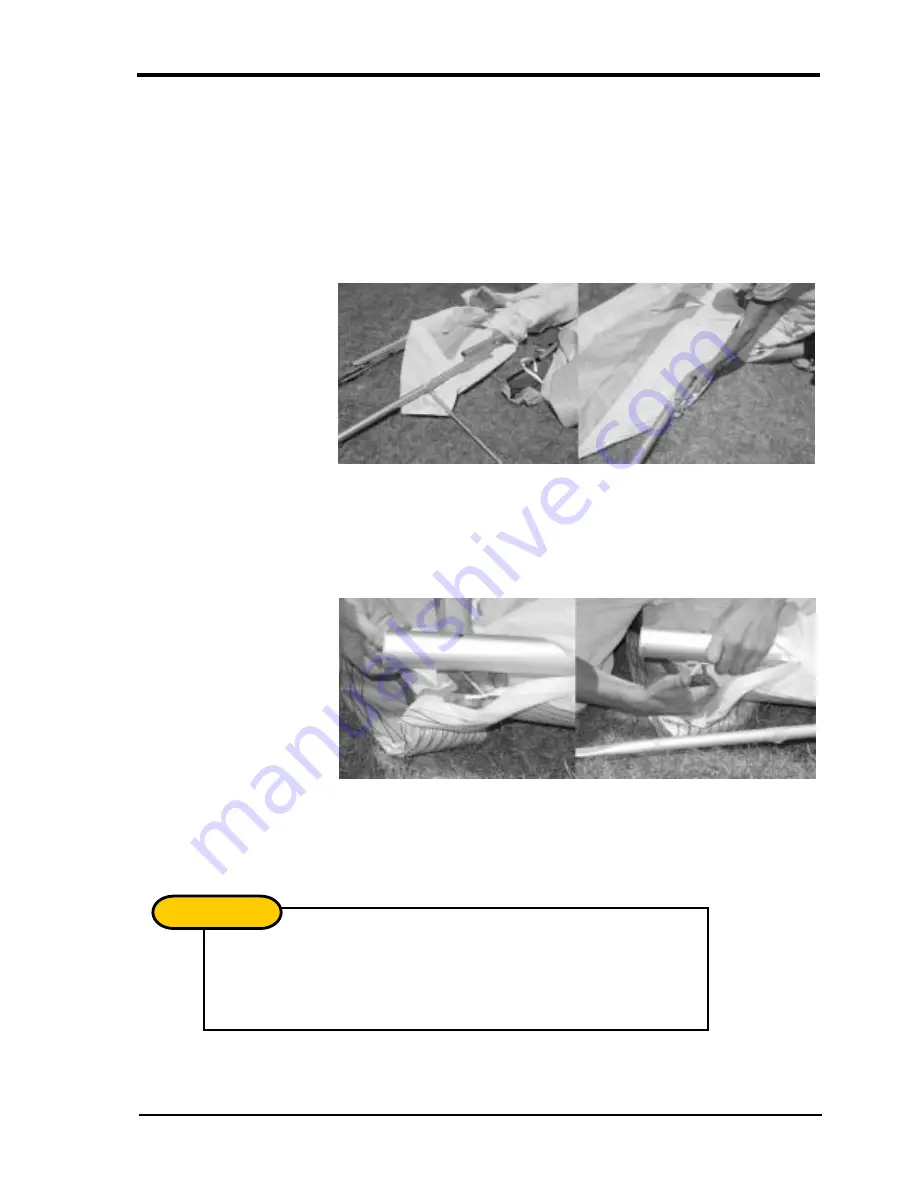
Insert the right back section of the leading edge. The left and right back sections
differ from each other in the mounting of the outer sprog. You can check this by
picturing that the cable must be on the top of the leading edge and the sprog must
fold outwards. Push the back section into the mid sleeve while depressing the push
button pin. Continue to slide the back section in until it reaches its stop, then rotate
the back section until the mid sleeve location holes align with the push button pin.
Closely check that the push button pin has fully released and that the back section
cannot be rotated.
Picture 2
Insert the back
ends of the leading
edge.
4.
Secure the sail by attaching the tip webbing to the end of the leading edge, using
the clevis pin and safety ring supplied. Insert the pin through the webbing and into
the bottom hole at an angle. Straighten the clevis pin while sliding the webbing
towards the leading edge as shown in Picture 3. Ensure the tip webbing is not
twisted and is on the bottom of the leading edge.
Picture 3
Insert the sail pin
Into the end of the
leading edge.
5.
Repeat 1-4 to install the left back section. Your Litesport will now be ready for
standard assembly. Before each flight, carefully inspect all tubing, nuts, and bolts, to
ensure no damage has occurred during transportation.
The outer sprog must exit the sail from the long cord wise zipper. The zipper
must be opened when the glider is in standard break down form with the
sprog folding towards the wing tip.
IMPORTANT
!
Summary of Contents for LITESPORT 4
Page 1: ...Moyes Delta Gliders Pty Ltd Version 1 01 LITESPORT owners manual...
Page 2: ......
Page 40: ...LITESPORT OWNERS MANUAL 38 Version 1 01...
Page 42: ...LITESPORT OWNERS MANUAL 40 Version 1 01...
Page 43: ...LITESPORT OWNERS MANUAL Version 1 01 41...
Page 44: ...LITESPORT OWNERS MANUAL 42 Version 1 01...


