background image

WARNING

1. WARNING

Please refer the information on exterior bottom enclosure for electrical and safety

    information before installing or operating the apparatus.
2. WARNING

To reduce the risk of fire or electric shock, do not expose this apparatus to rain or


3. WARNING: The battery (battery or batteries or battery pack) shall not be exposed to excessive heat
    such as sunshine, fire or the like.
4. WARNING: The mains plug is used as disconnect device, the disconnect device shall remain
    readily operable.

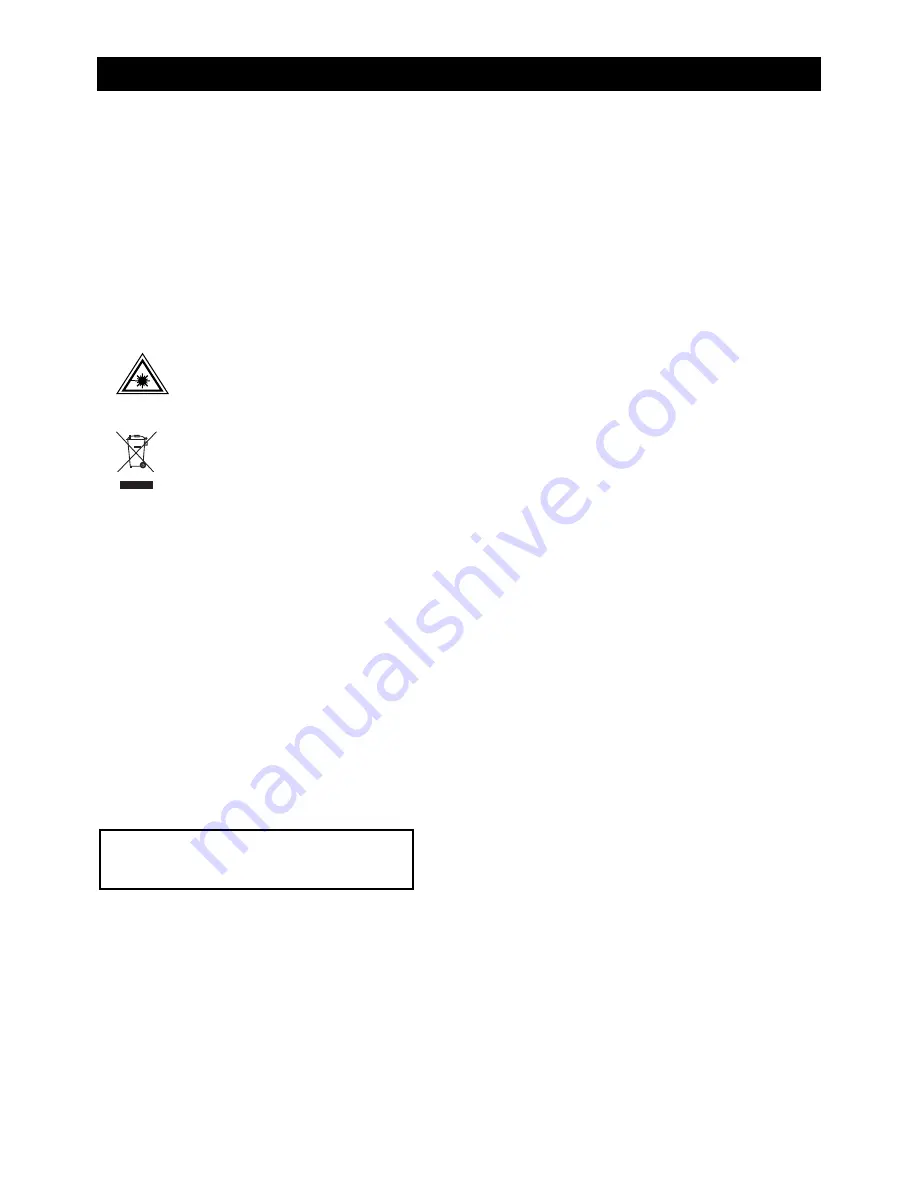
5.                Invisible laser radiation when open and interlocks defeated. Avoid exposure to beam of laser.

6.                Correct Disposal of this product. This marking indicates that this product should not be disposed
    with other household wastes throughout the EU. To prevent possible harm to the environment or
    human health from uncontrolled waste disposal, recycle it responsibly to promote the sustainable
    reuse of material resources. To return your used device, please use the return and collection systems
    or contact the retailer where the product was purchased. They can take this product for environmental
    safe recycling.
7. No naked flame sources, such as lighted candles, should be placed on the apparatus.
8. Attention should be drawn to environmental aspects of battery disposal.
9. Use of the apparatus in moderate climates.

10. The rating and marking information are located at the bottom of the unit. 
11. Excessive sound pressure from earphone and headphones can cause hearing loss.
12. The mains plug of unit should be obstructed or should be easily accessed during intended use.
13. To be completely disconnect the power input, the mains plug of apparatus shall be disconnected from the mains.


Danger of explosion if battery is incorrectly replaced.

Replace only with the same or equivalent type

CAUTION

moisture. The apparatus shall not be exposed to dripping or splashing and that no objects filled with 
liquids, such as vases, shall not be placed on apparatus.

Summary of Contents for CSTU59

Page 1: ...USB MP3 CD Radio Portable Player I N S T R U C T I O N M A N U A L USB1010D...

Page 2: ...he sustainable reuse of material resources To return your used device please use the return and collection systems or contact the retailer where the product was purchased They can take this product fo...

Page 3: ...that a specific component shall be replaced only by the component specified in that documentation for safety reason The following label has been affixed to the unit listing the proper procedure for w...

Page 4: ...e walked on or pinched by items placed upon or against them 10 POWER LINES An outdoor antenna should be located away from power lines 11 OBJECT and LIQUID ENTRY Care should be taken so that objects do...

Page 5: ...f the same type Never use different types of batteries together To use the appliance with batteries disconnect the AC power cord from it POWER SOURCES E 3 AC POWER You can power your portable system b...

Page 6: ...N OF CONTROL CD DOOR TUNING CONTROL OPEN CLOSE BAND SELECTOR LCD DISPLAY VOLUME CONTROL FUNCTION SELECTOR MINUTE FM ANTENNA HOUR MODE ALBUM PROGRAM PLAY PAUSE STOP SKIP SKIP TIME SET USB SLOT FM STERE...

Page 7: ...G control 4 Adjust the VOLUME control to the desired level FM FM STEREO RECEPTION Set the BAND selector to FM mode for MONO reception Set the BAND selector to FM ST mode for FM STEREO reception The St...

Page 8: ...ss to stop all CD MP3 operation PLAYBACK 1 Set the FUNCTION selector to CD MP3 USB mode 2 Open the CD door and place a CD MP3 disc with the label up on the CD compartment 3 Close the CD door 4 Focus s...

Page 9: ...y order Be sure to press the STOP button before use 1 Press the PROGRAM button the display will show P01 and flash 2 Select desired track by using the SKIP or SKIP button You may select a desired albu...

Page 10: ...o the previous track SKIP Press and hold while playing until you find the point of the sound STOP Press to stop all USB operation PLAYBACK 1 Plug or slot in USB device to the port 2 Set the FUNCTION s...

Page 11: ...ke sure in CD mode 1 Press the TIME SET button Do not release TIME SET button during time setting 2 Press the HOUR button to set hour 3 Press the MINUTE button to set minute 4 Release all button to co...

Reviews: